
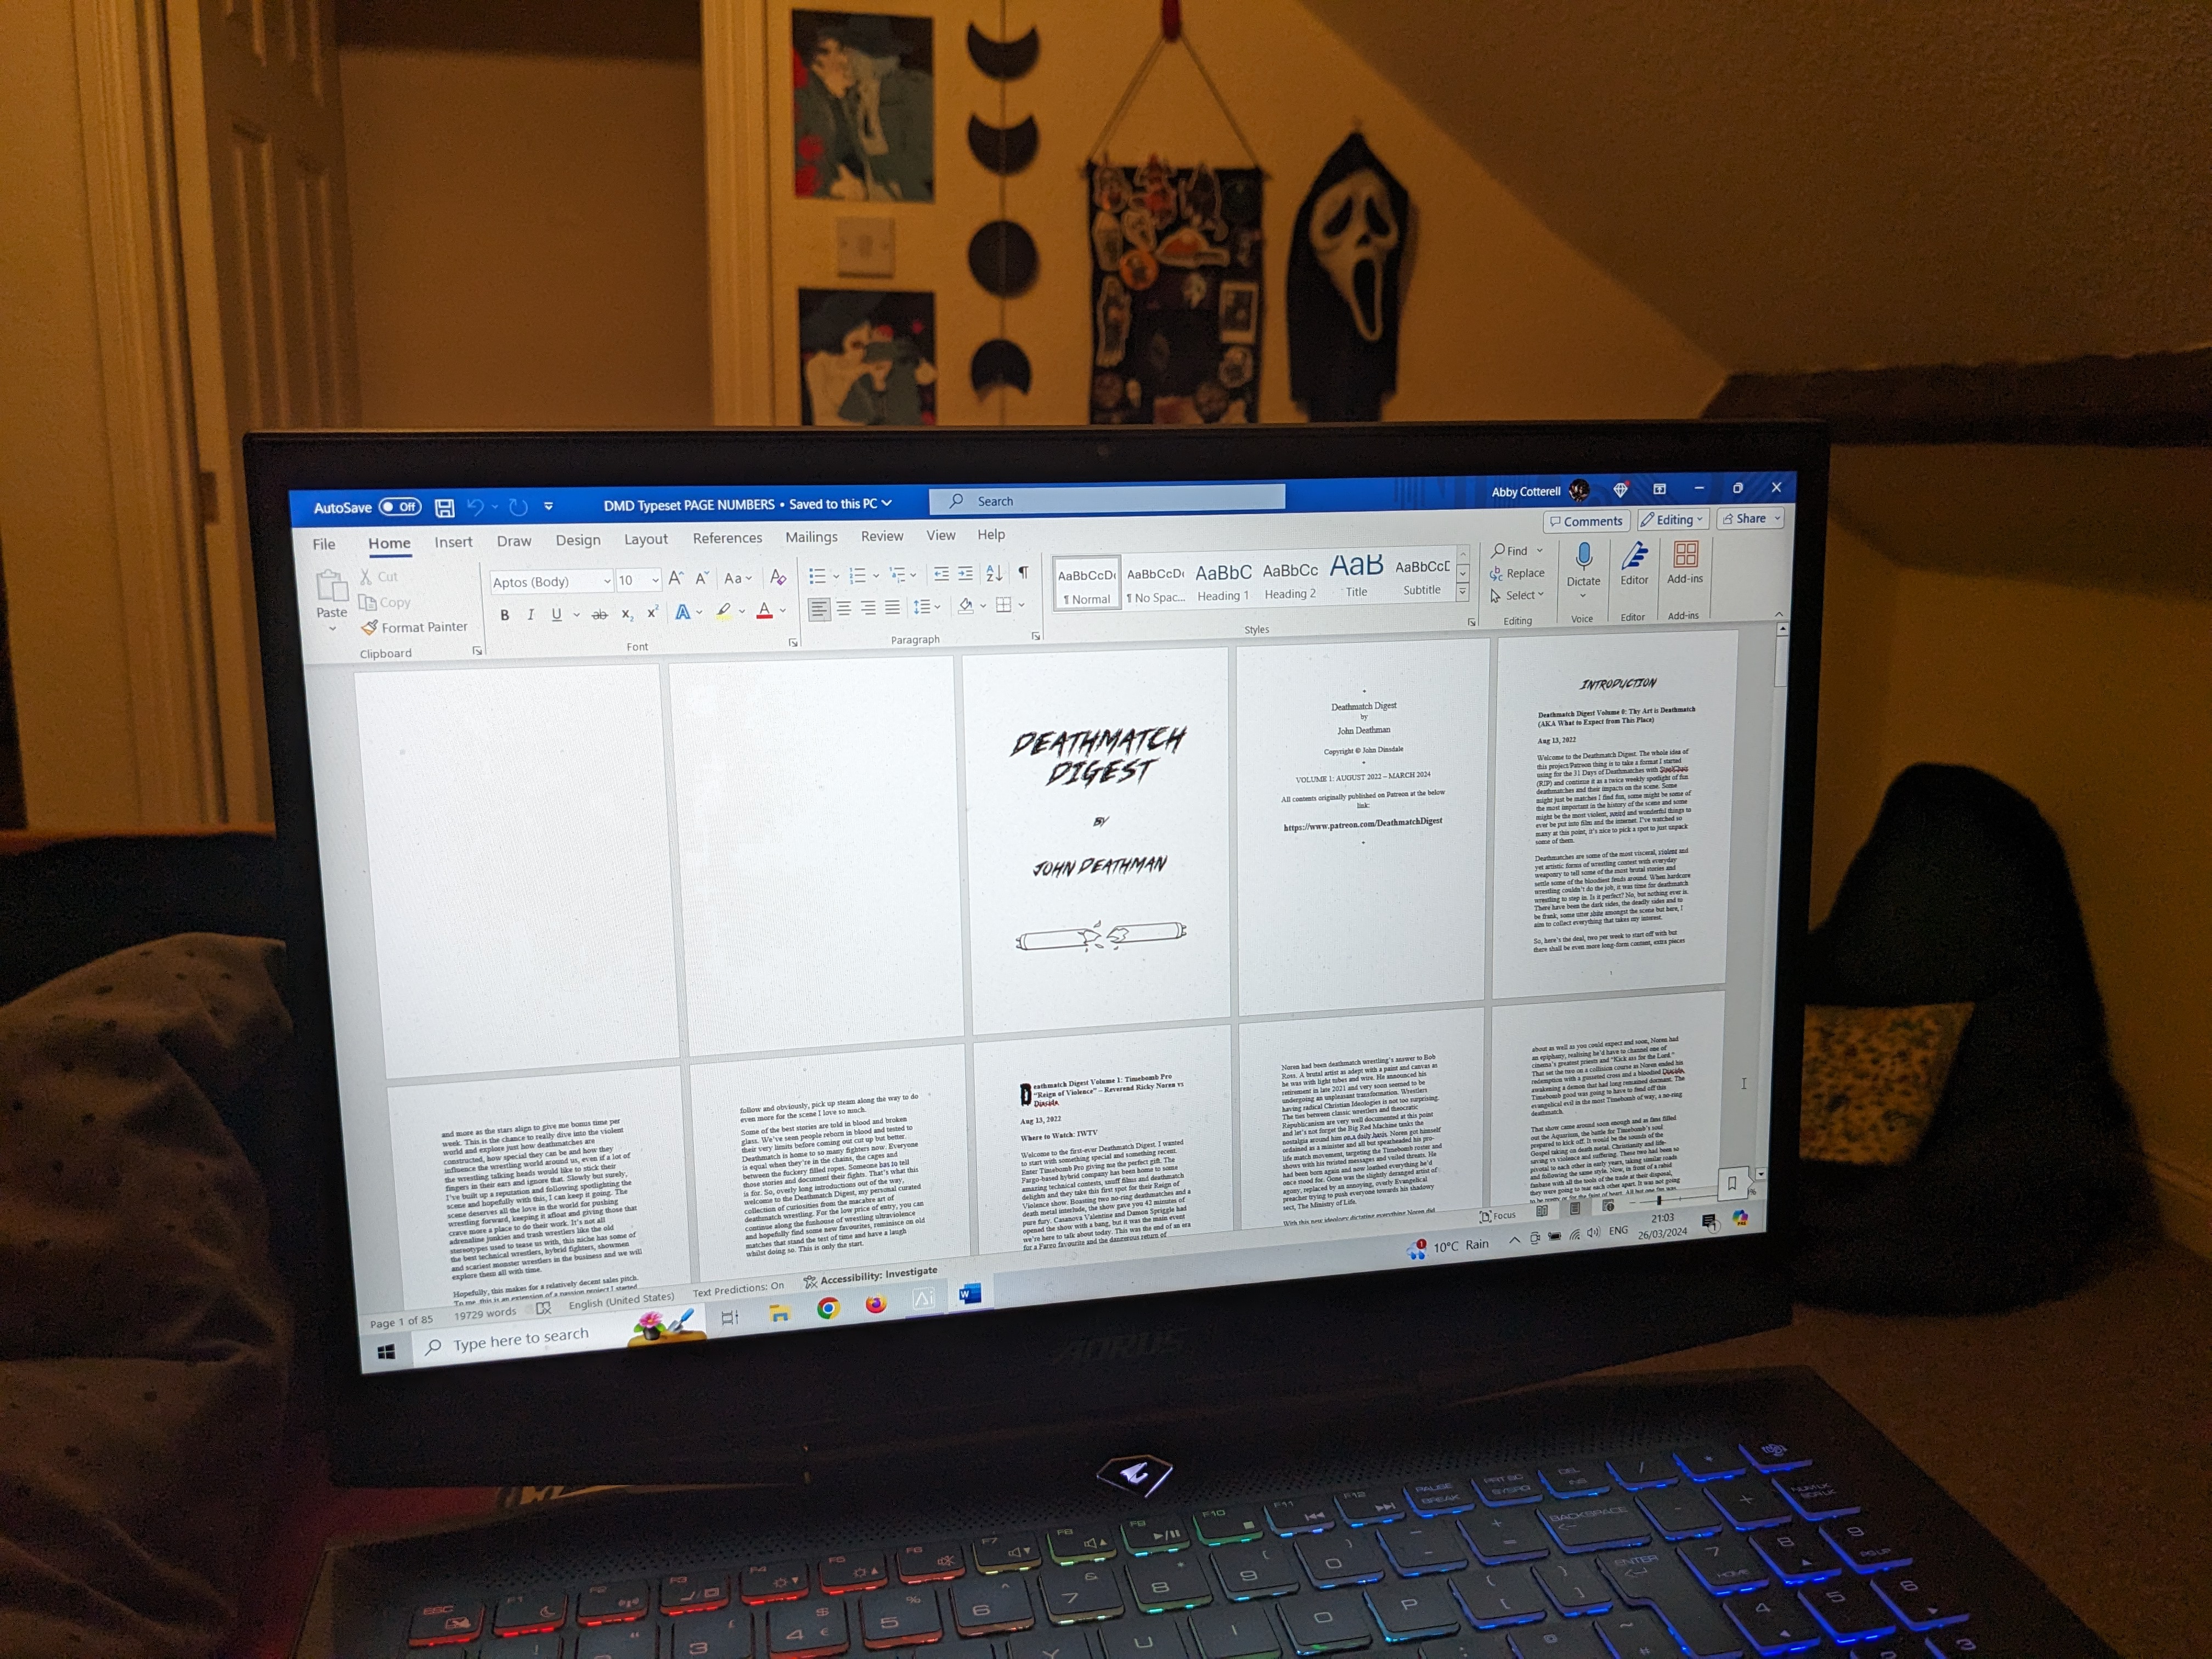
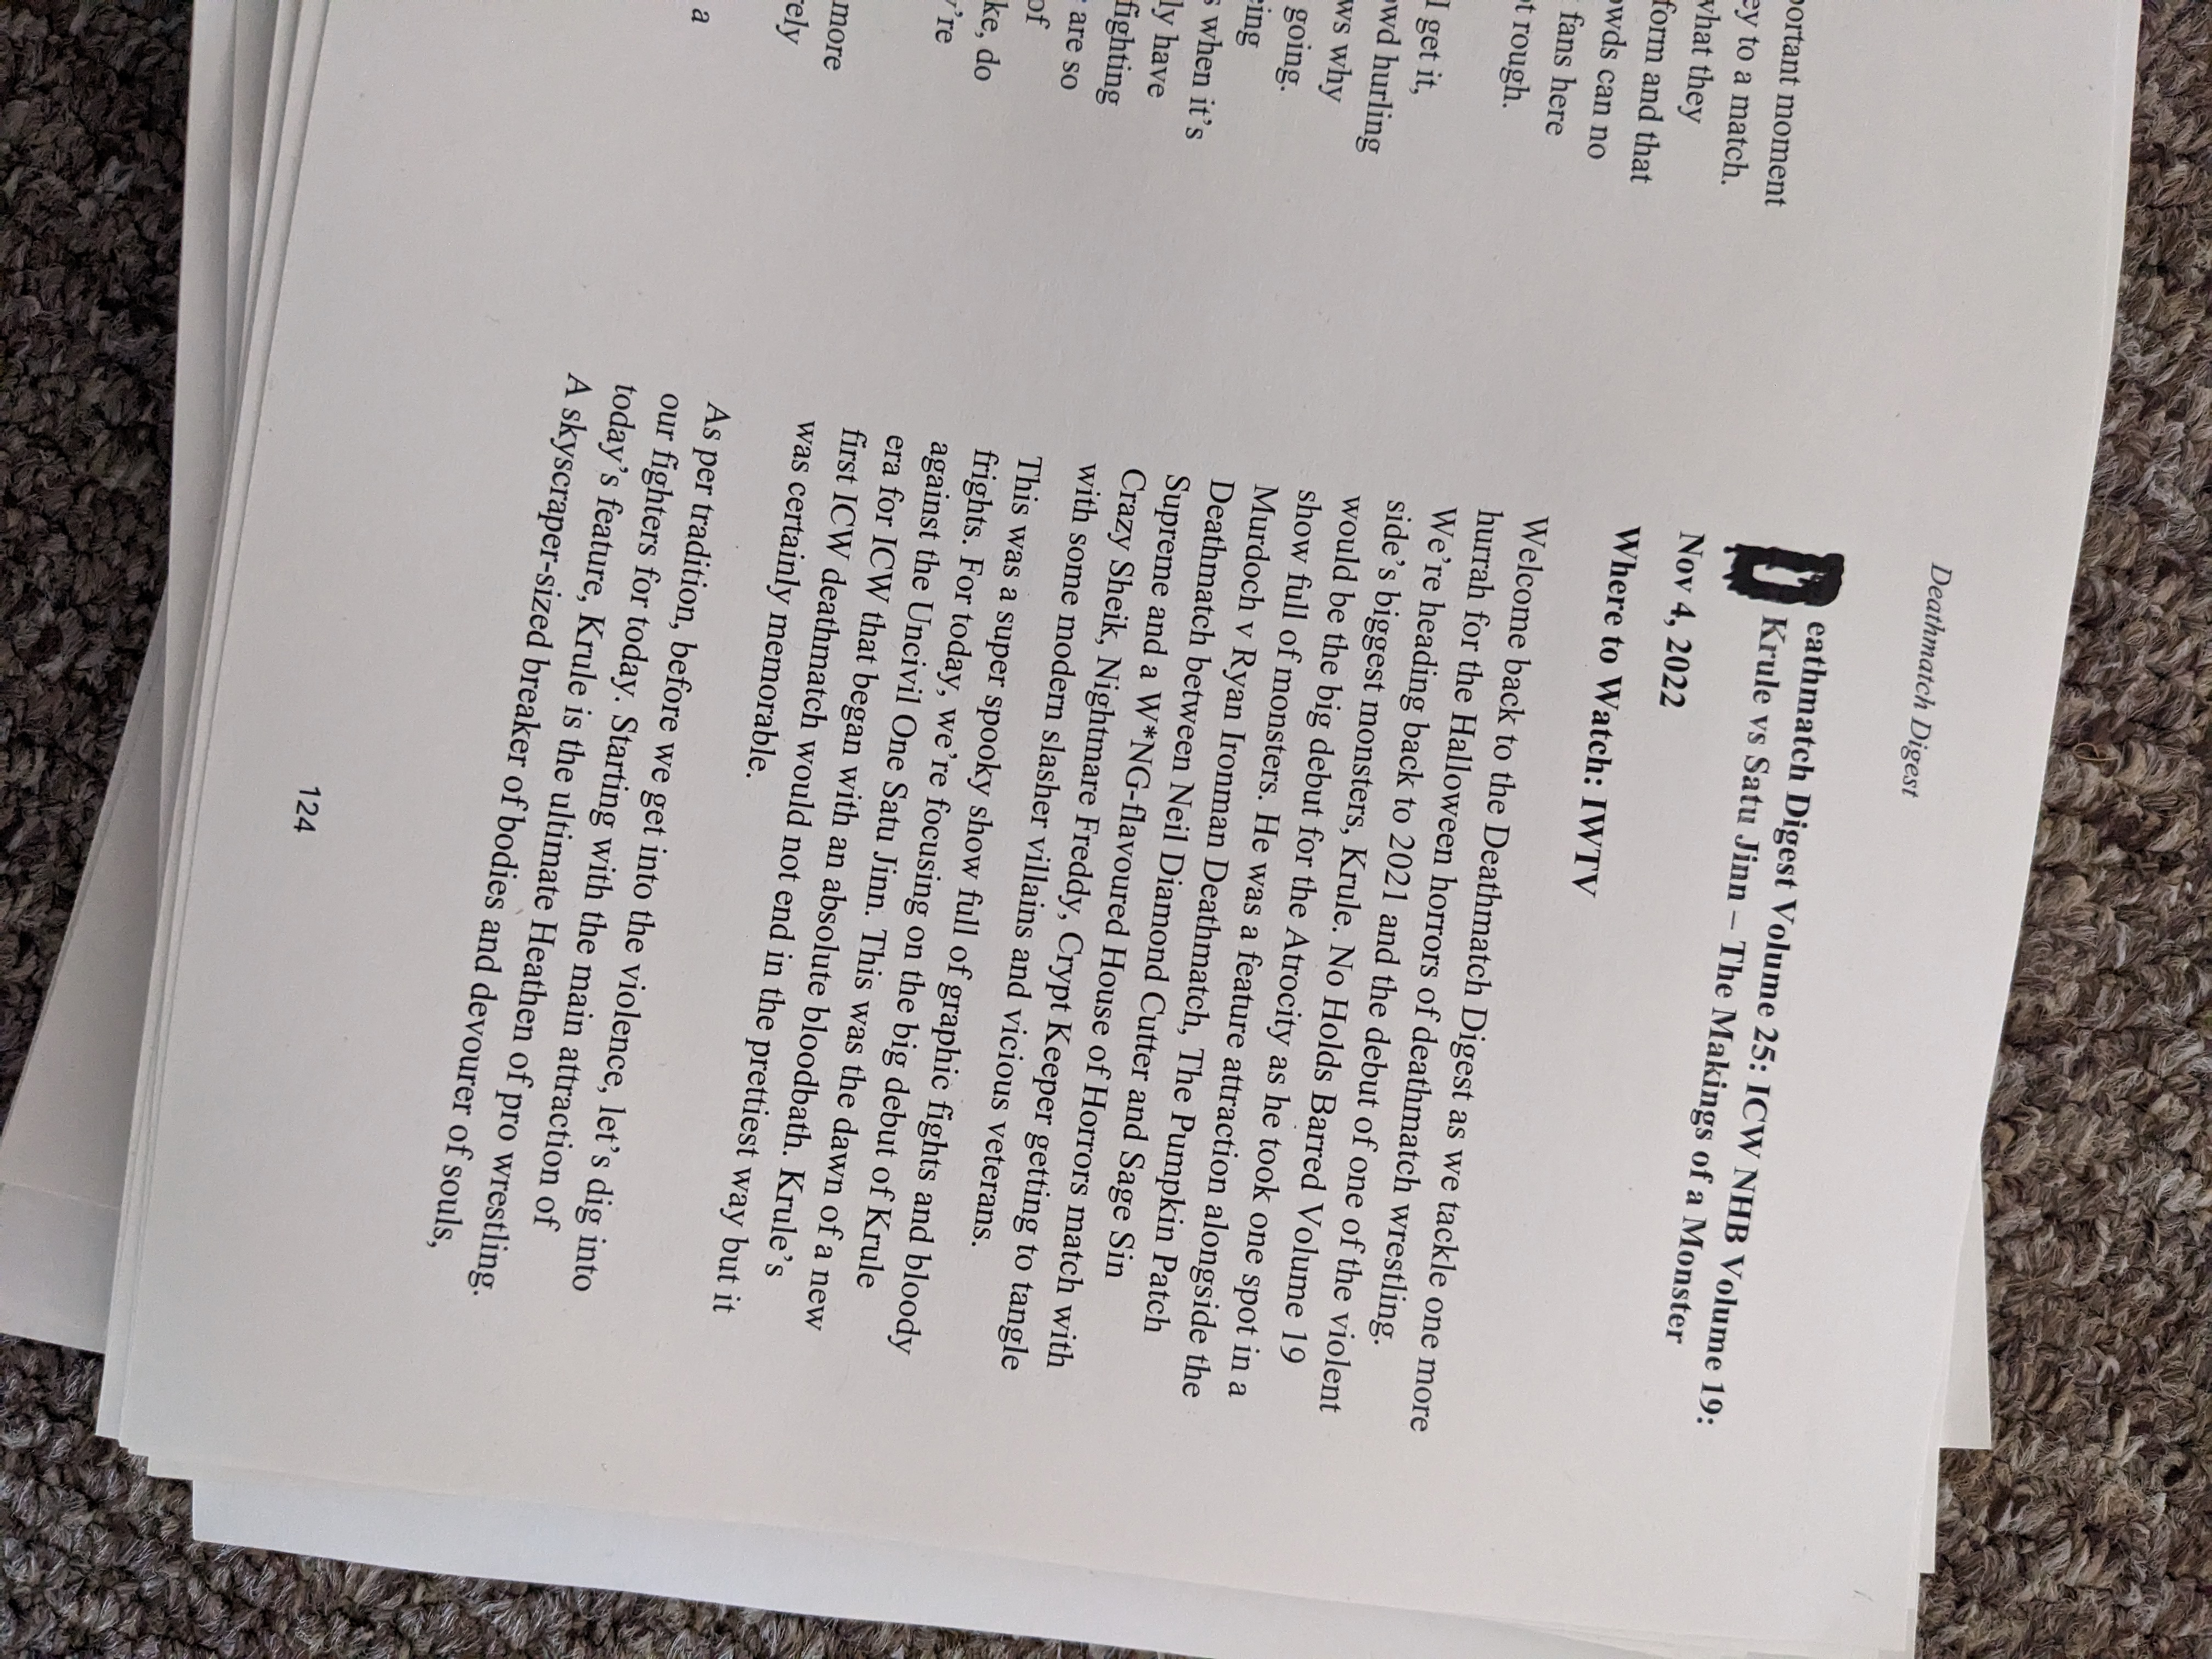
1. Typesetting! Prepare the text that you want to bind. This involves formatting, numbering pages, turning the text into signatures, and any other changes that need to be made to turn a block of text into something workable for a book. This was the longest step, for me!
2. Printing and Folding Signatures! Print each signature one-by-one and fold as you go, this ensures you don't accidentally mix up any pages and allows you to catch formatting errors (e.g. if the pages aren't numbering correctly once folded). To get sharp folds, you can use an item called a 'bone folder' which allow you to gently press and smooth into a crisp fold. Do this for each page, and/or each signature as a whole.

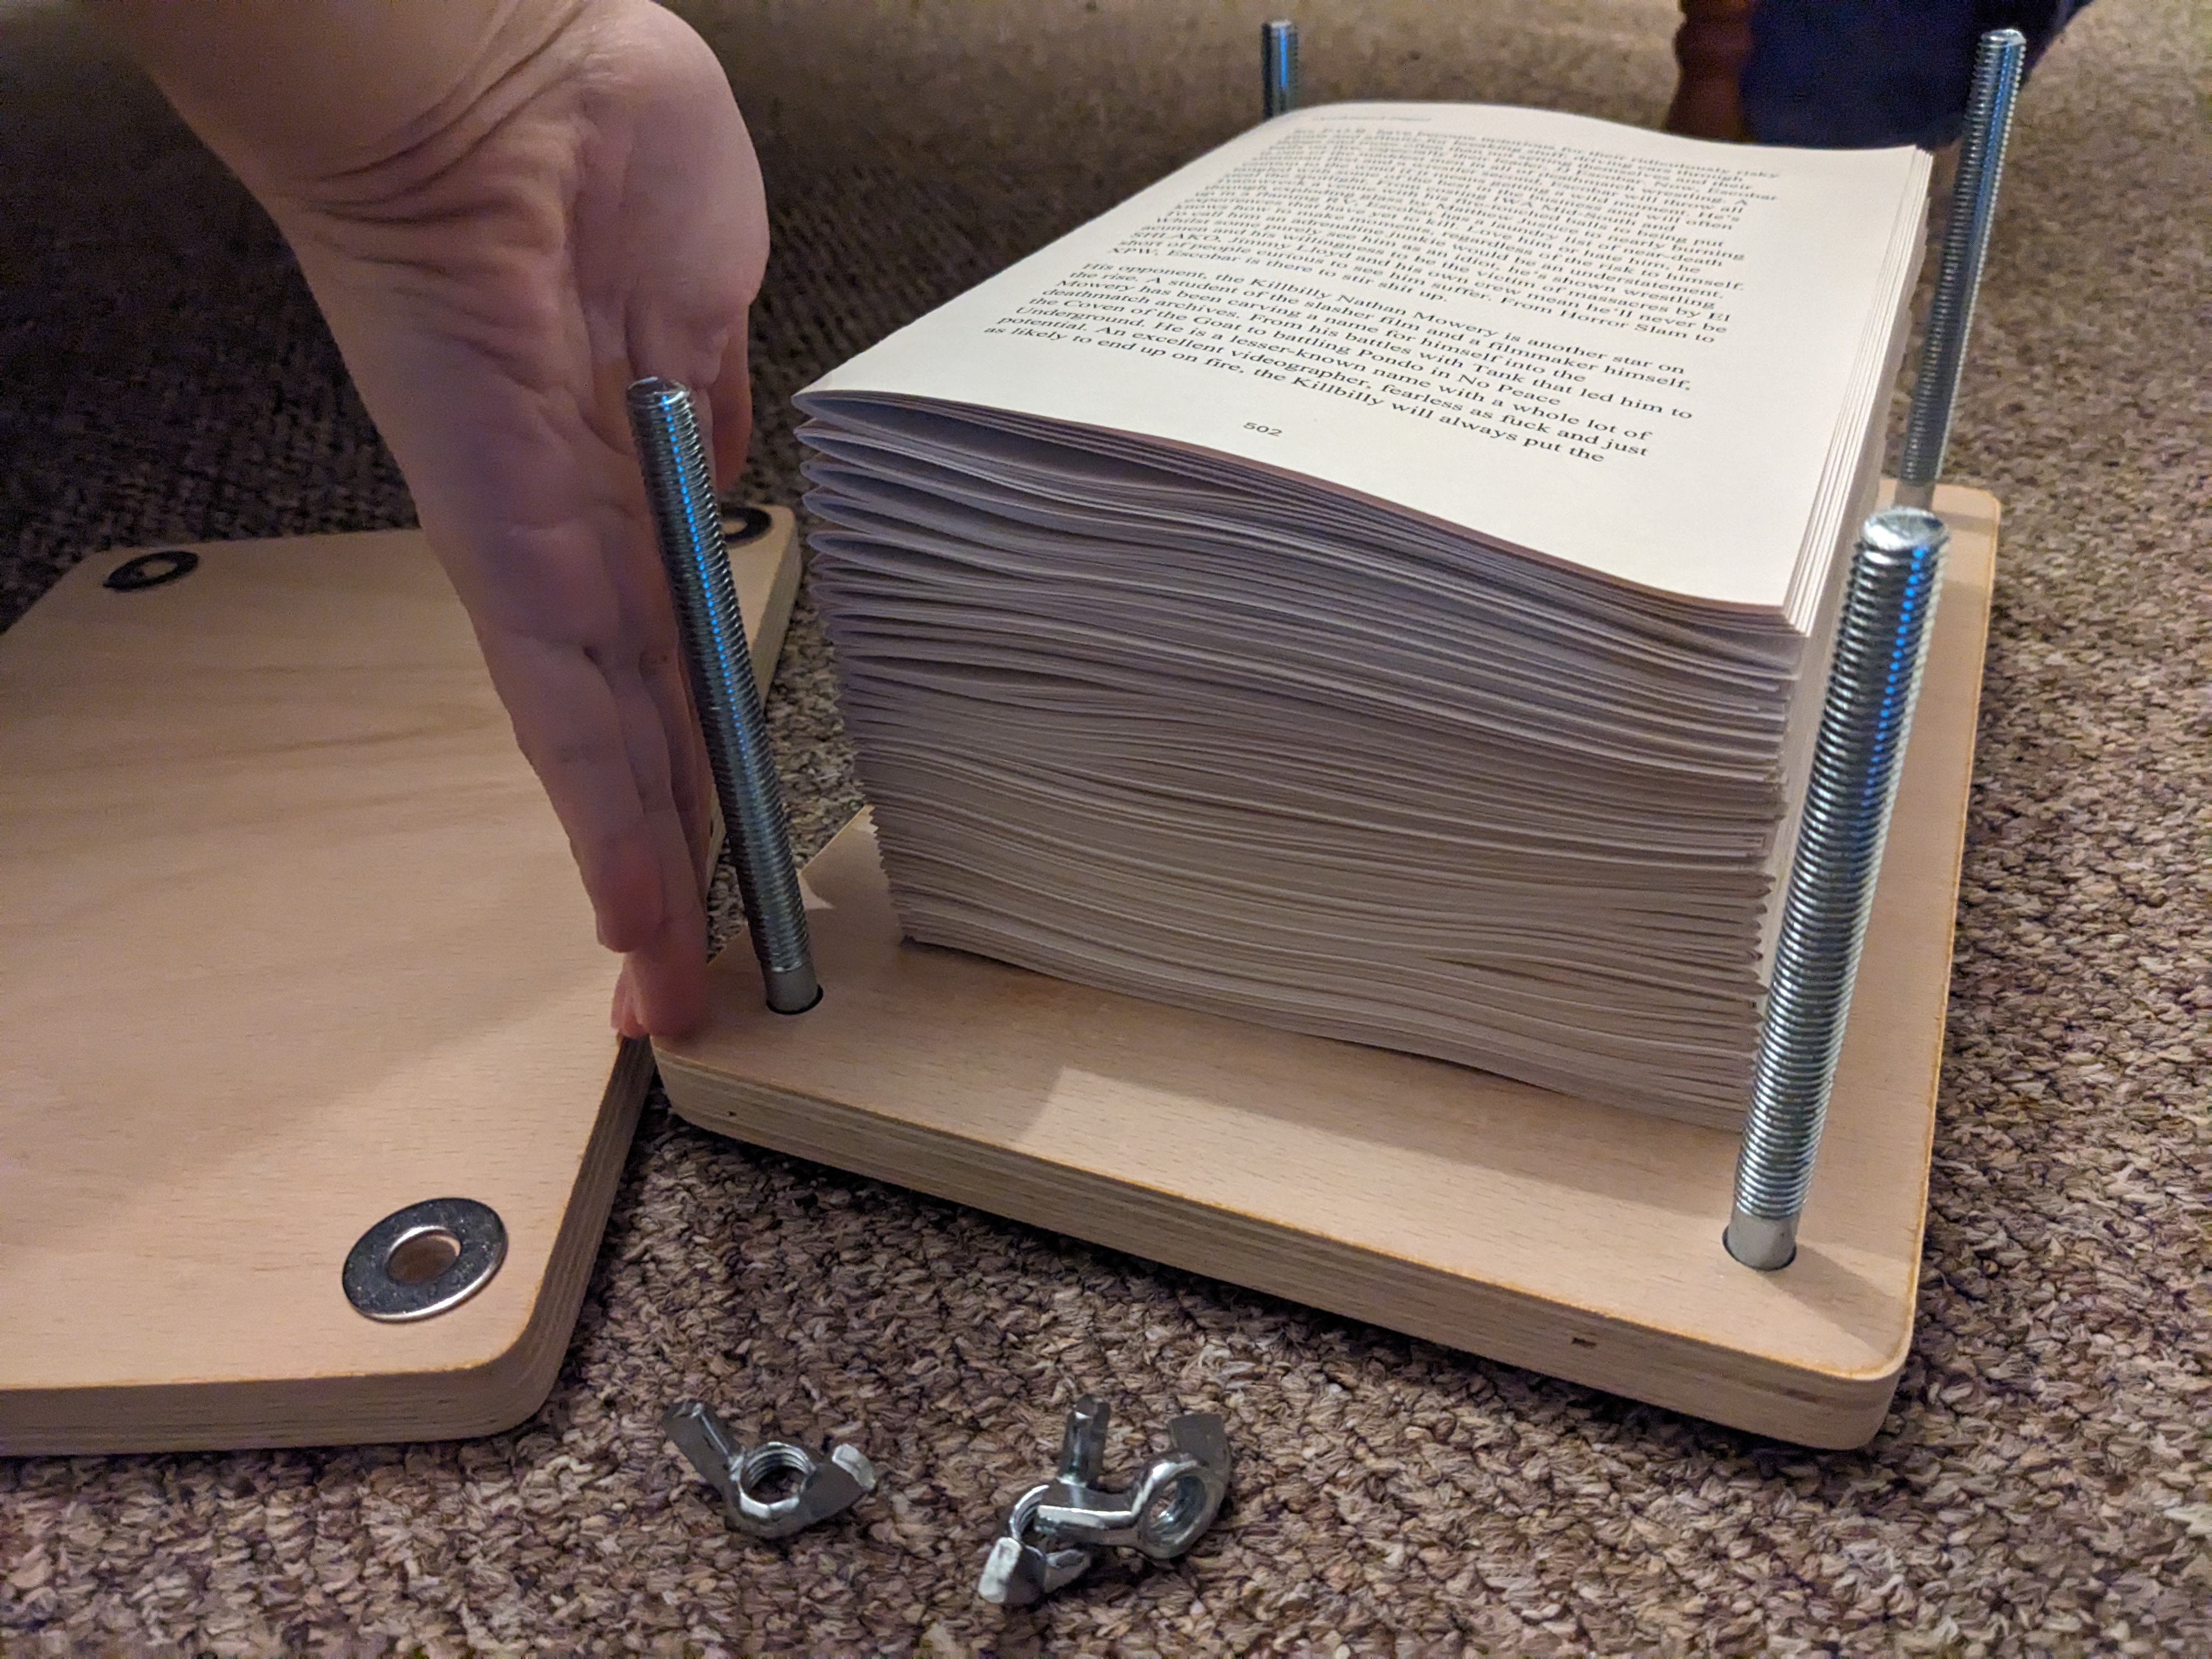
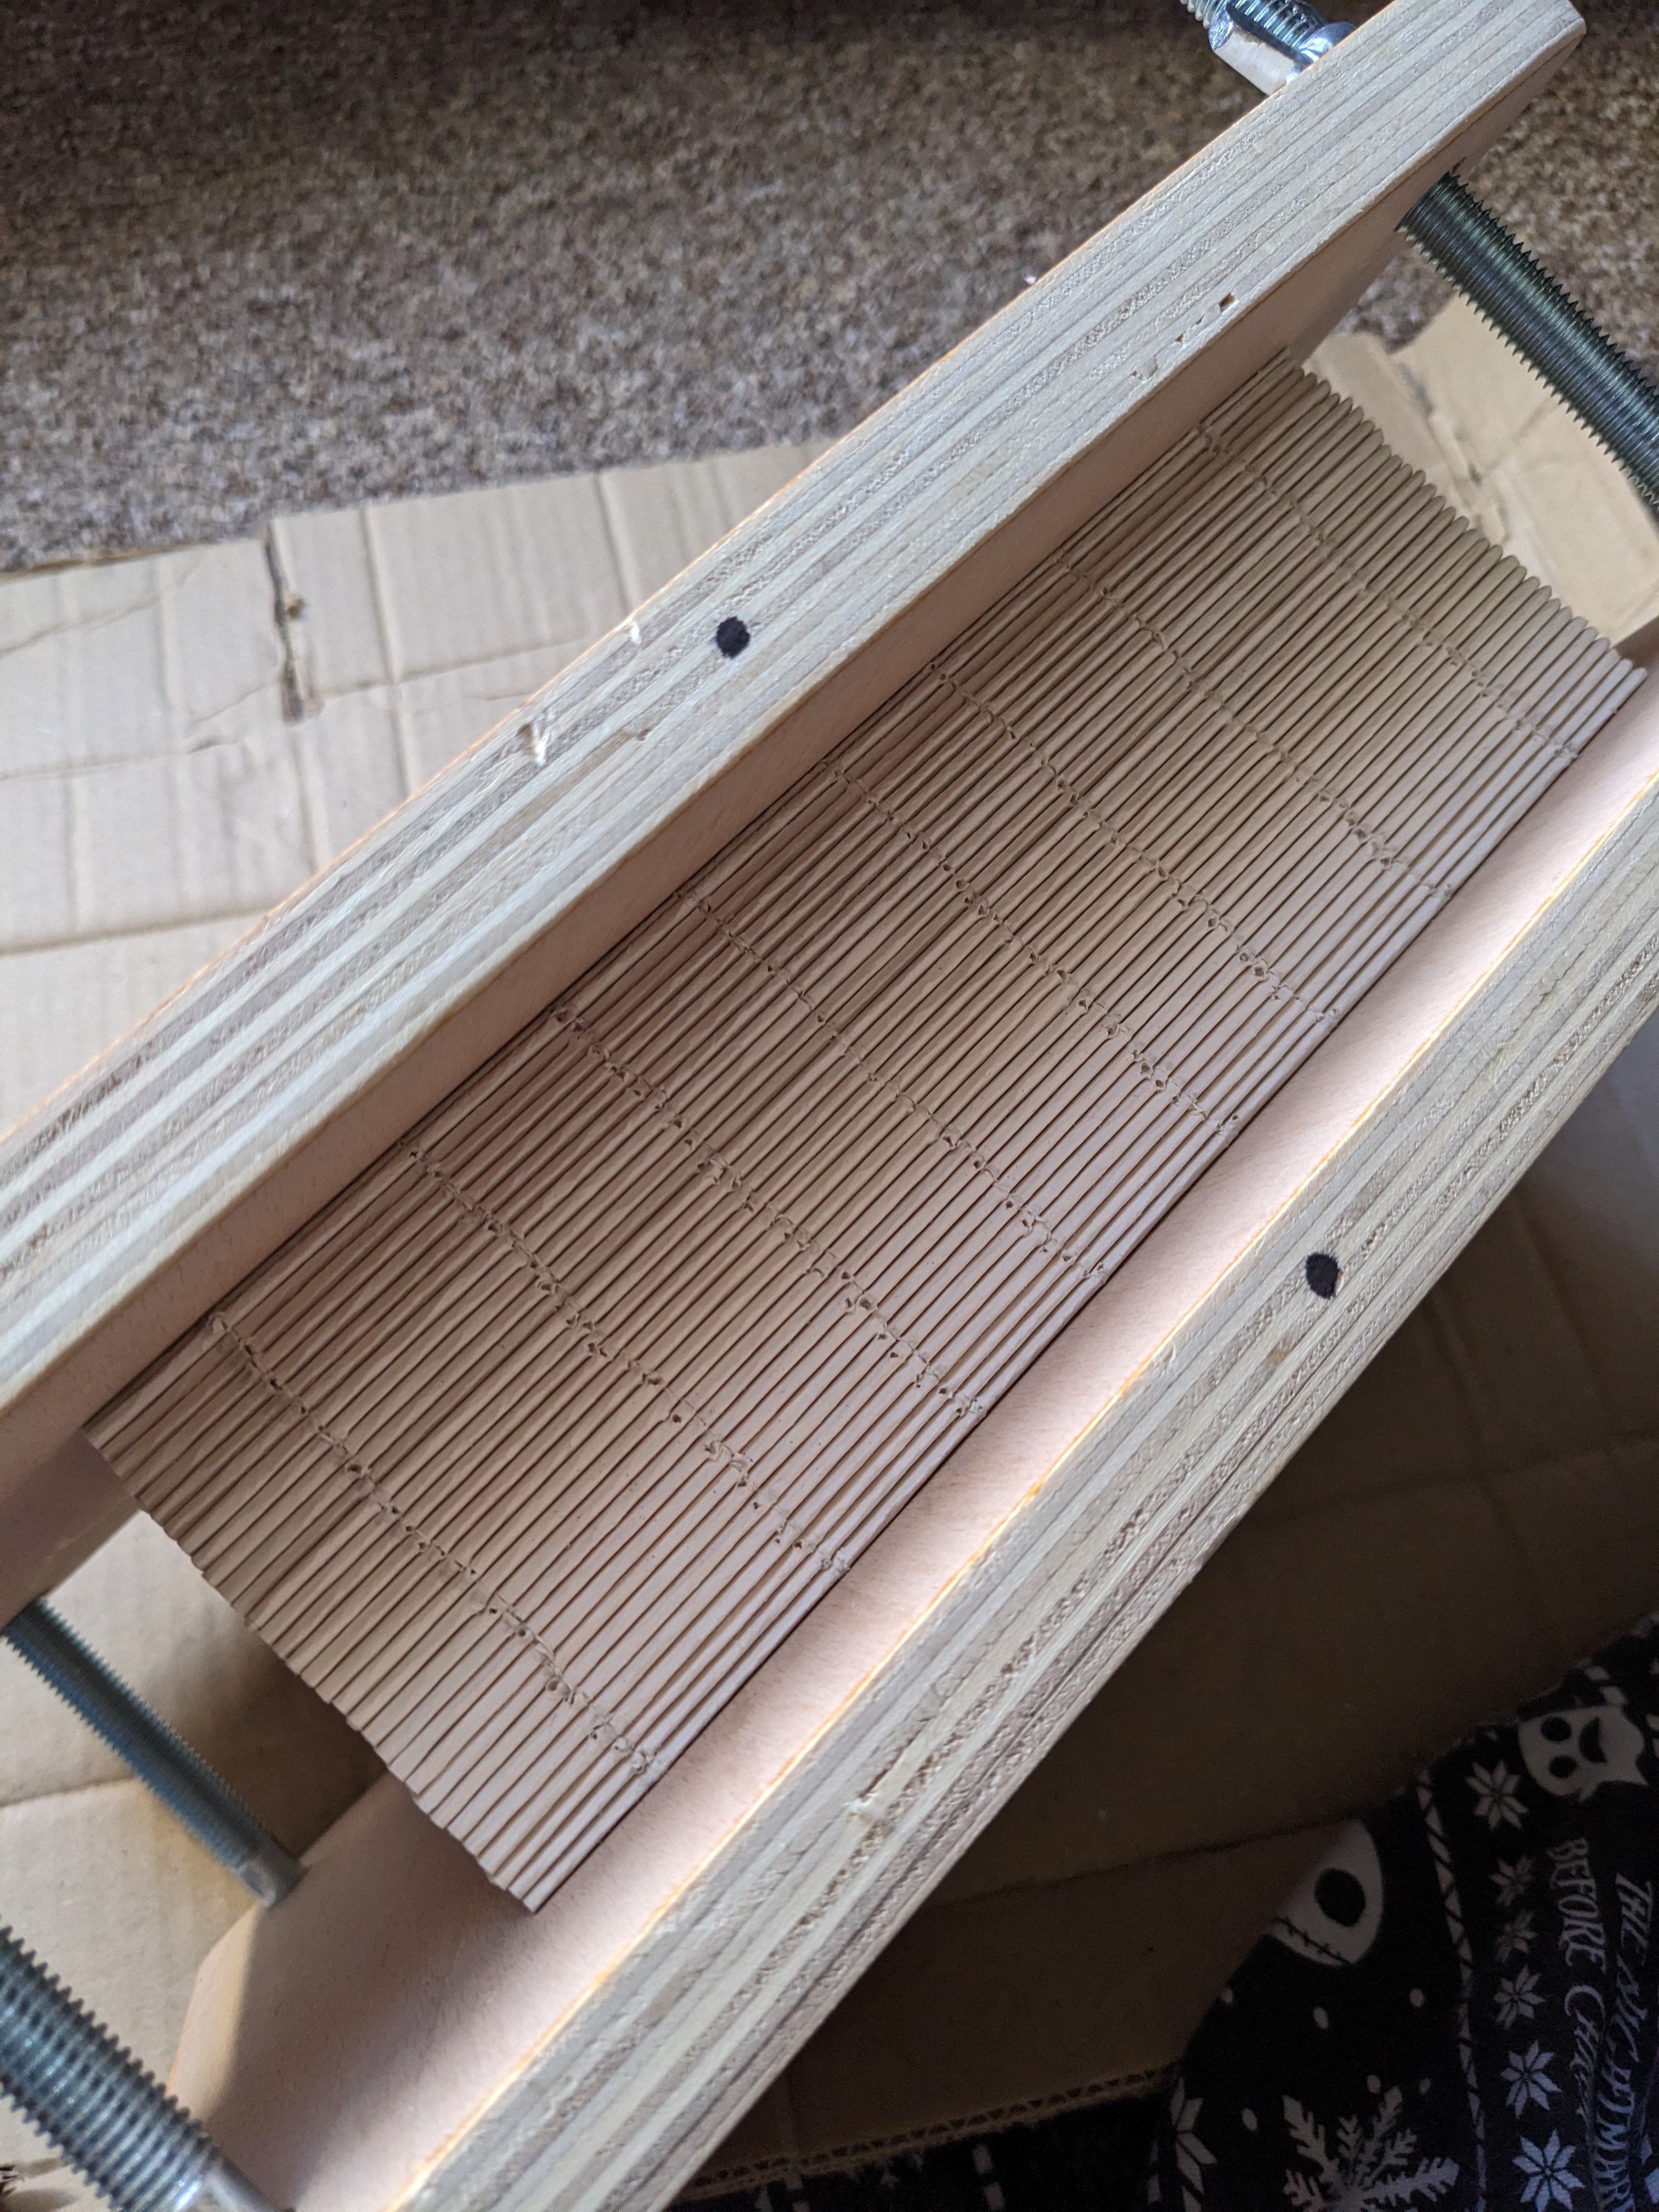
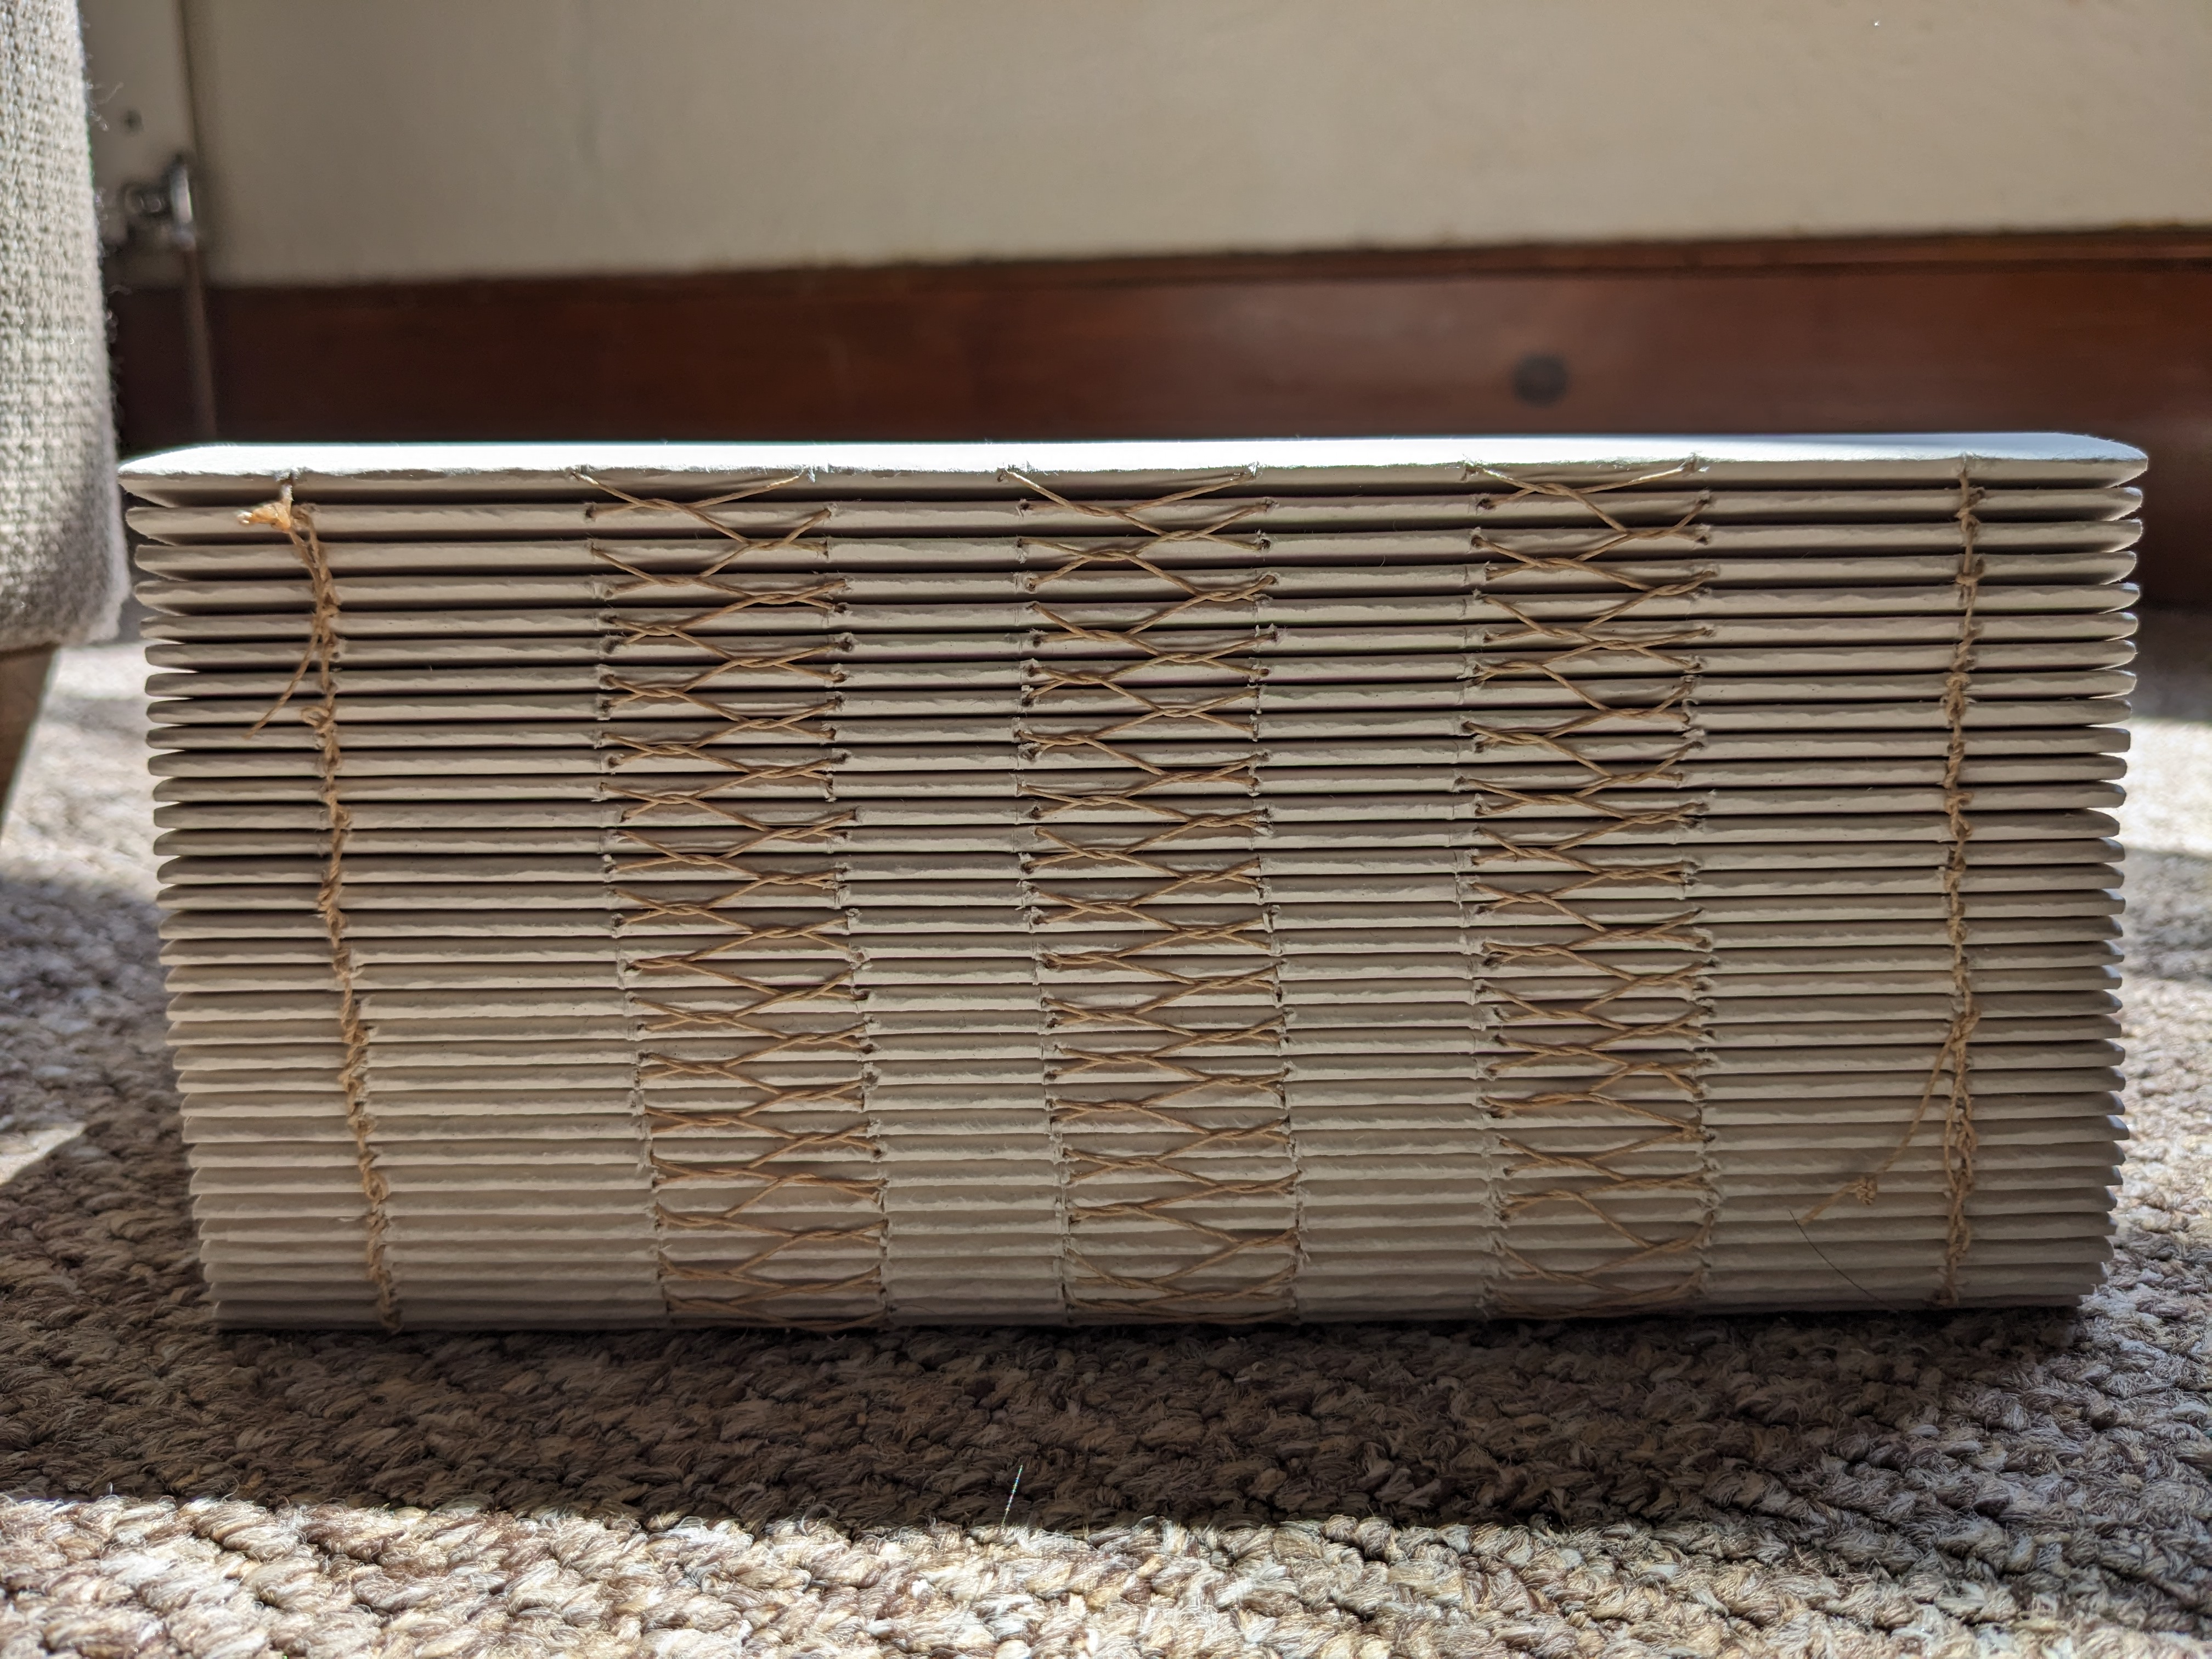
3. Press! Put the folded and arranged signatures in your book press and press for a good long while. I pressed mine for a few weeks, tightening the press each day where possible, as my book was huge. Make sure the entire thing is in the press, ideally between the four screws for maximum and even pressure.
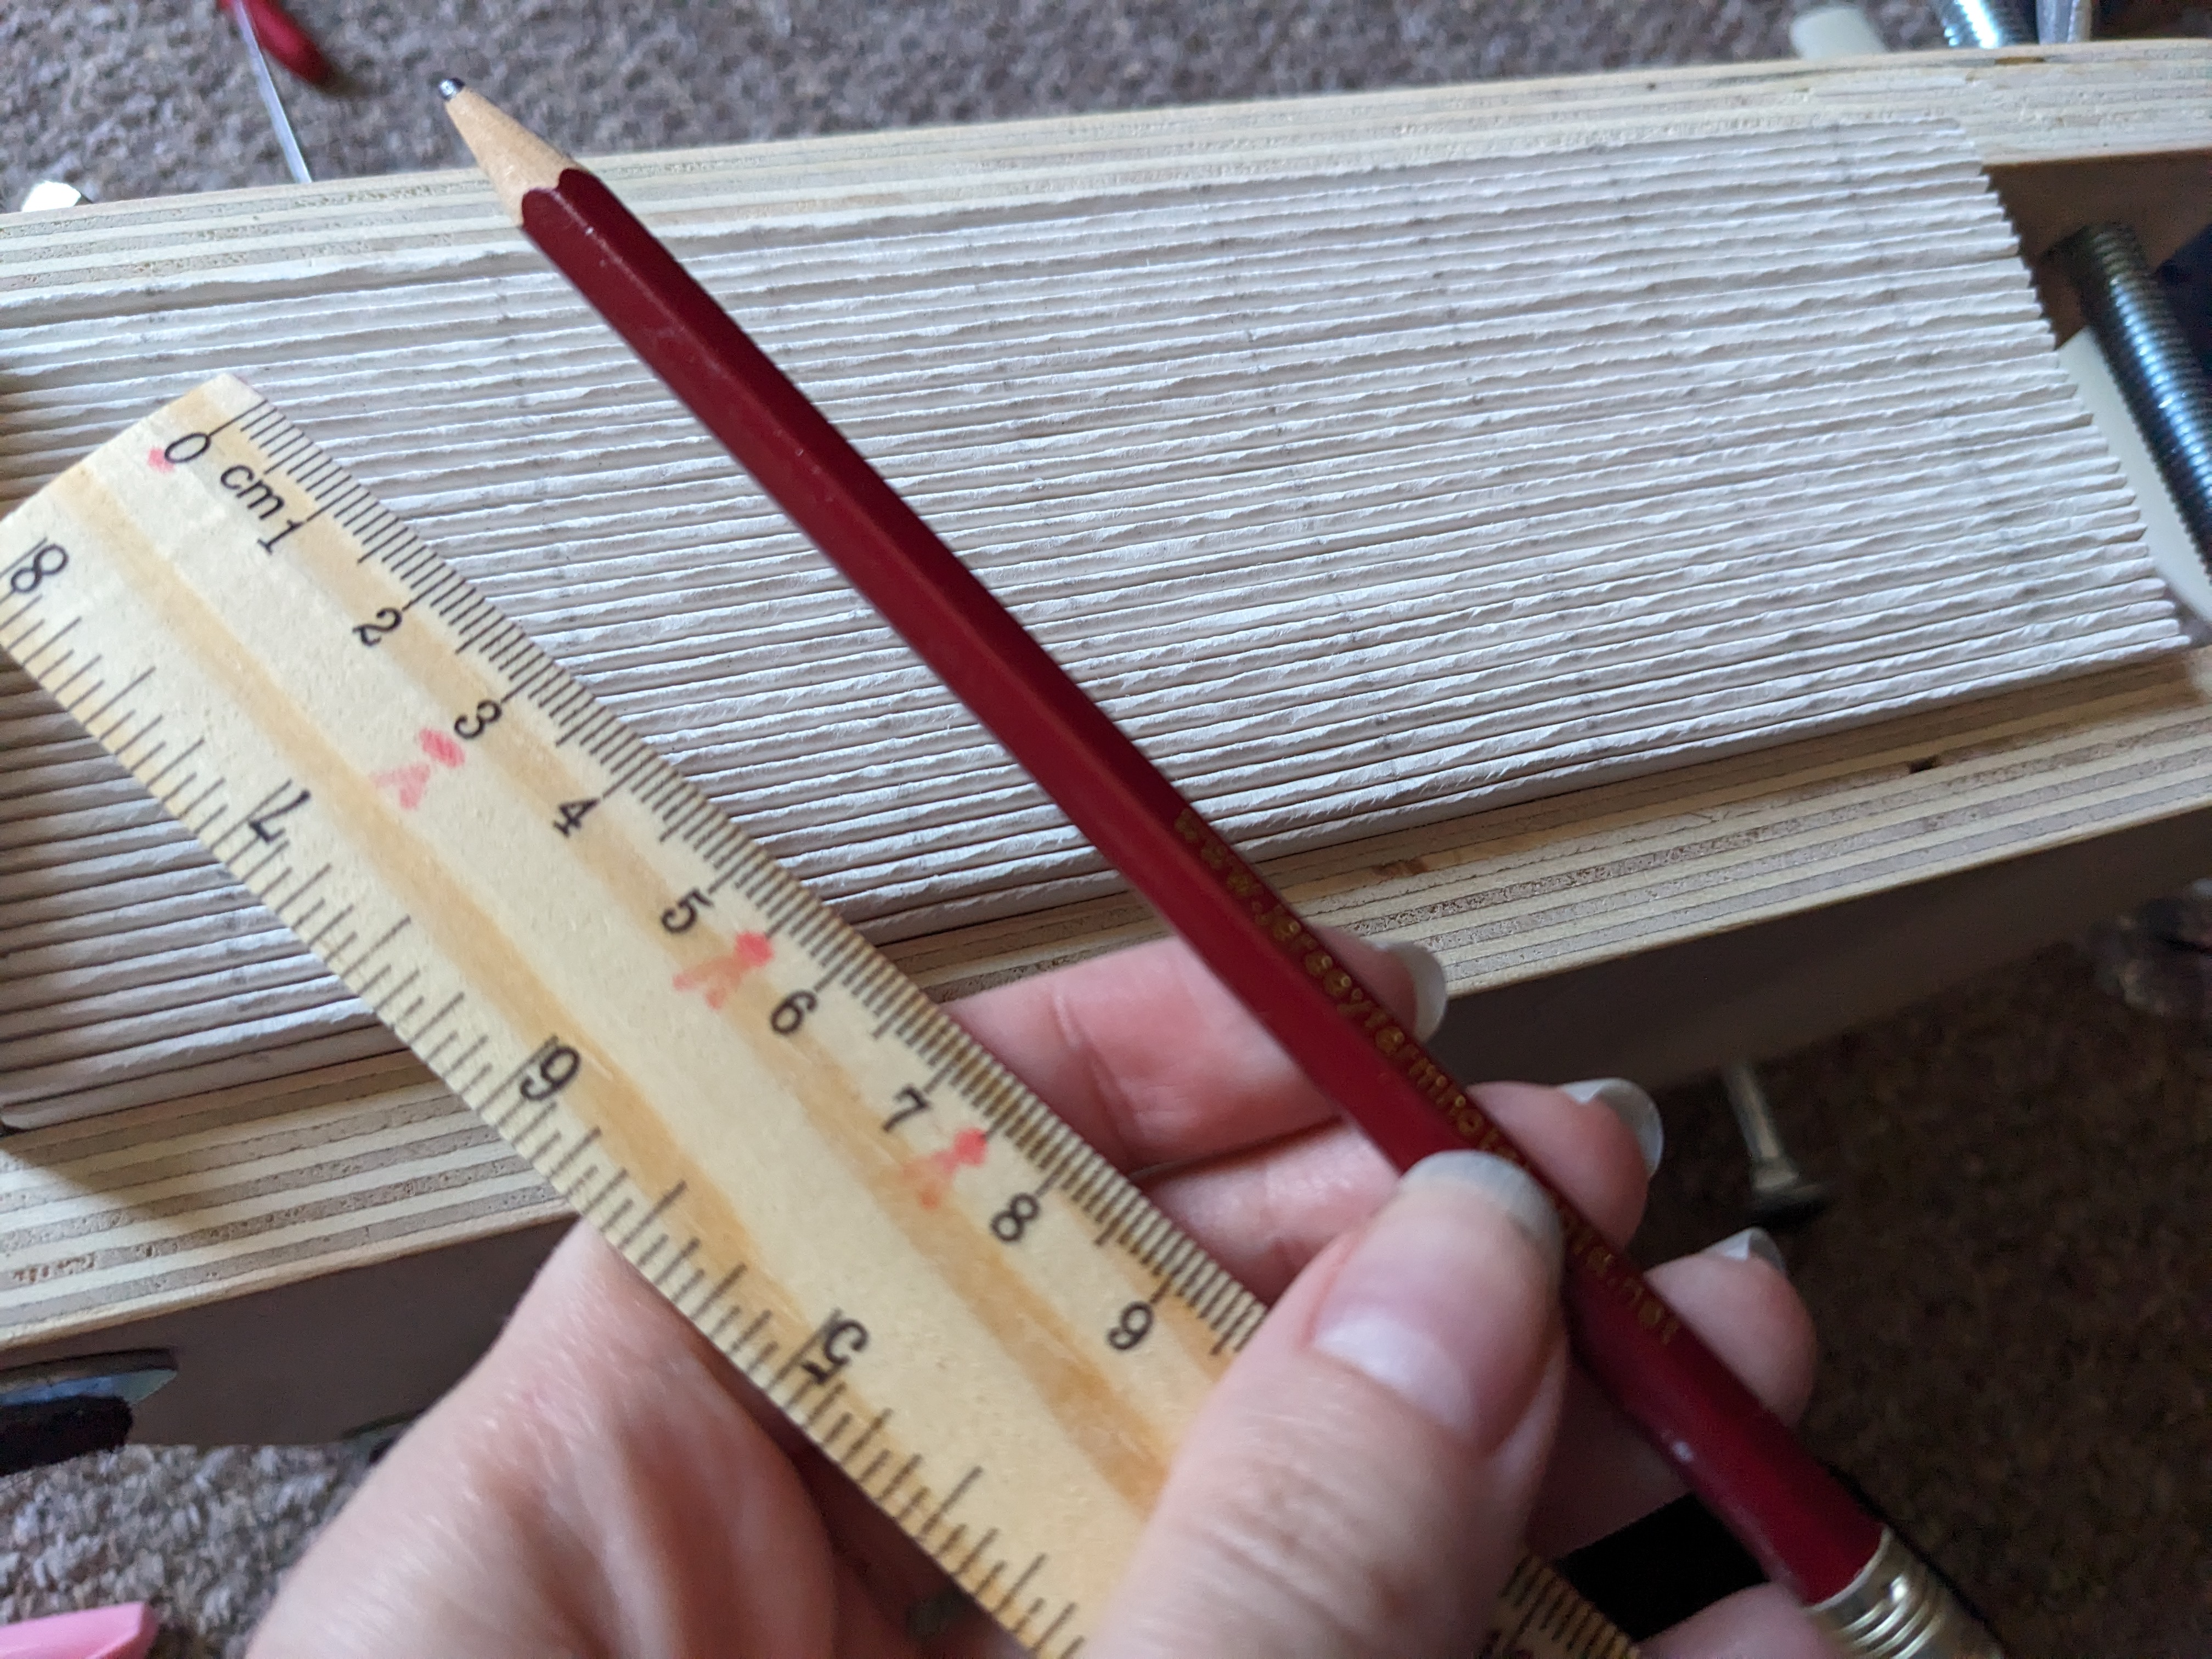
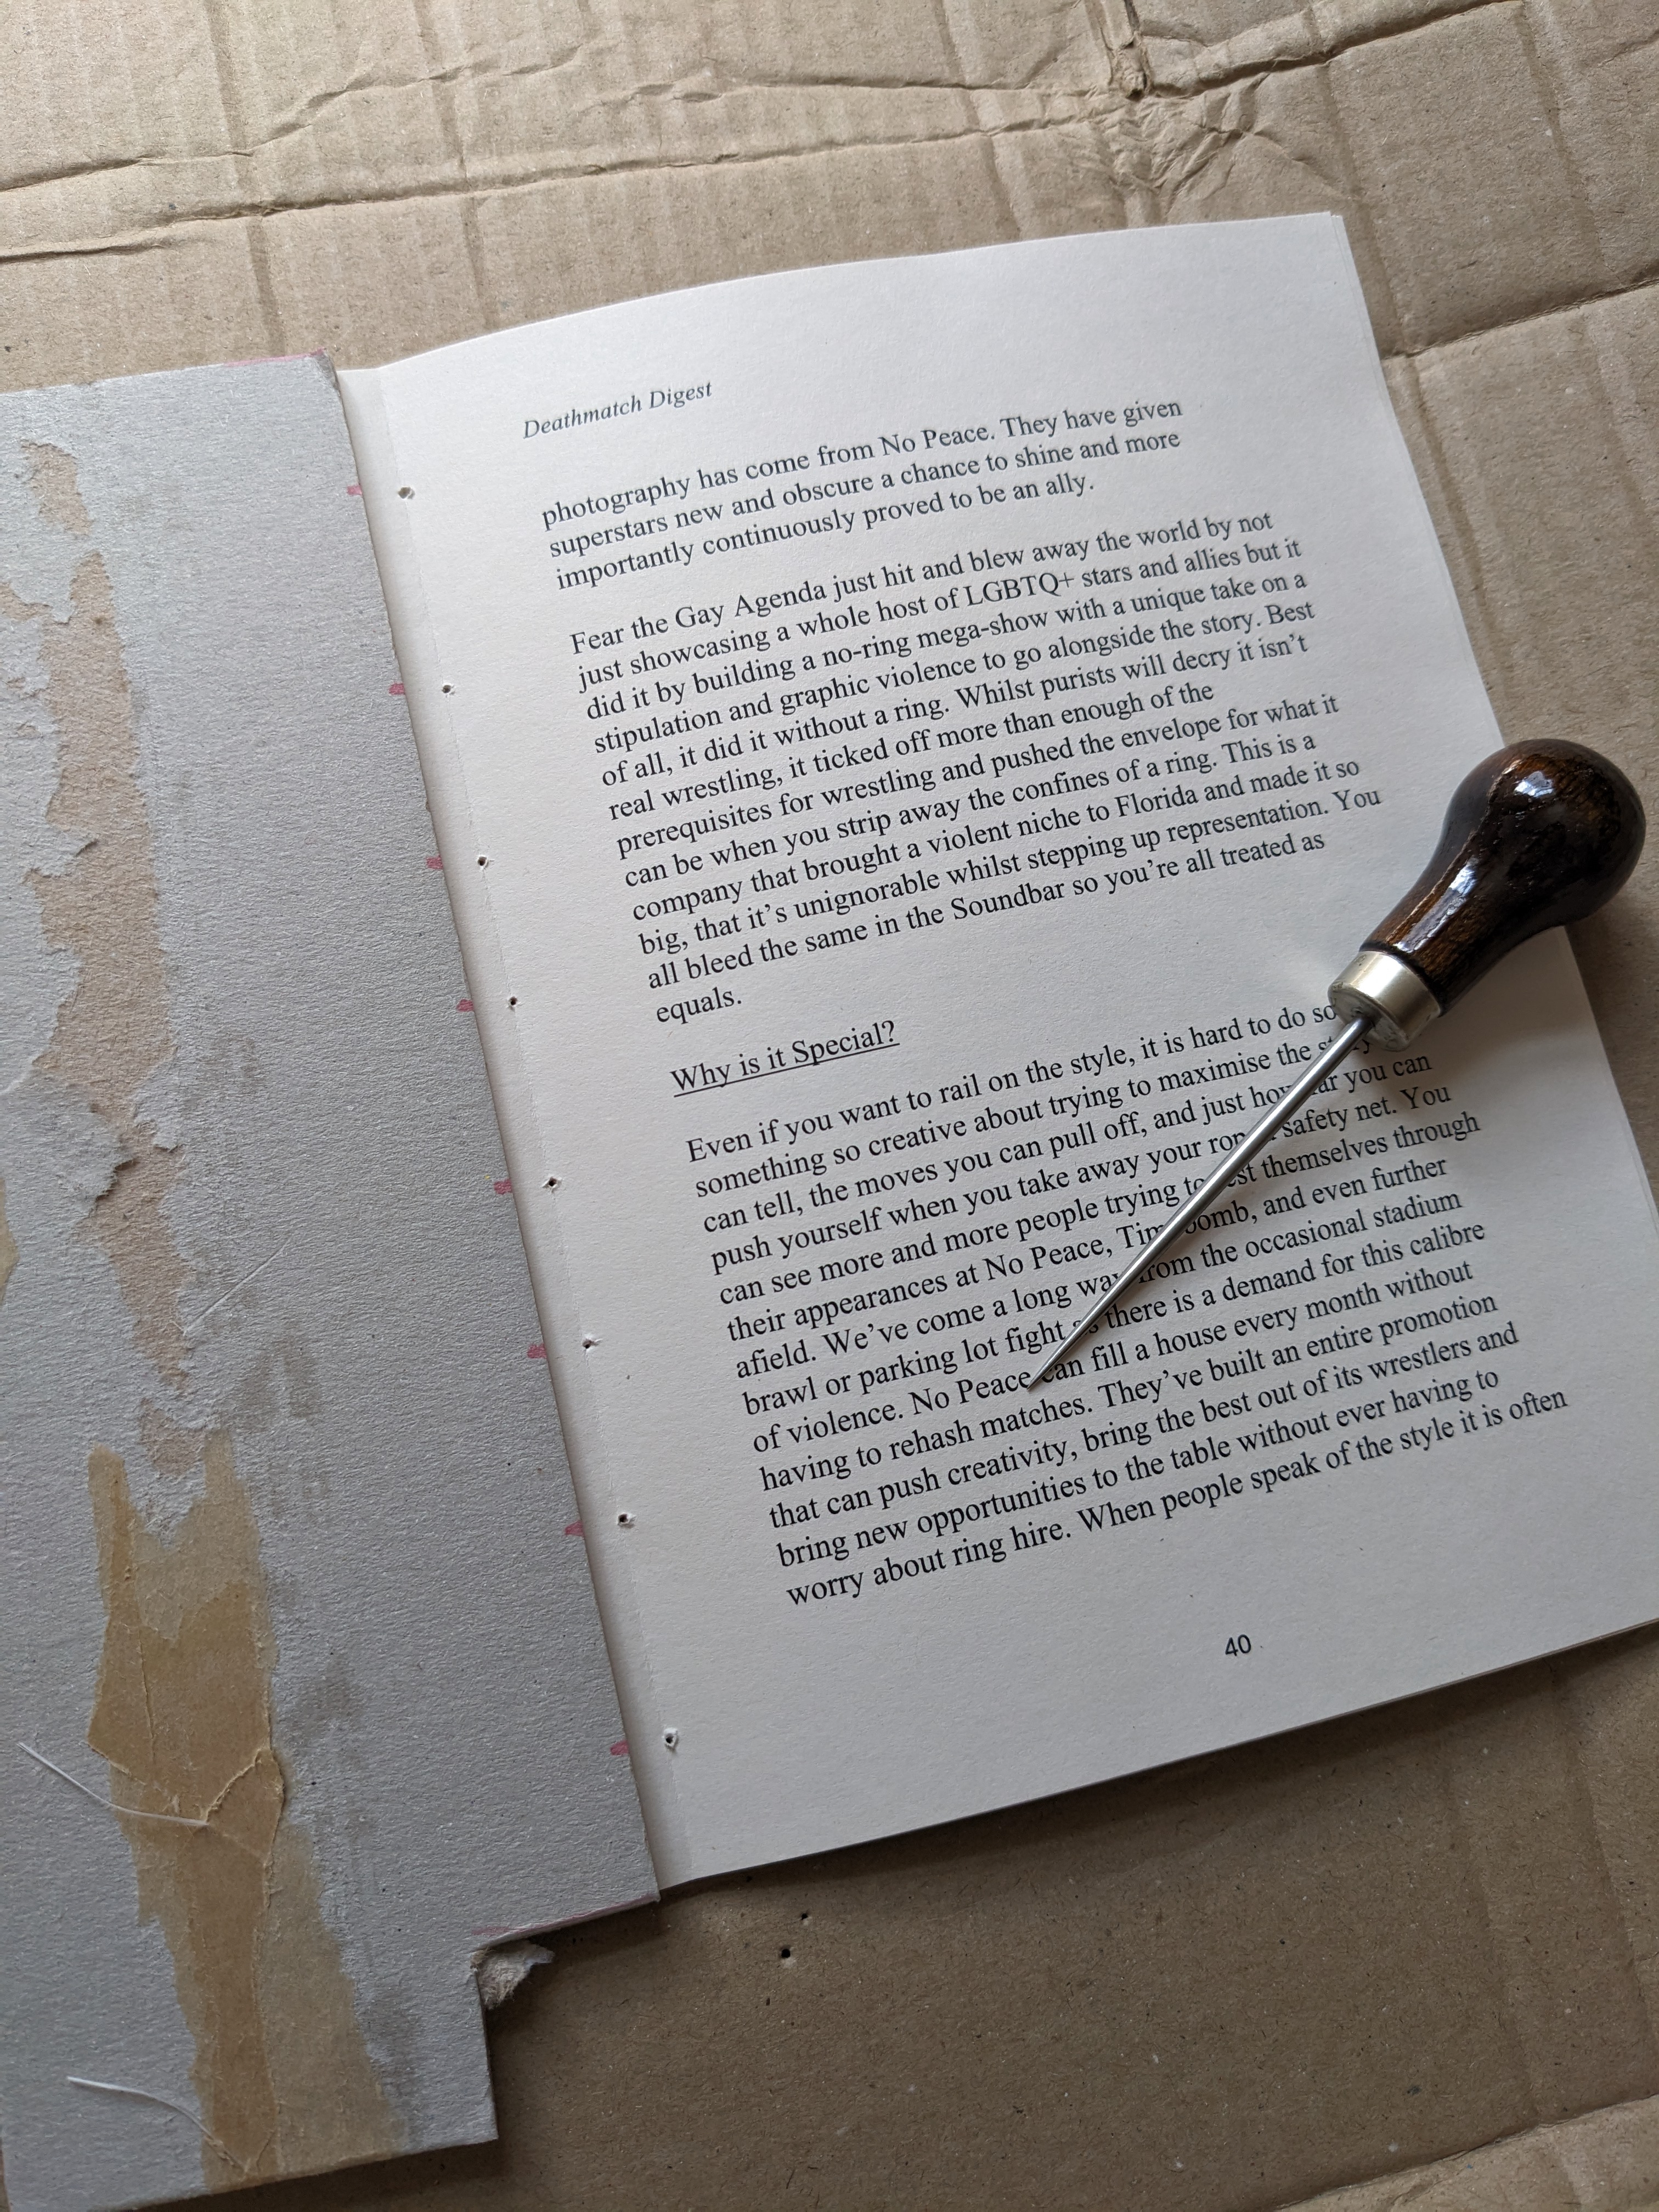
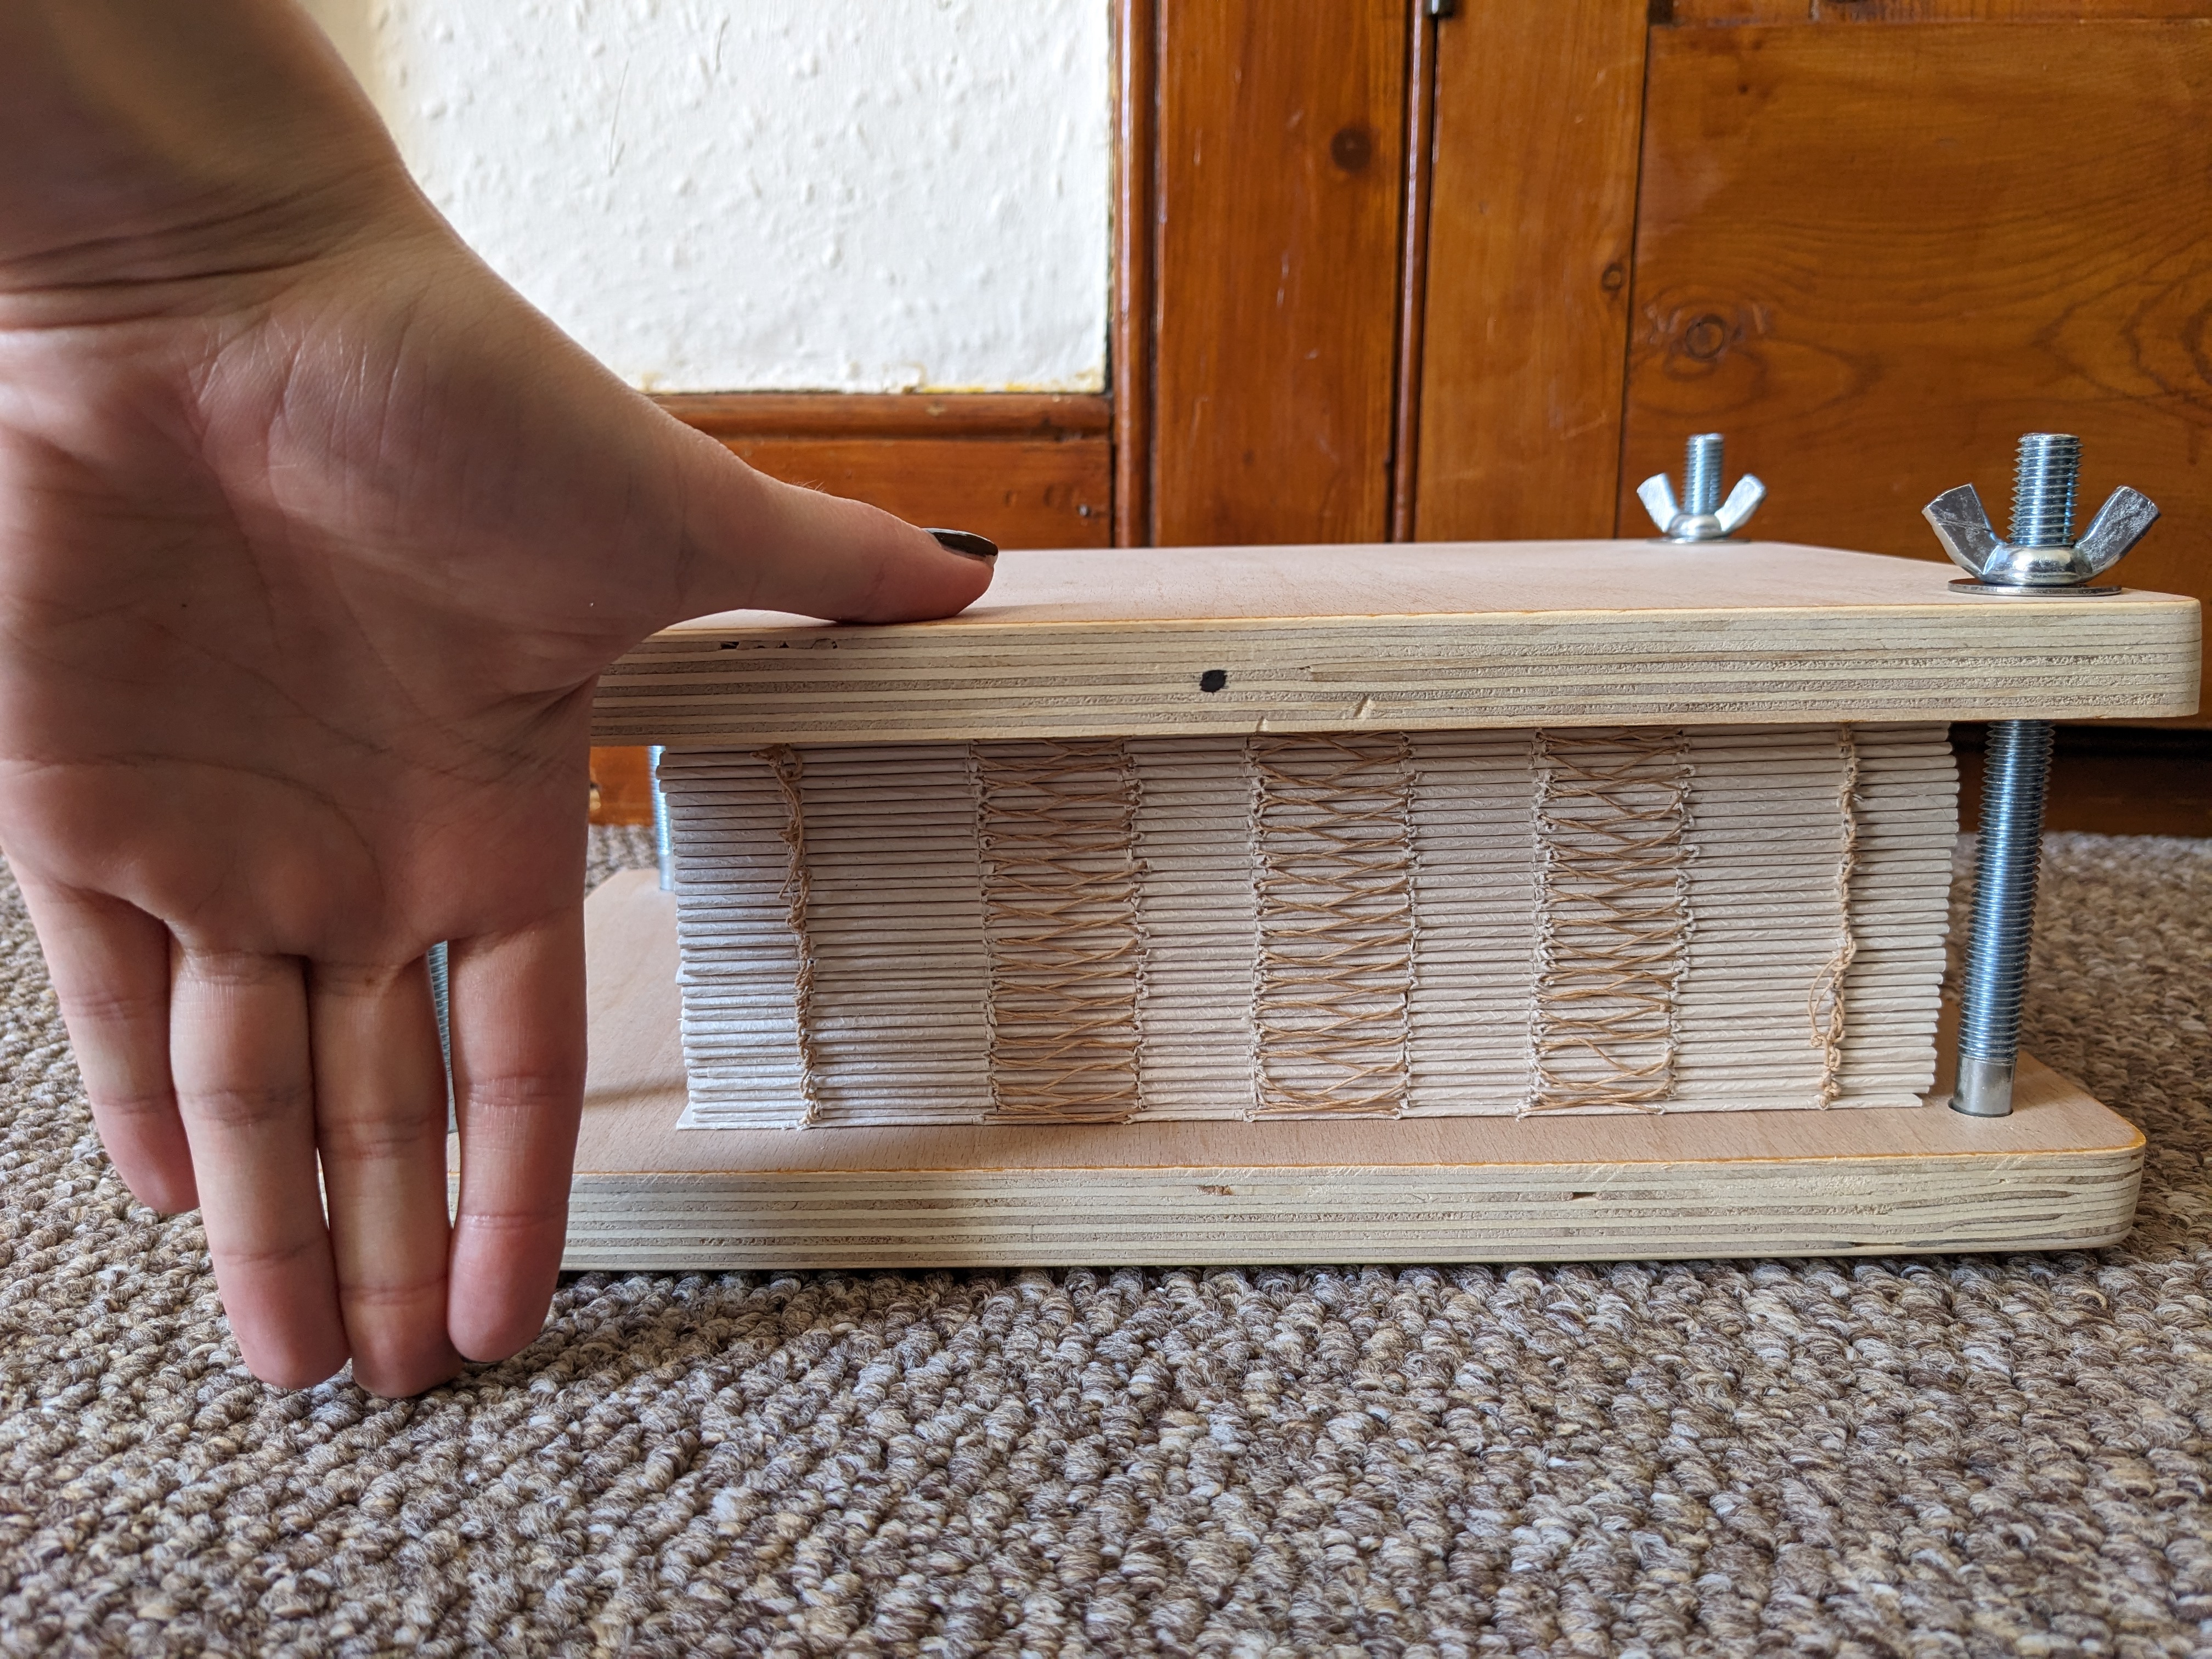
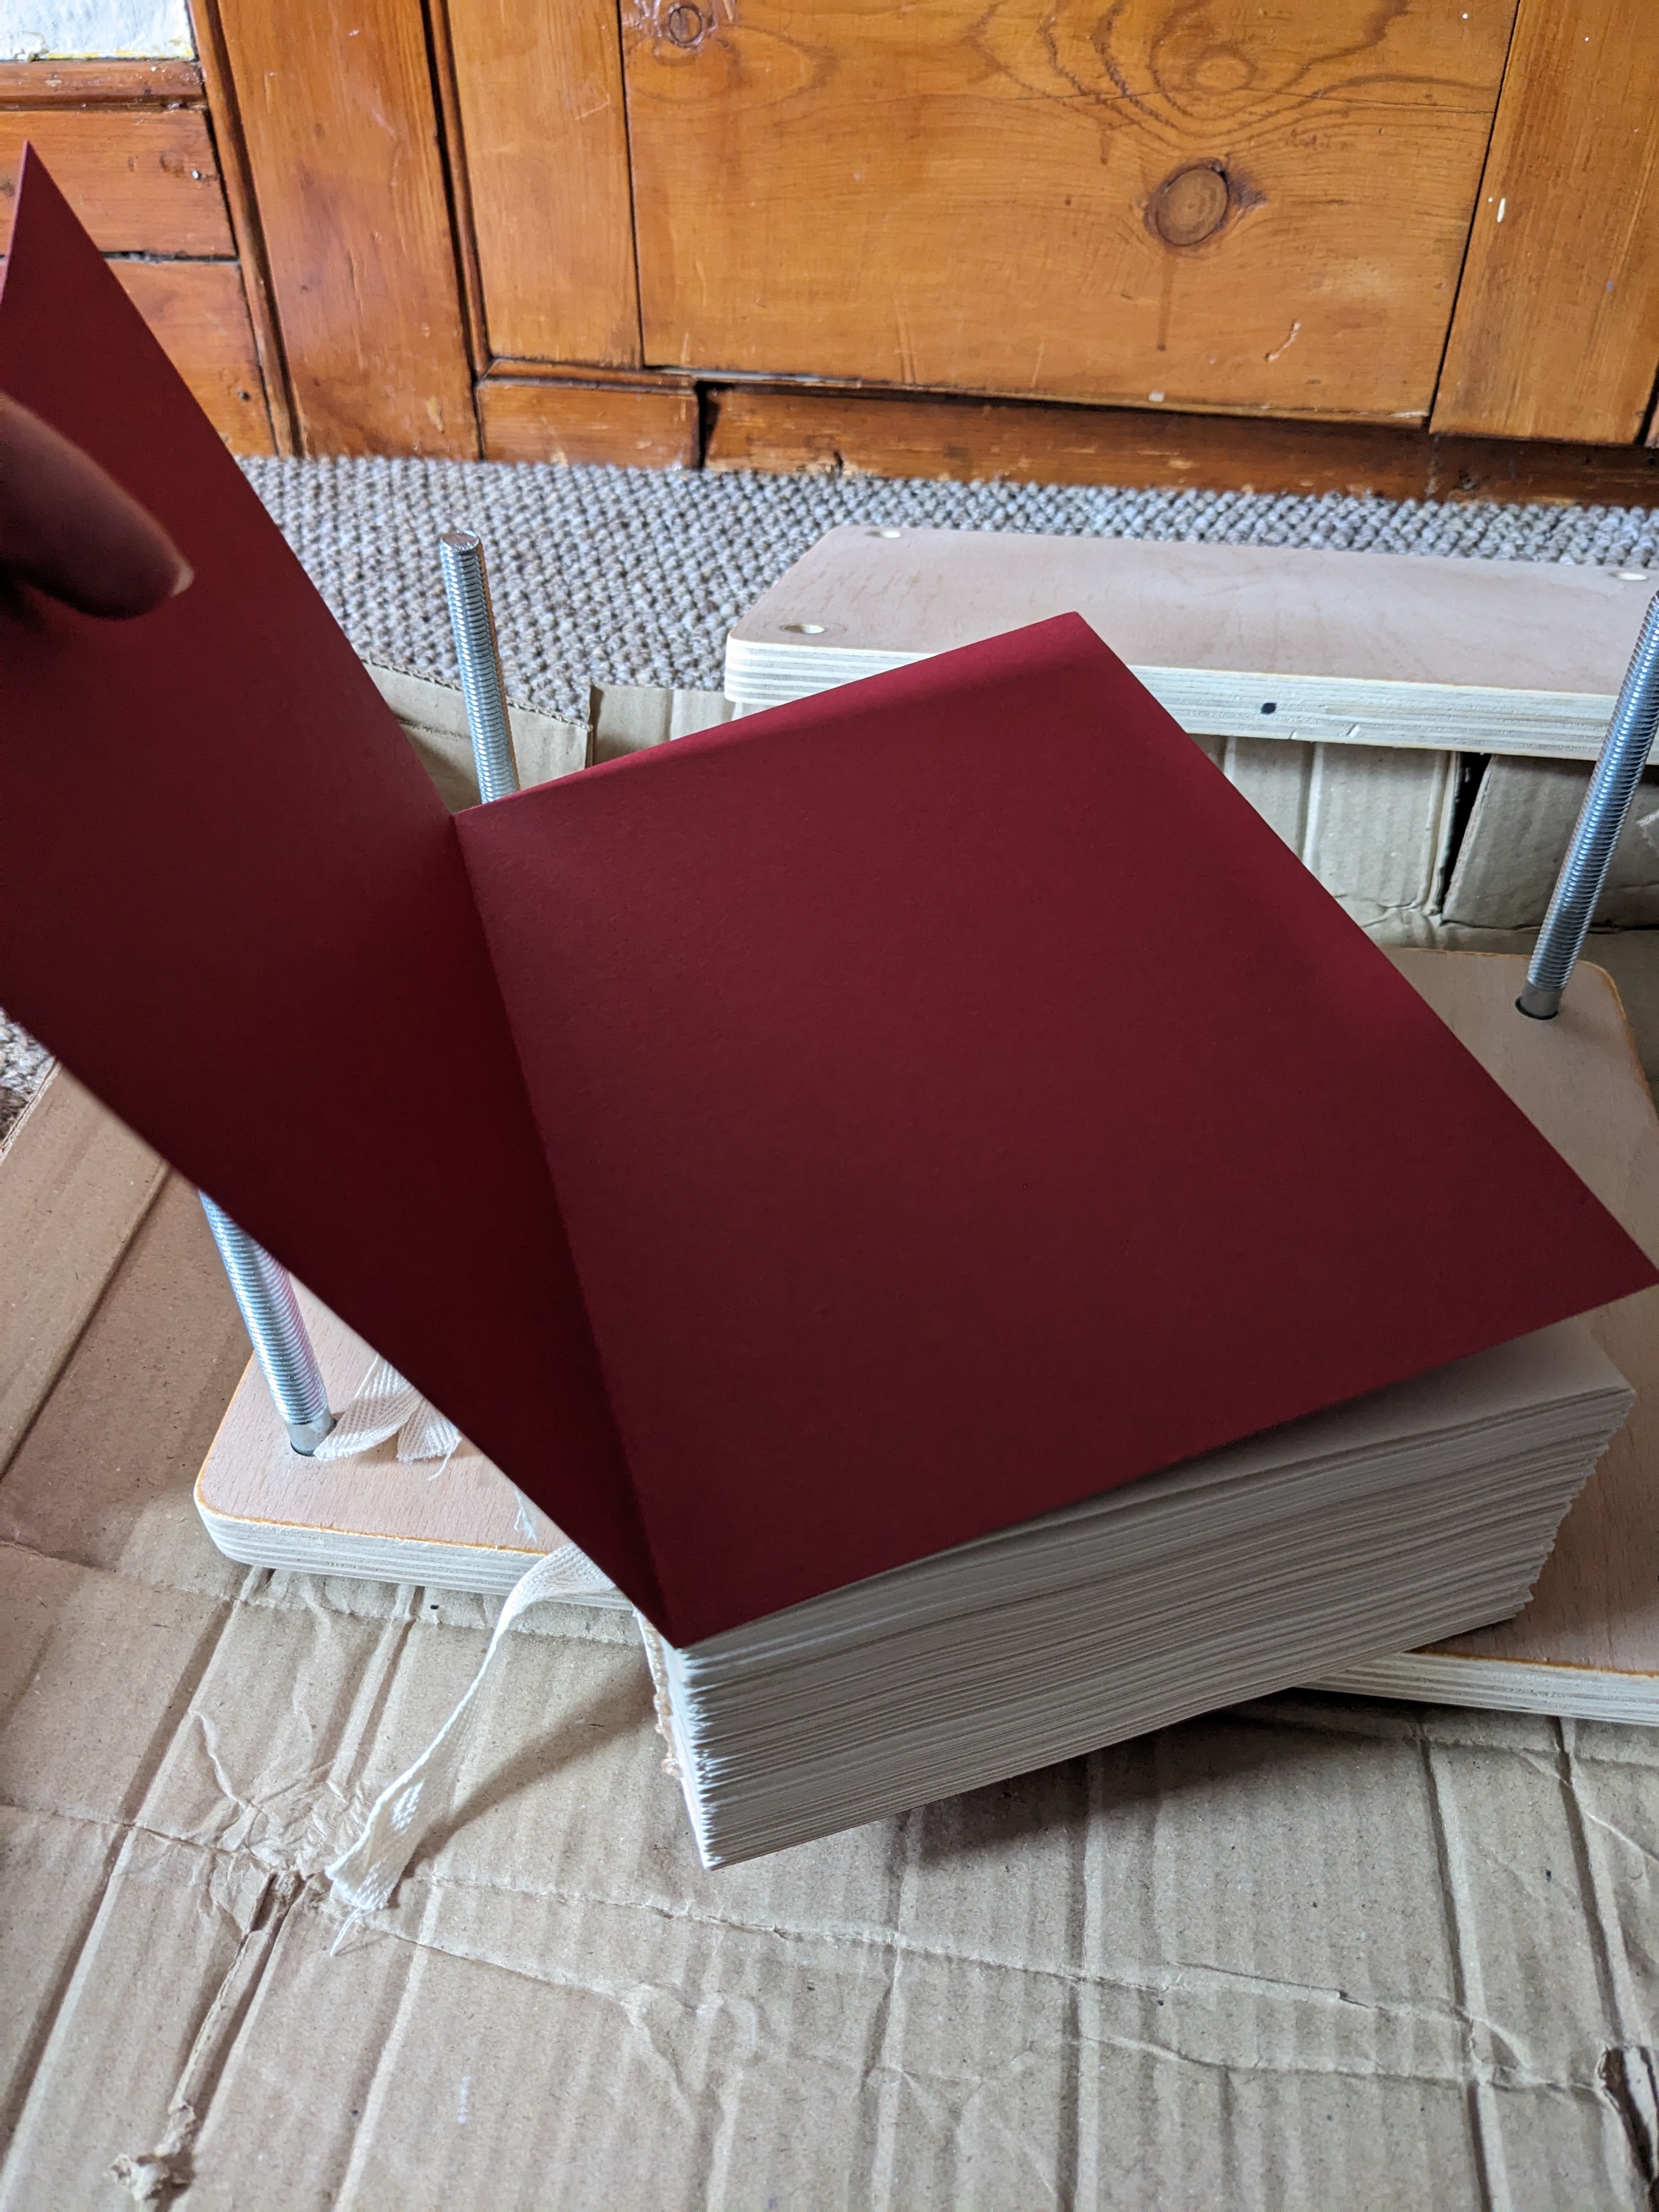
4. Mark and Poke Holes! First, decide which sort of stitch you want to use and decide on hole number/ spacing. You can push your signatures slightly outside the press but keep them held like a vice which may make the marking step easier (my text block is shown like this in the images below). Hole spacing will depend on a few factors such as book type, book size, etc. Map out your holes (for sewing) using a pencil, then remove the signatures from your press and poke through each signature on the marked dots to create a pattern for your needle to follow when you sew them together. Some people use a device called a hole-poking guide (looks a bit like a ruler with holes which you can poke an awl or similar tool through). I just measured and drew mine on manually using a random bit of straight cardboard, then poked with my awl.
5. Press (Again)! Put it all back in the press once your holes are done. Keep it pressing for a little while again to get the pages compressed again. You can decide on the length of time, but if you're patient I do recommend leaving it about a week in the press (making sure to tighten where you can).
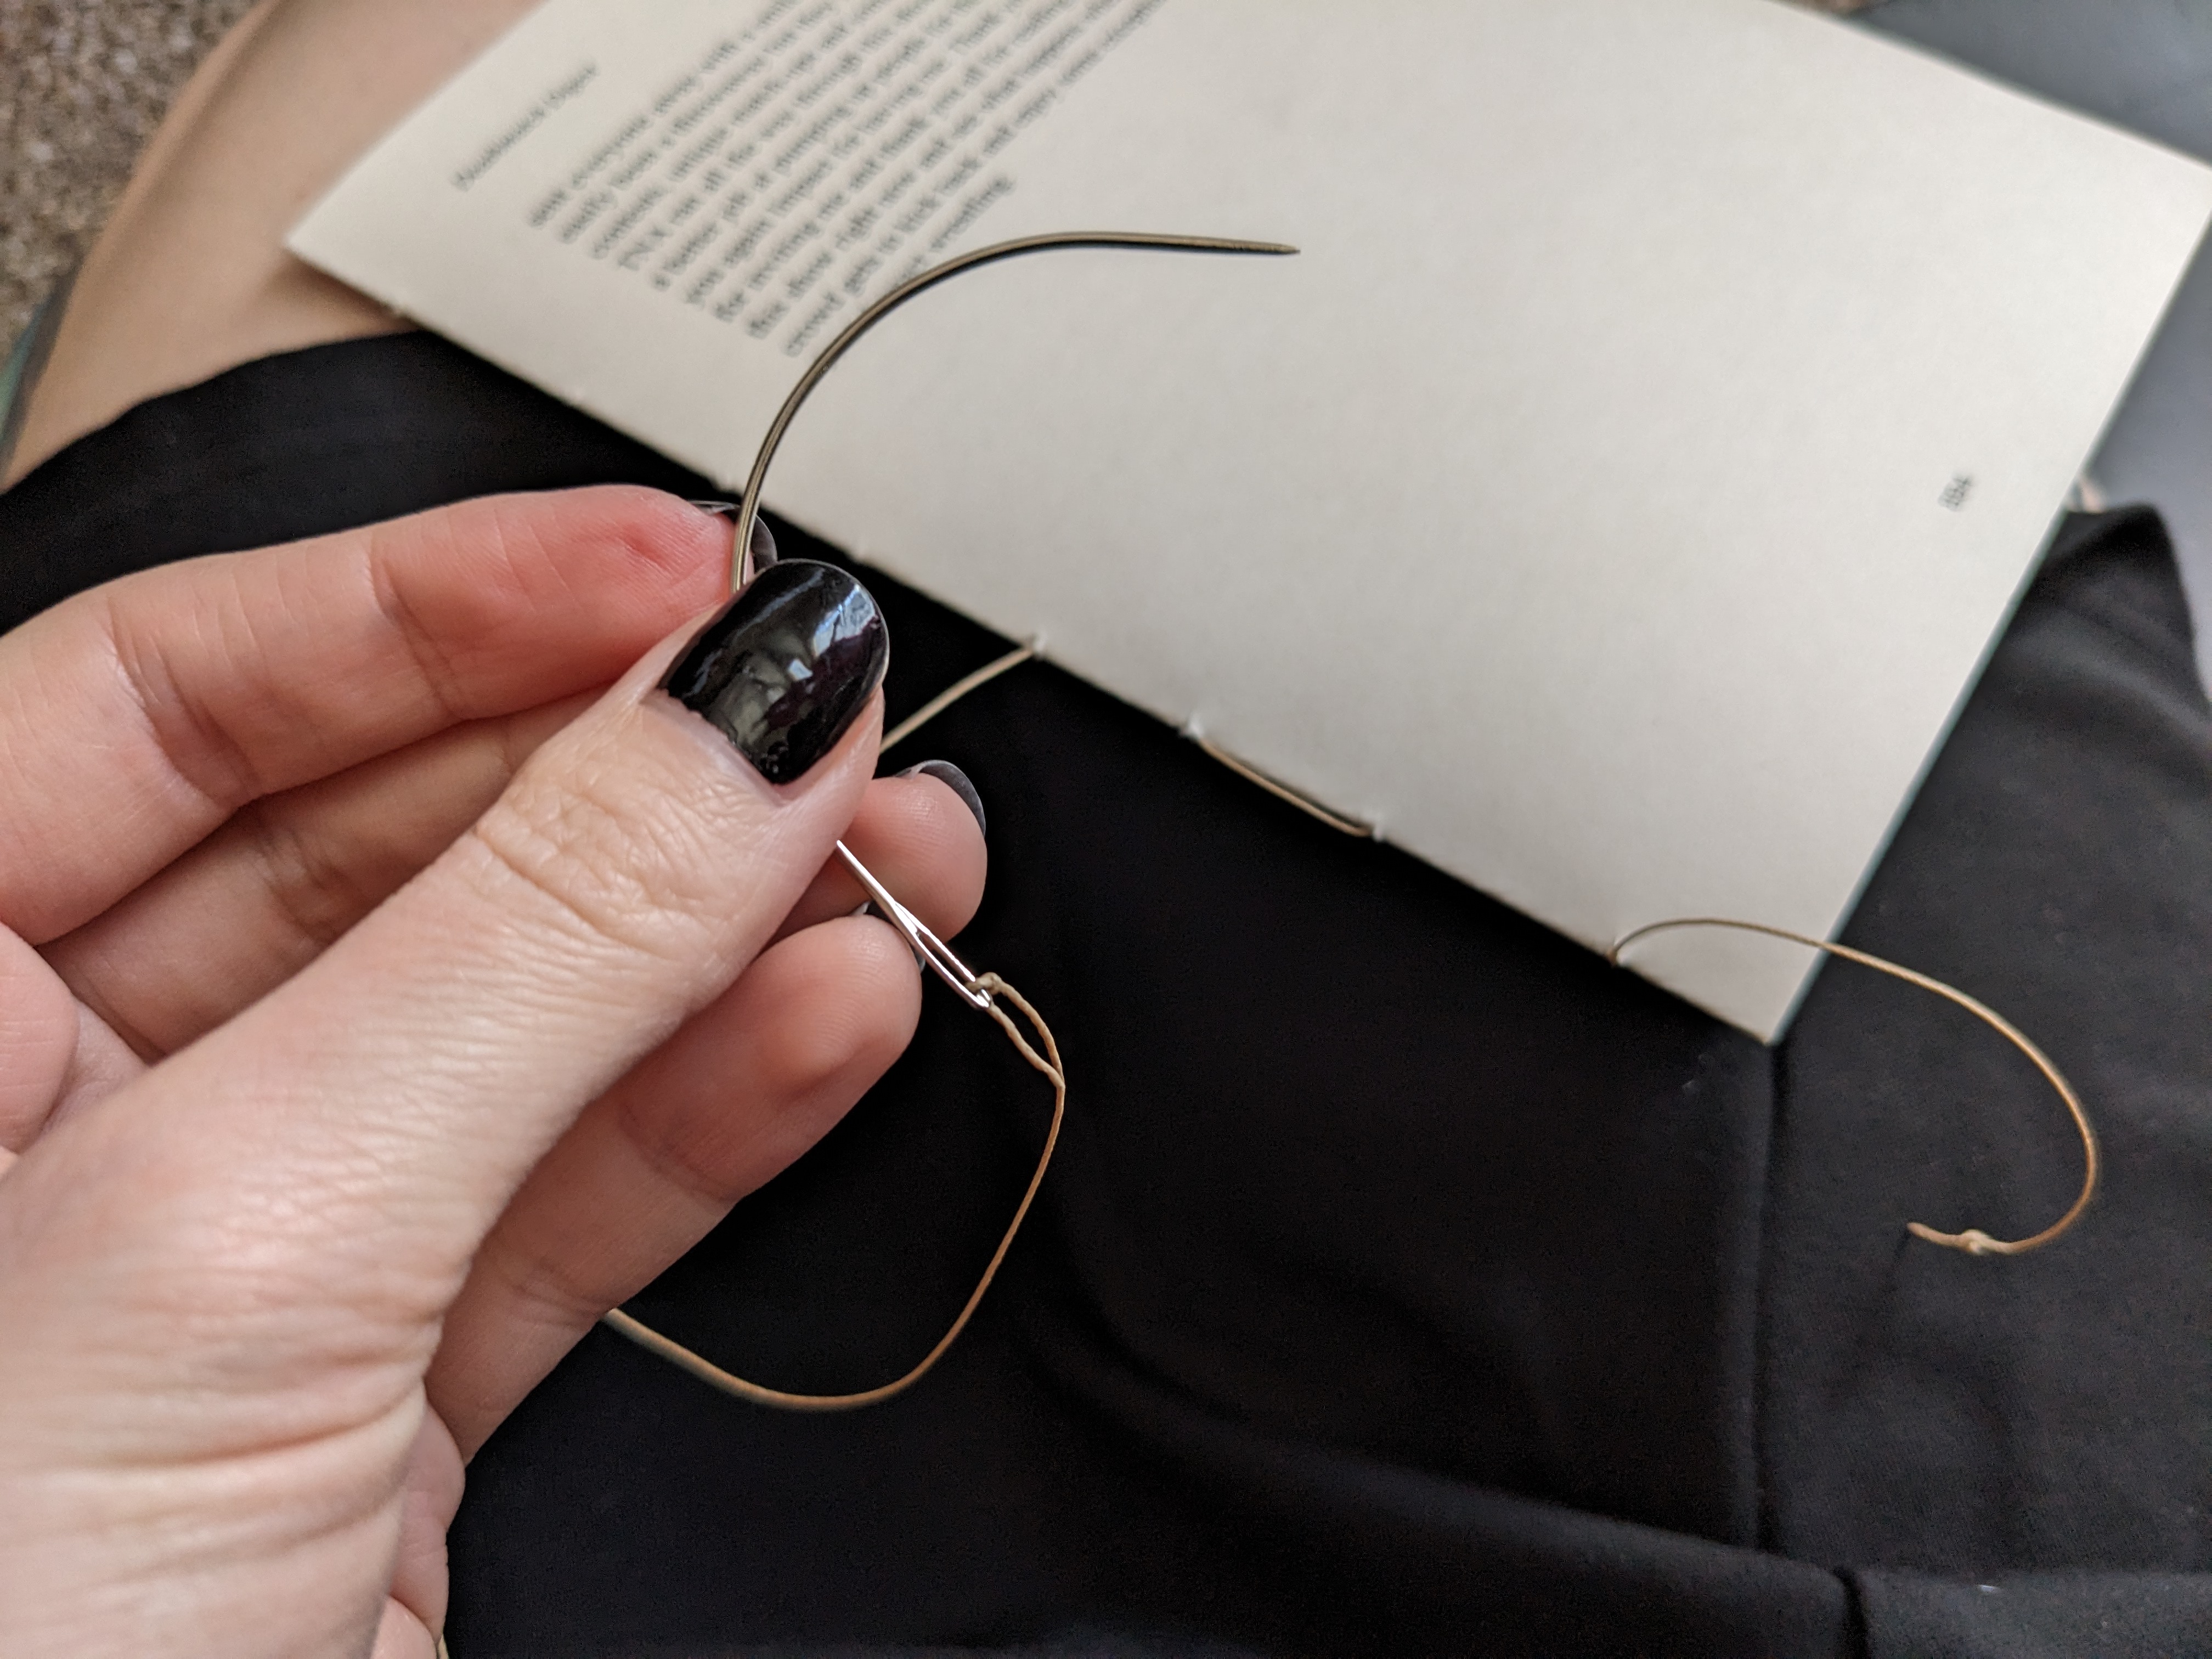
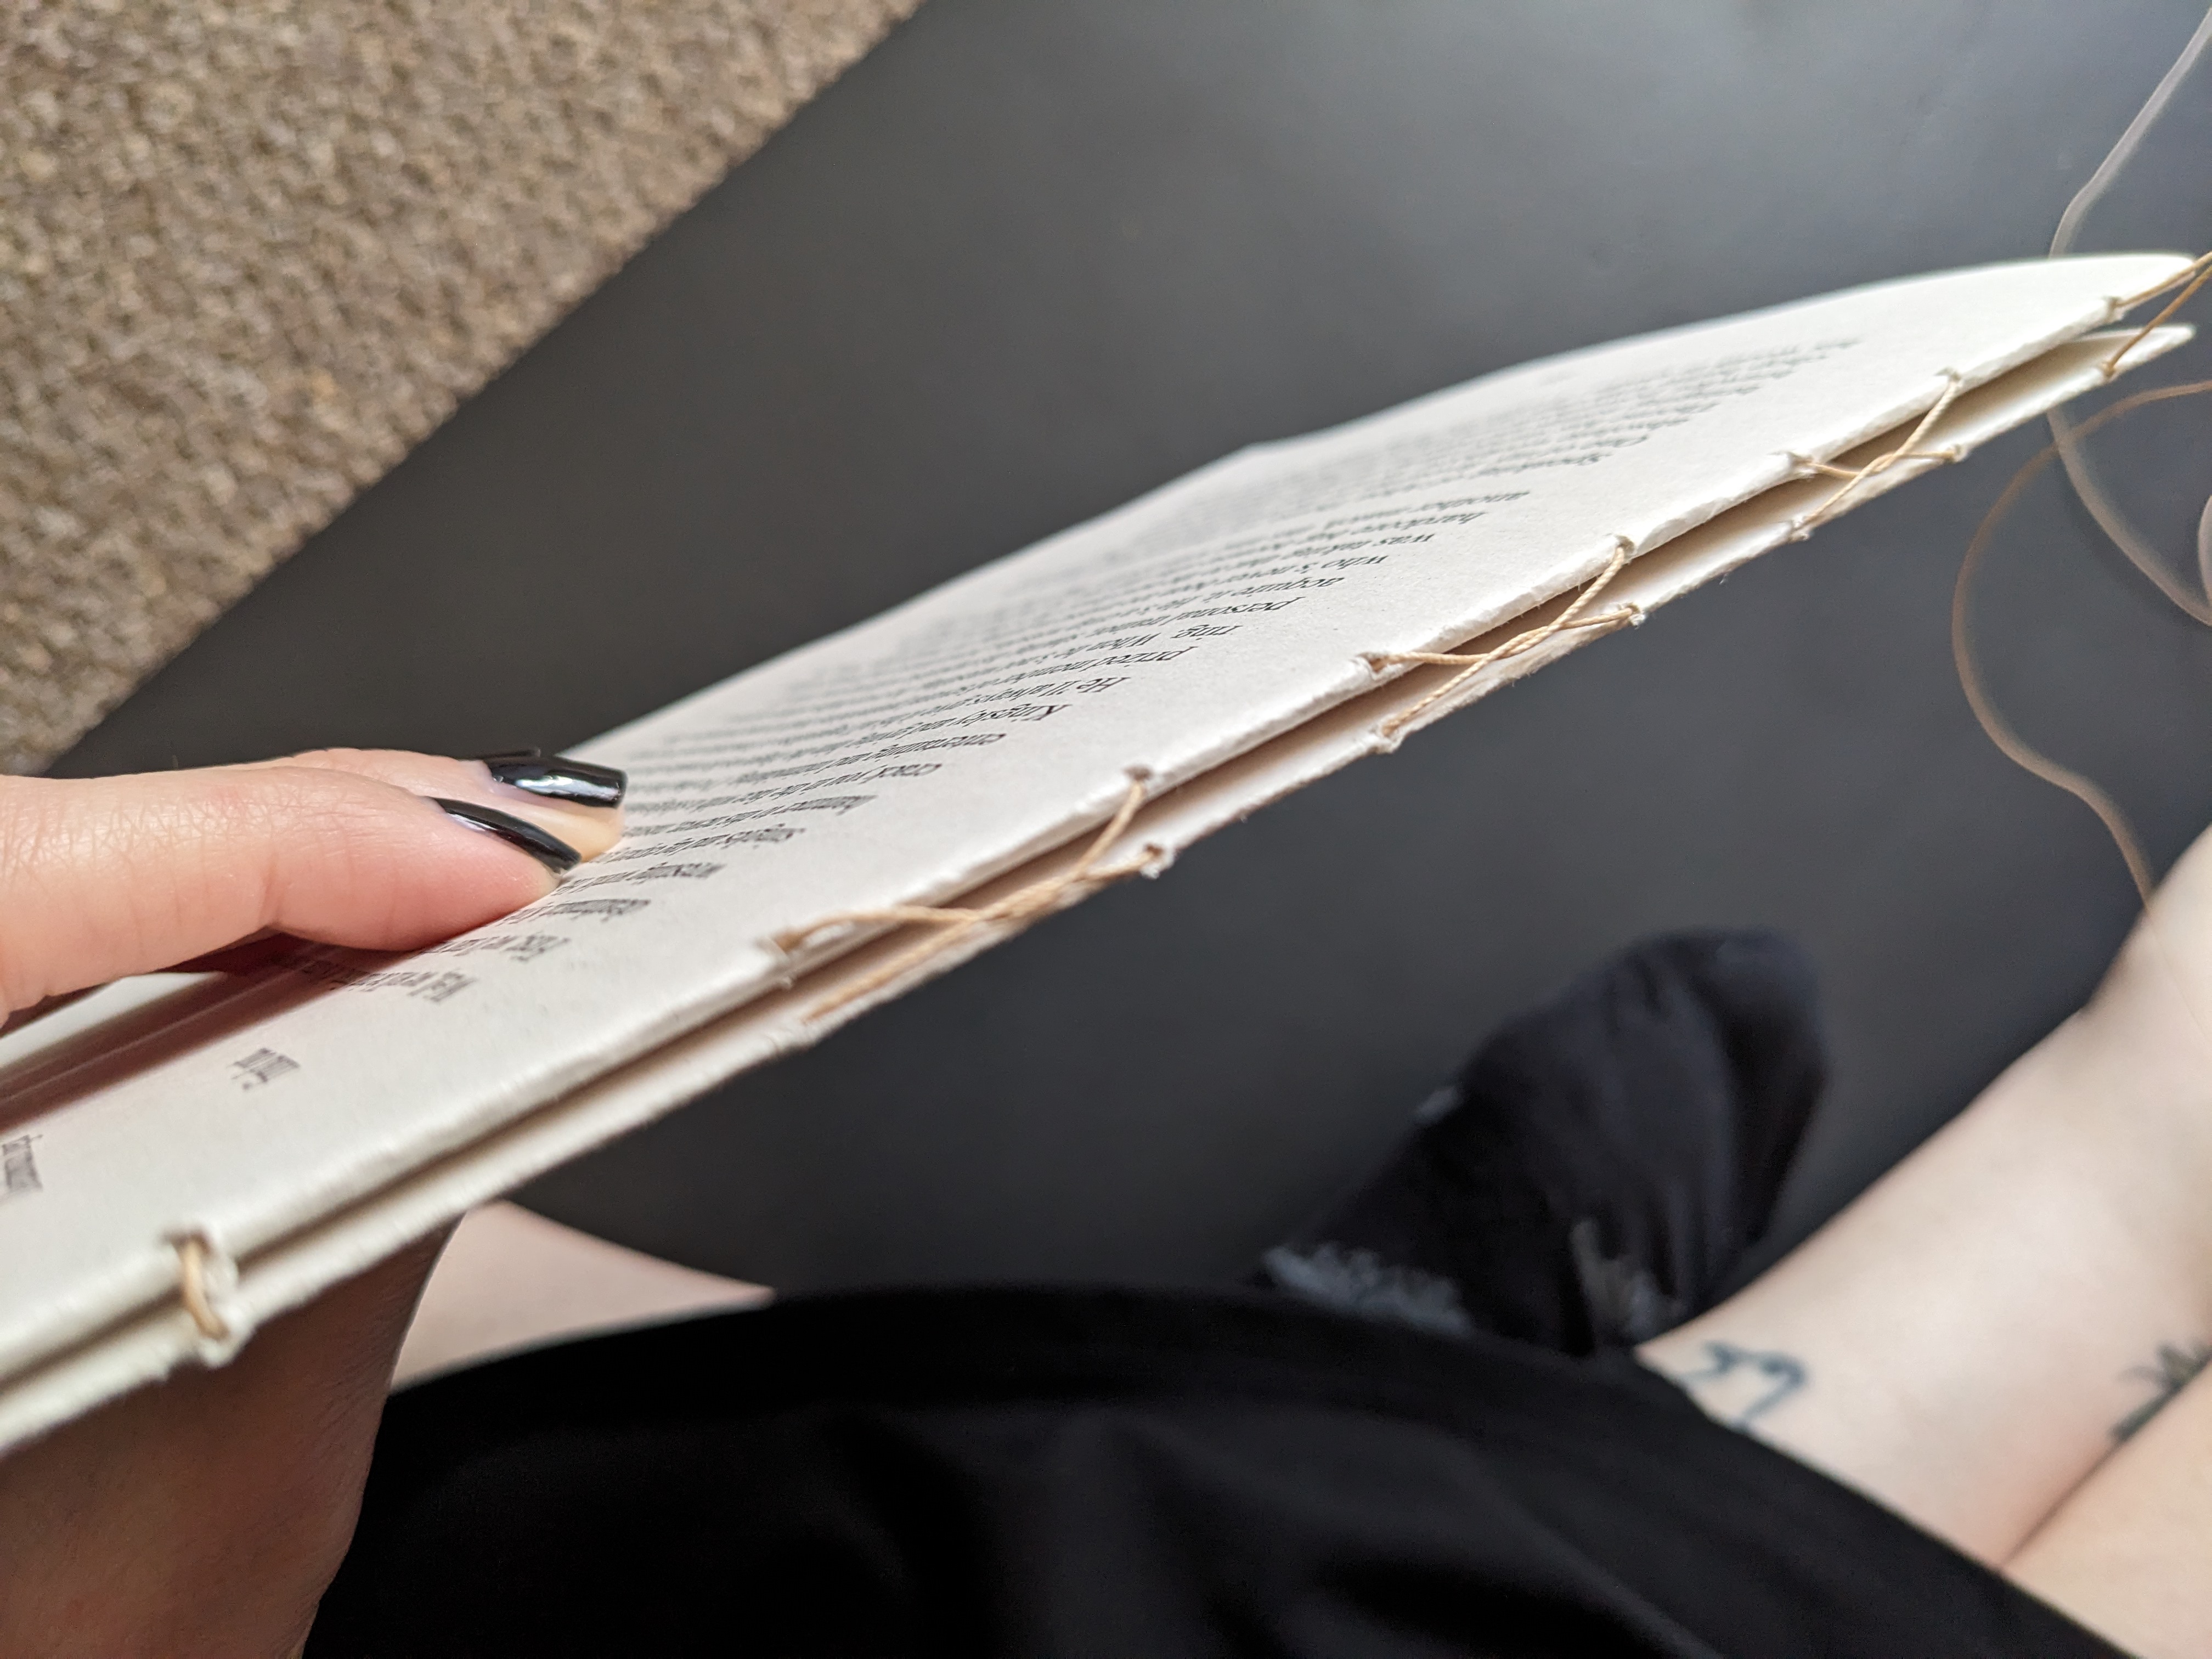
6. Stitching! Signature-by-signature, sew your book together. A curved needle and waxed thread are very useful here. Make sure to either stitch in your linen tapes (or leave a slight bit of room in the stitching to thread these through later). I used 'French Link' stitch for my monstrously big book and followed an amazing guidance video by the YouTube channel 'Sea Lemon':
Watch their video here!
7. Press (Again Again)! You know the drill. Press it for a while!
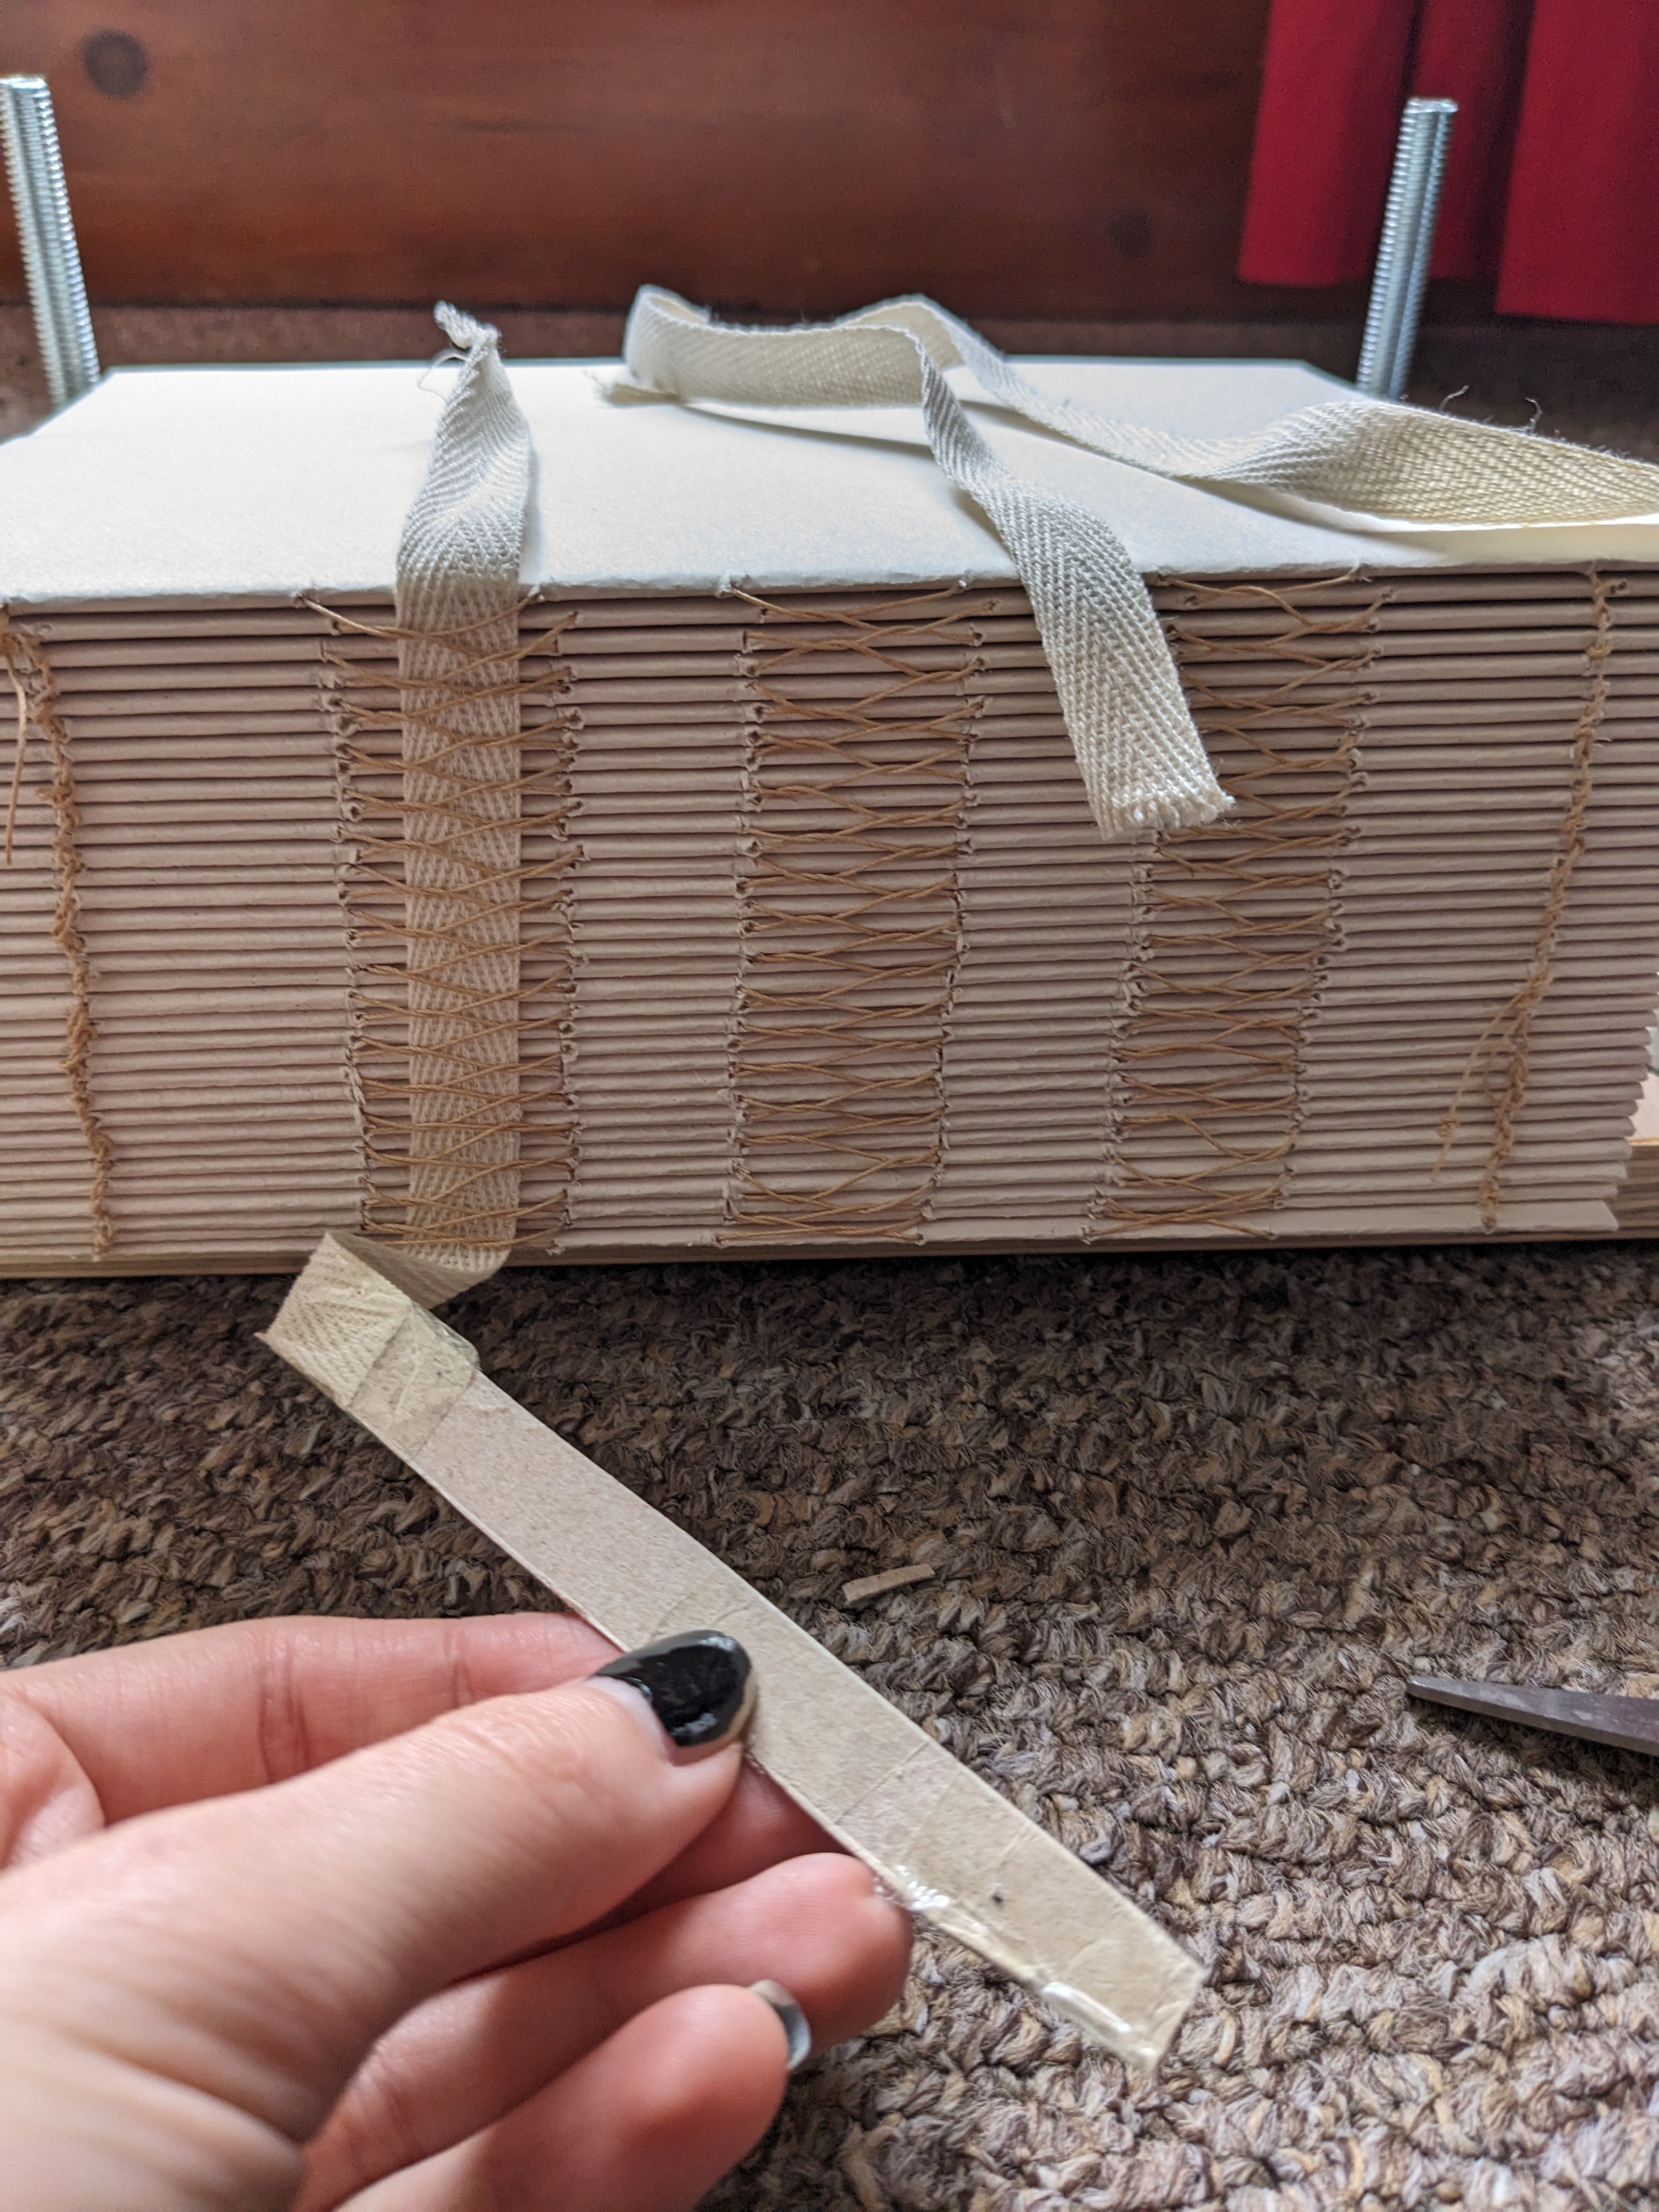
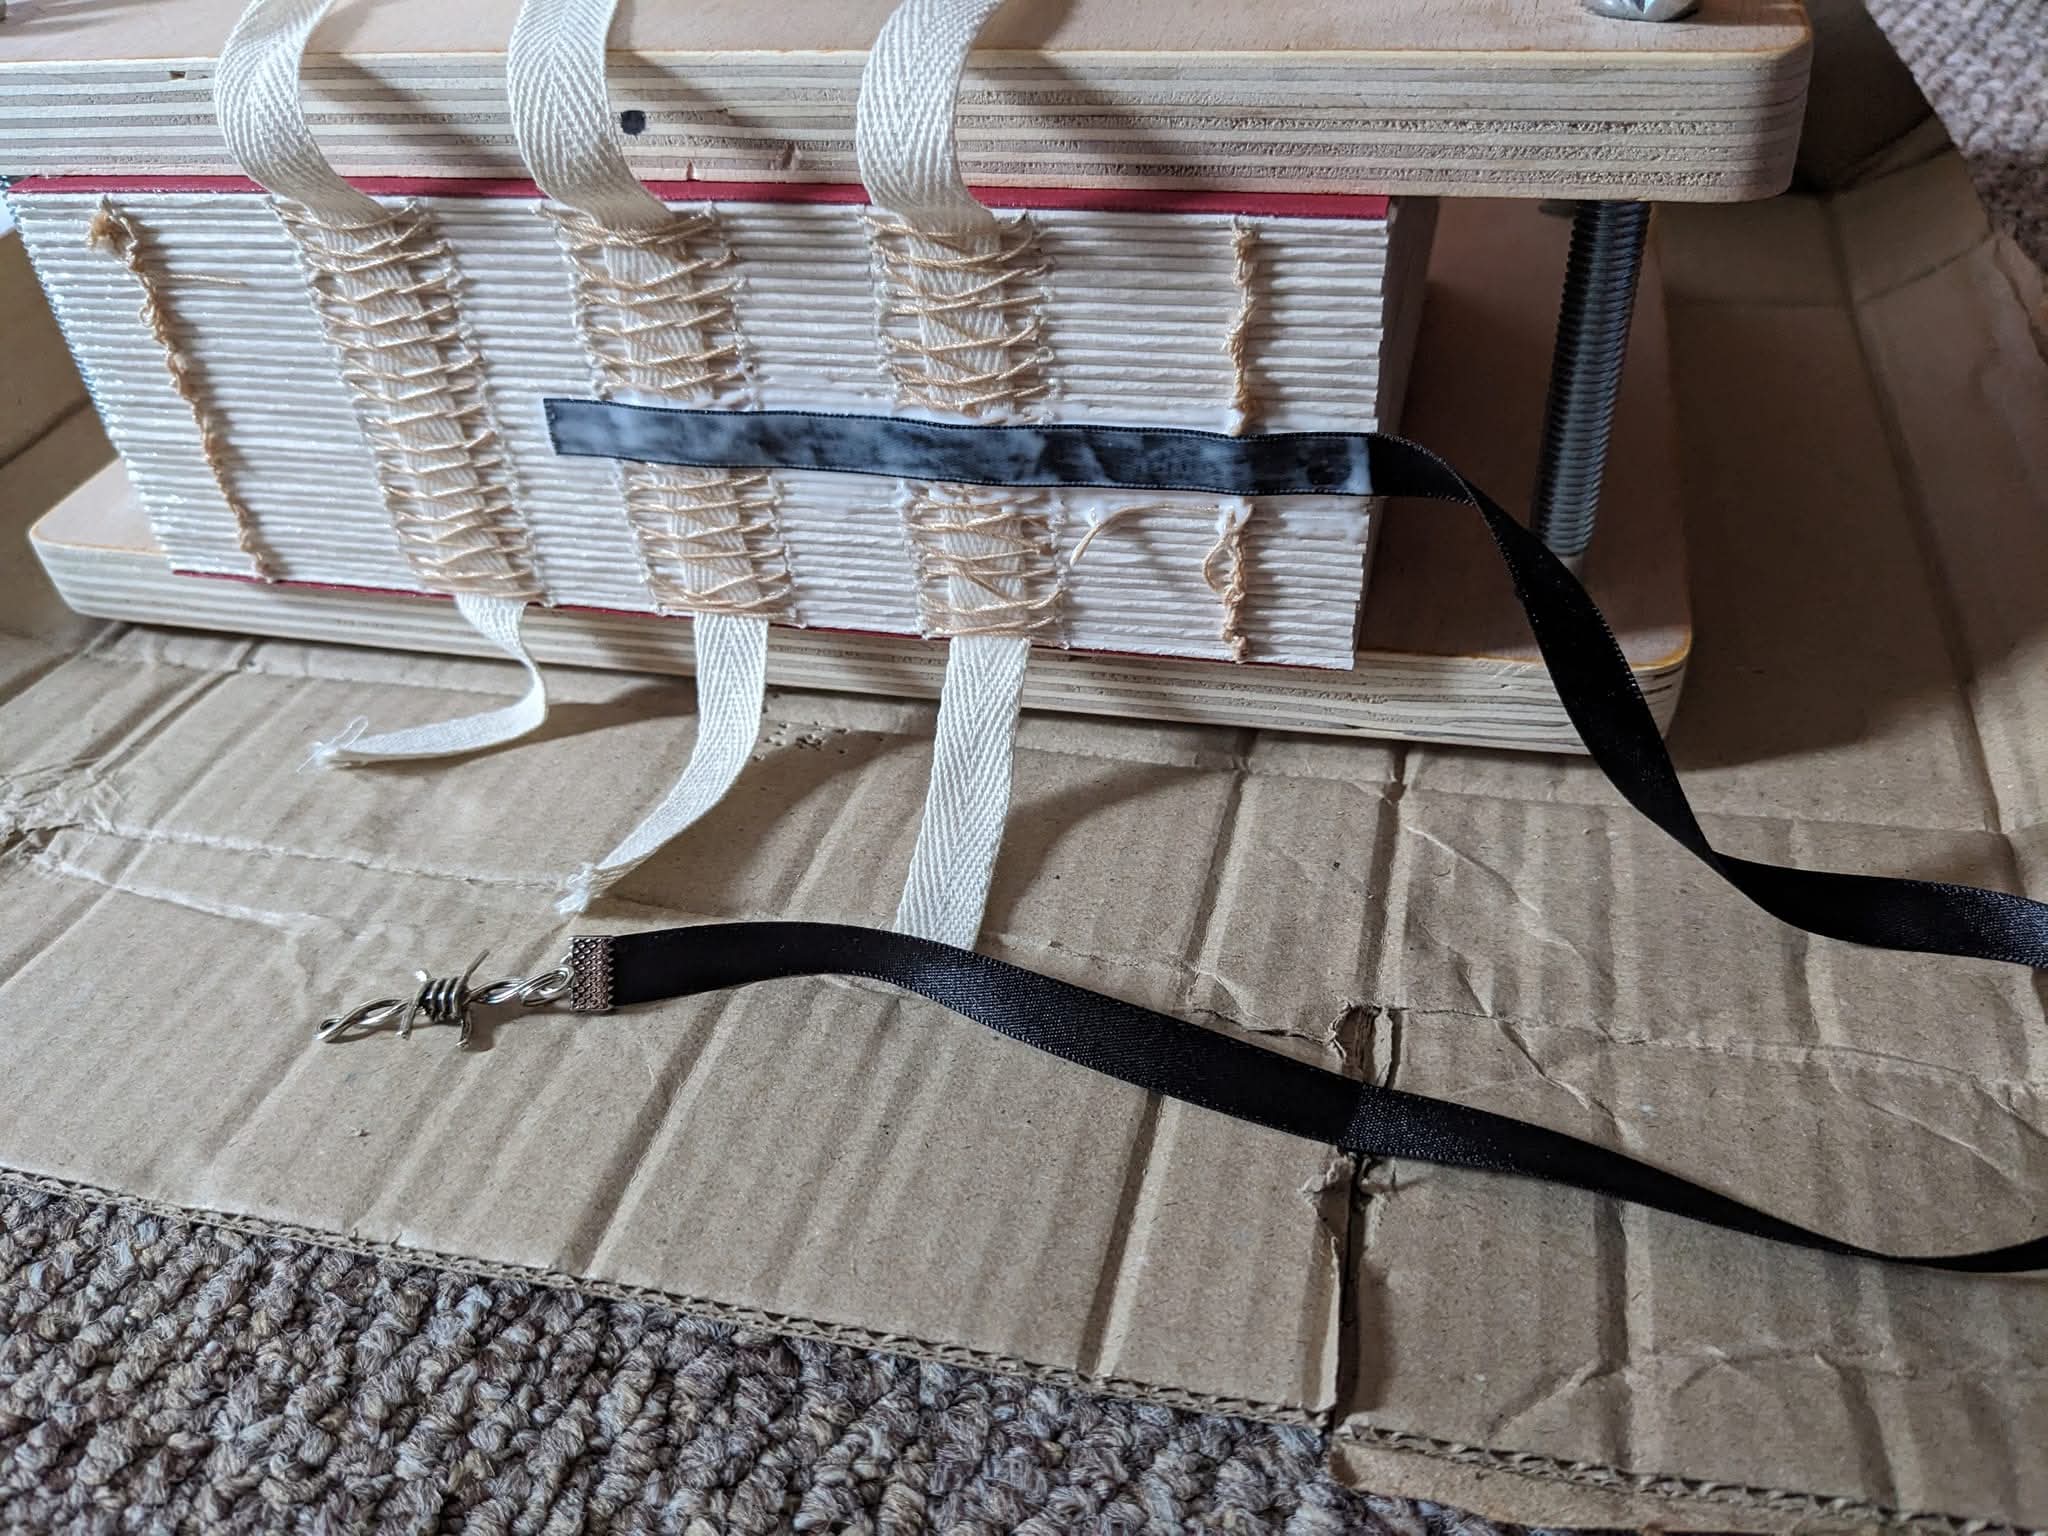
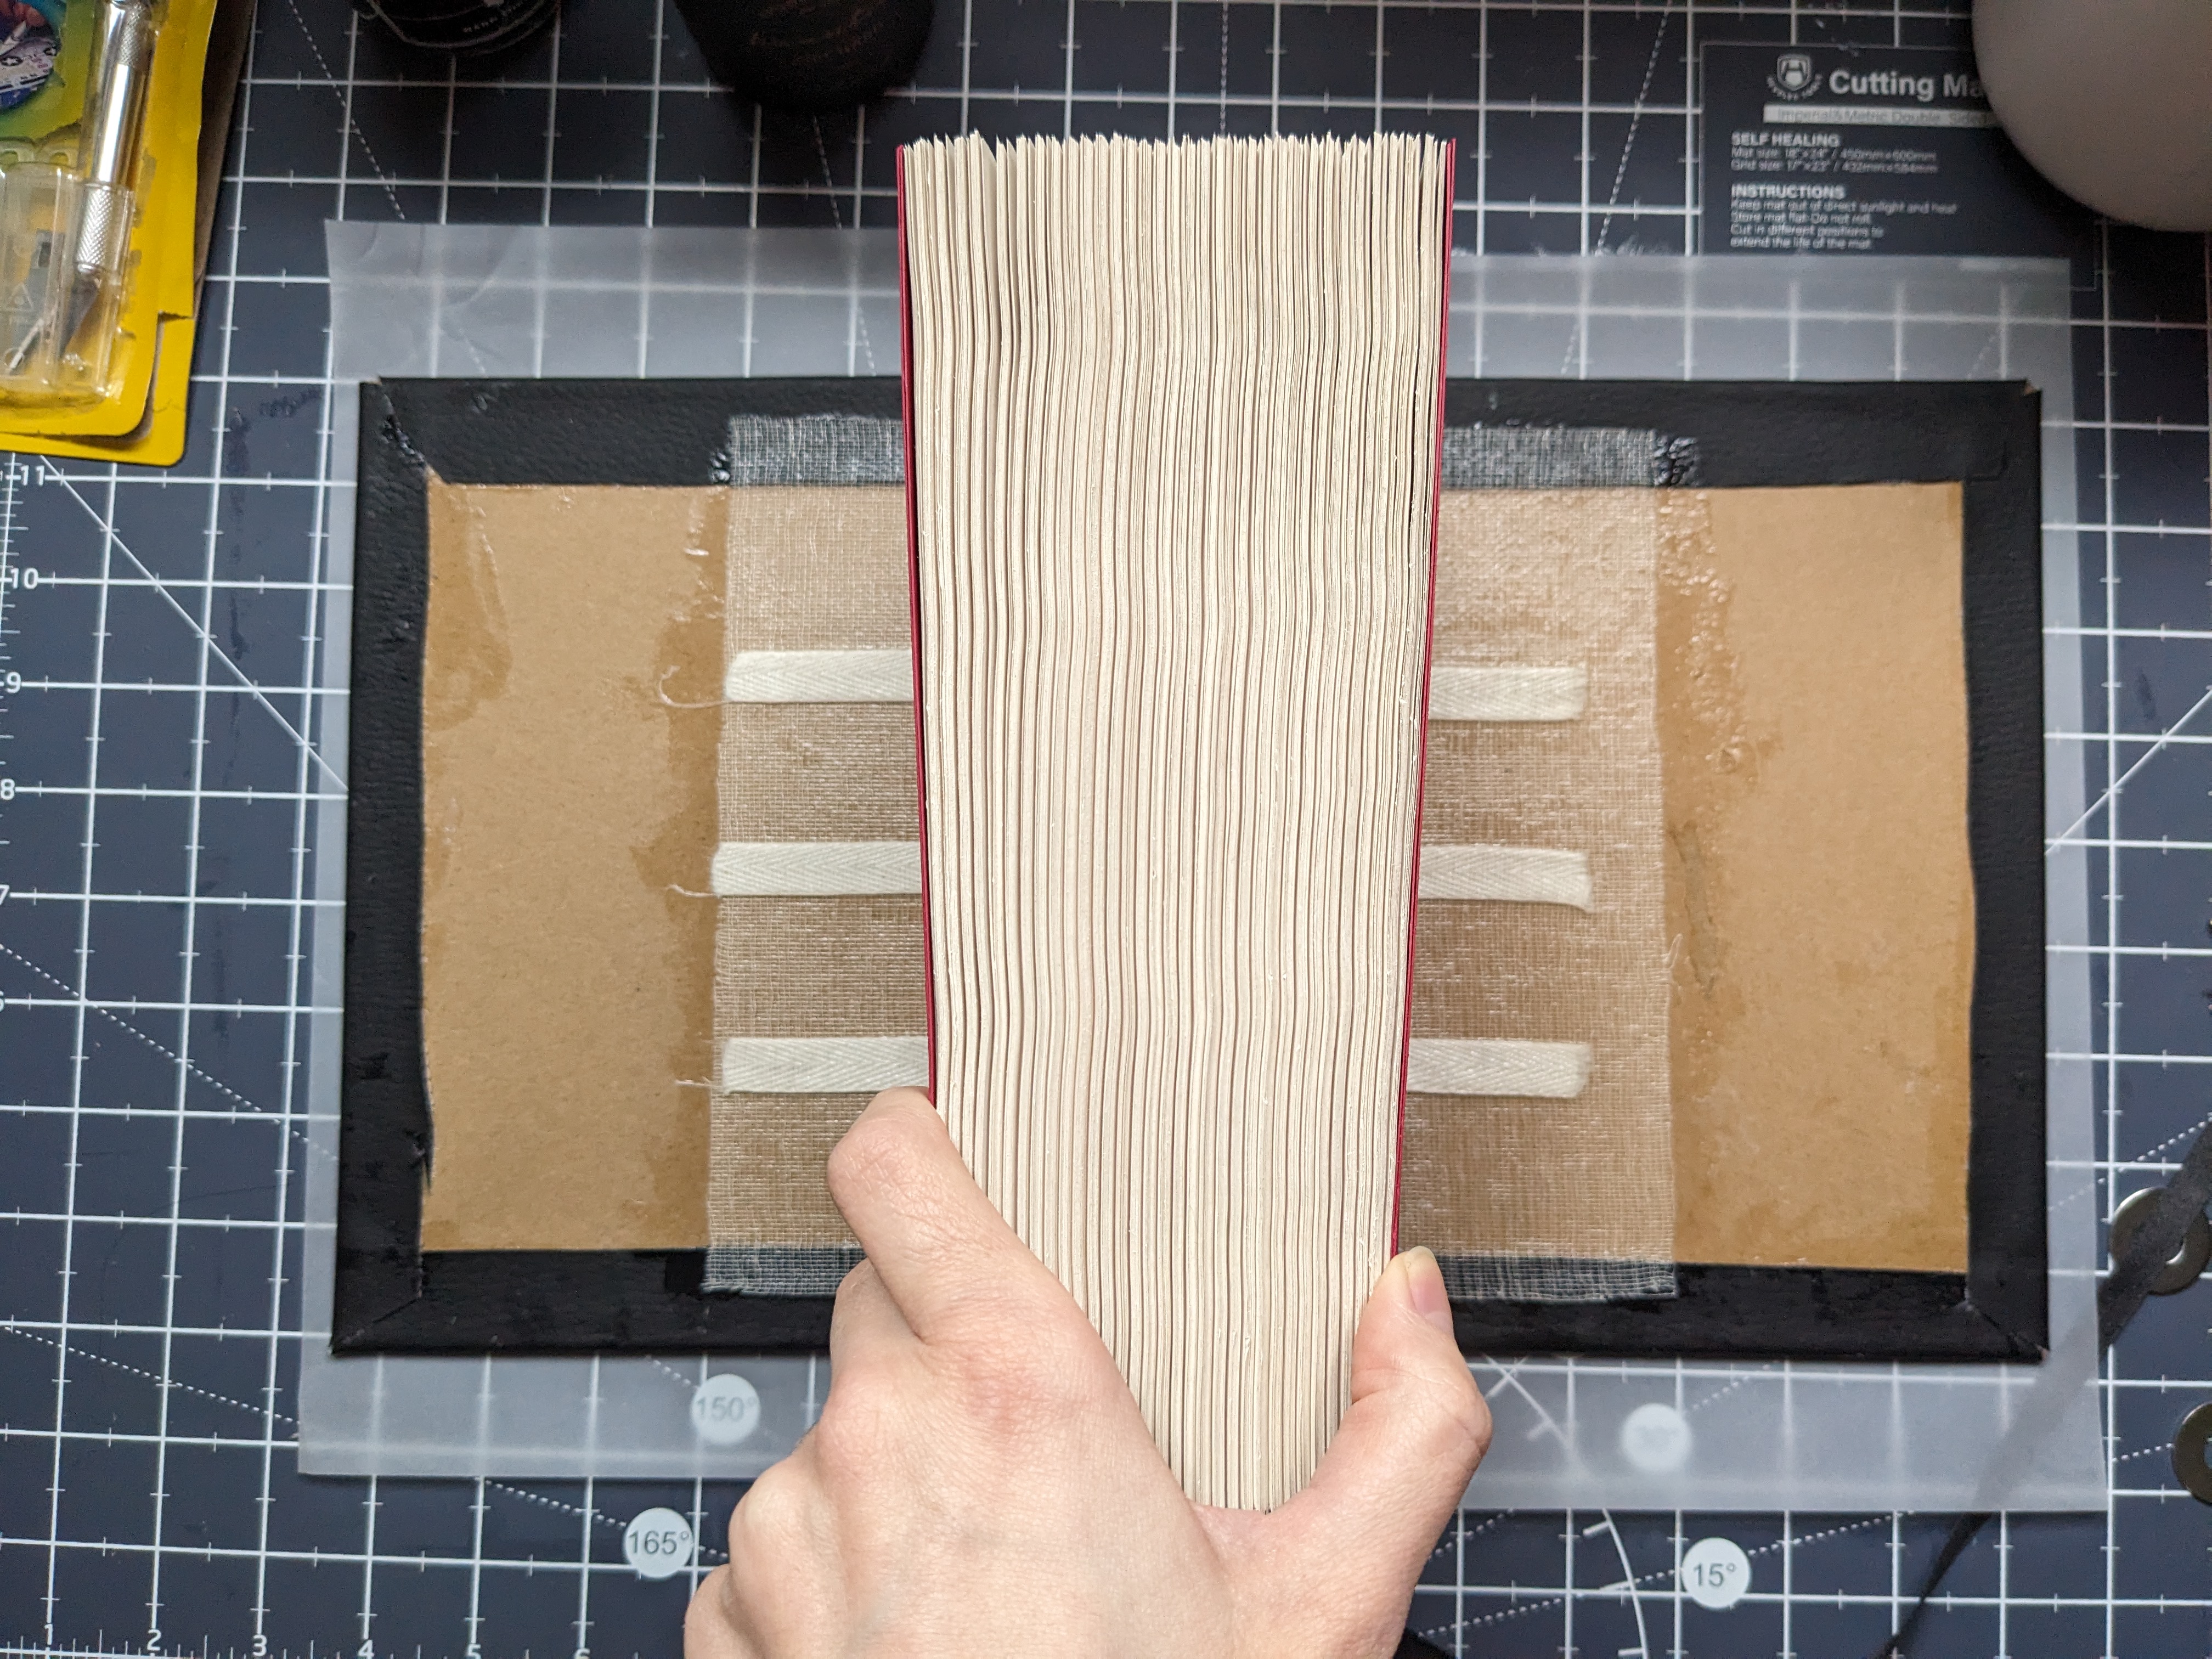
8. Add Linen Tapes! For bigger books, you will need to use linen tapes to strengthen the structure. Most people add these as they stitch, but I found that to be confusing personally. I threaded these through the stitches later by taping each linen 'tape' to a thin strip of cardboard and poking them through. You could (probably should) press for a little bit after this as well, if you do it.
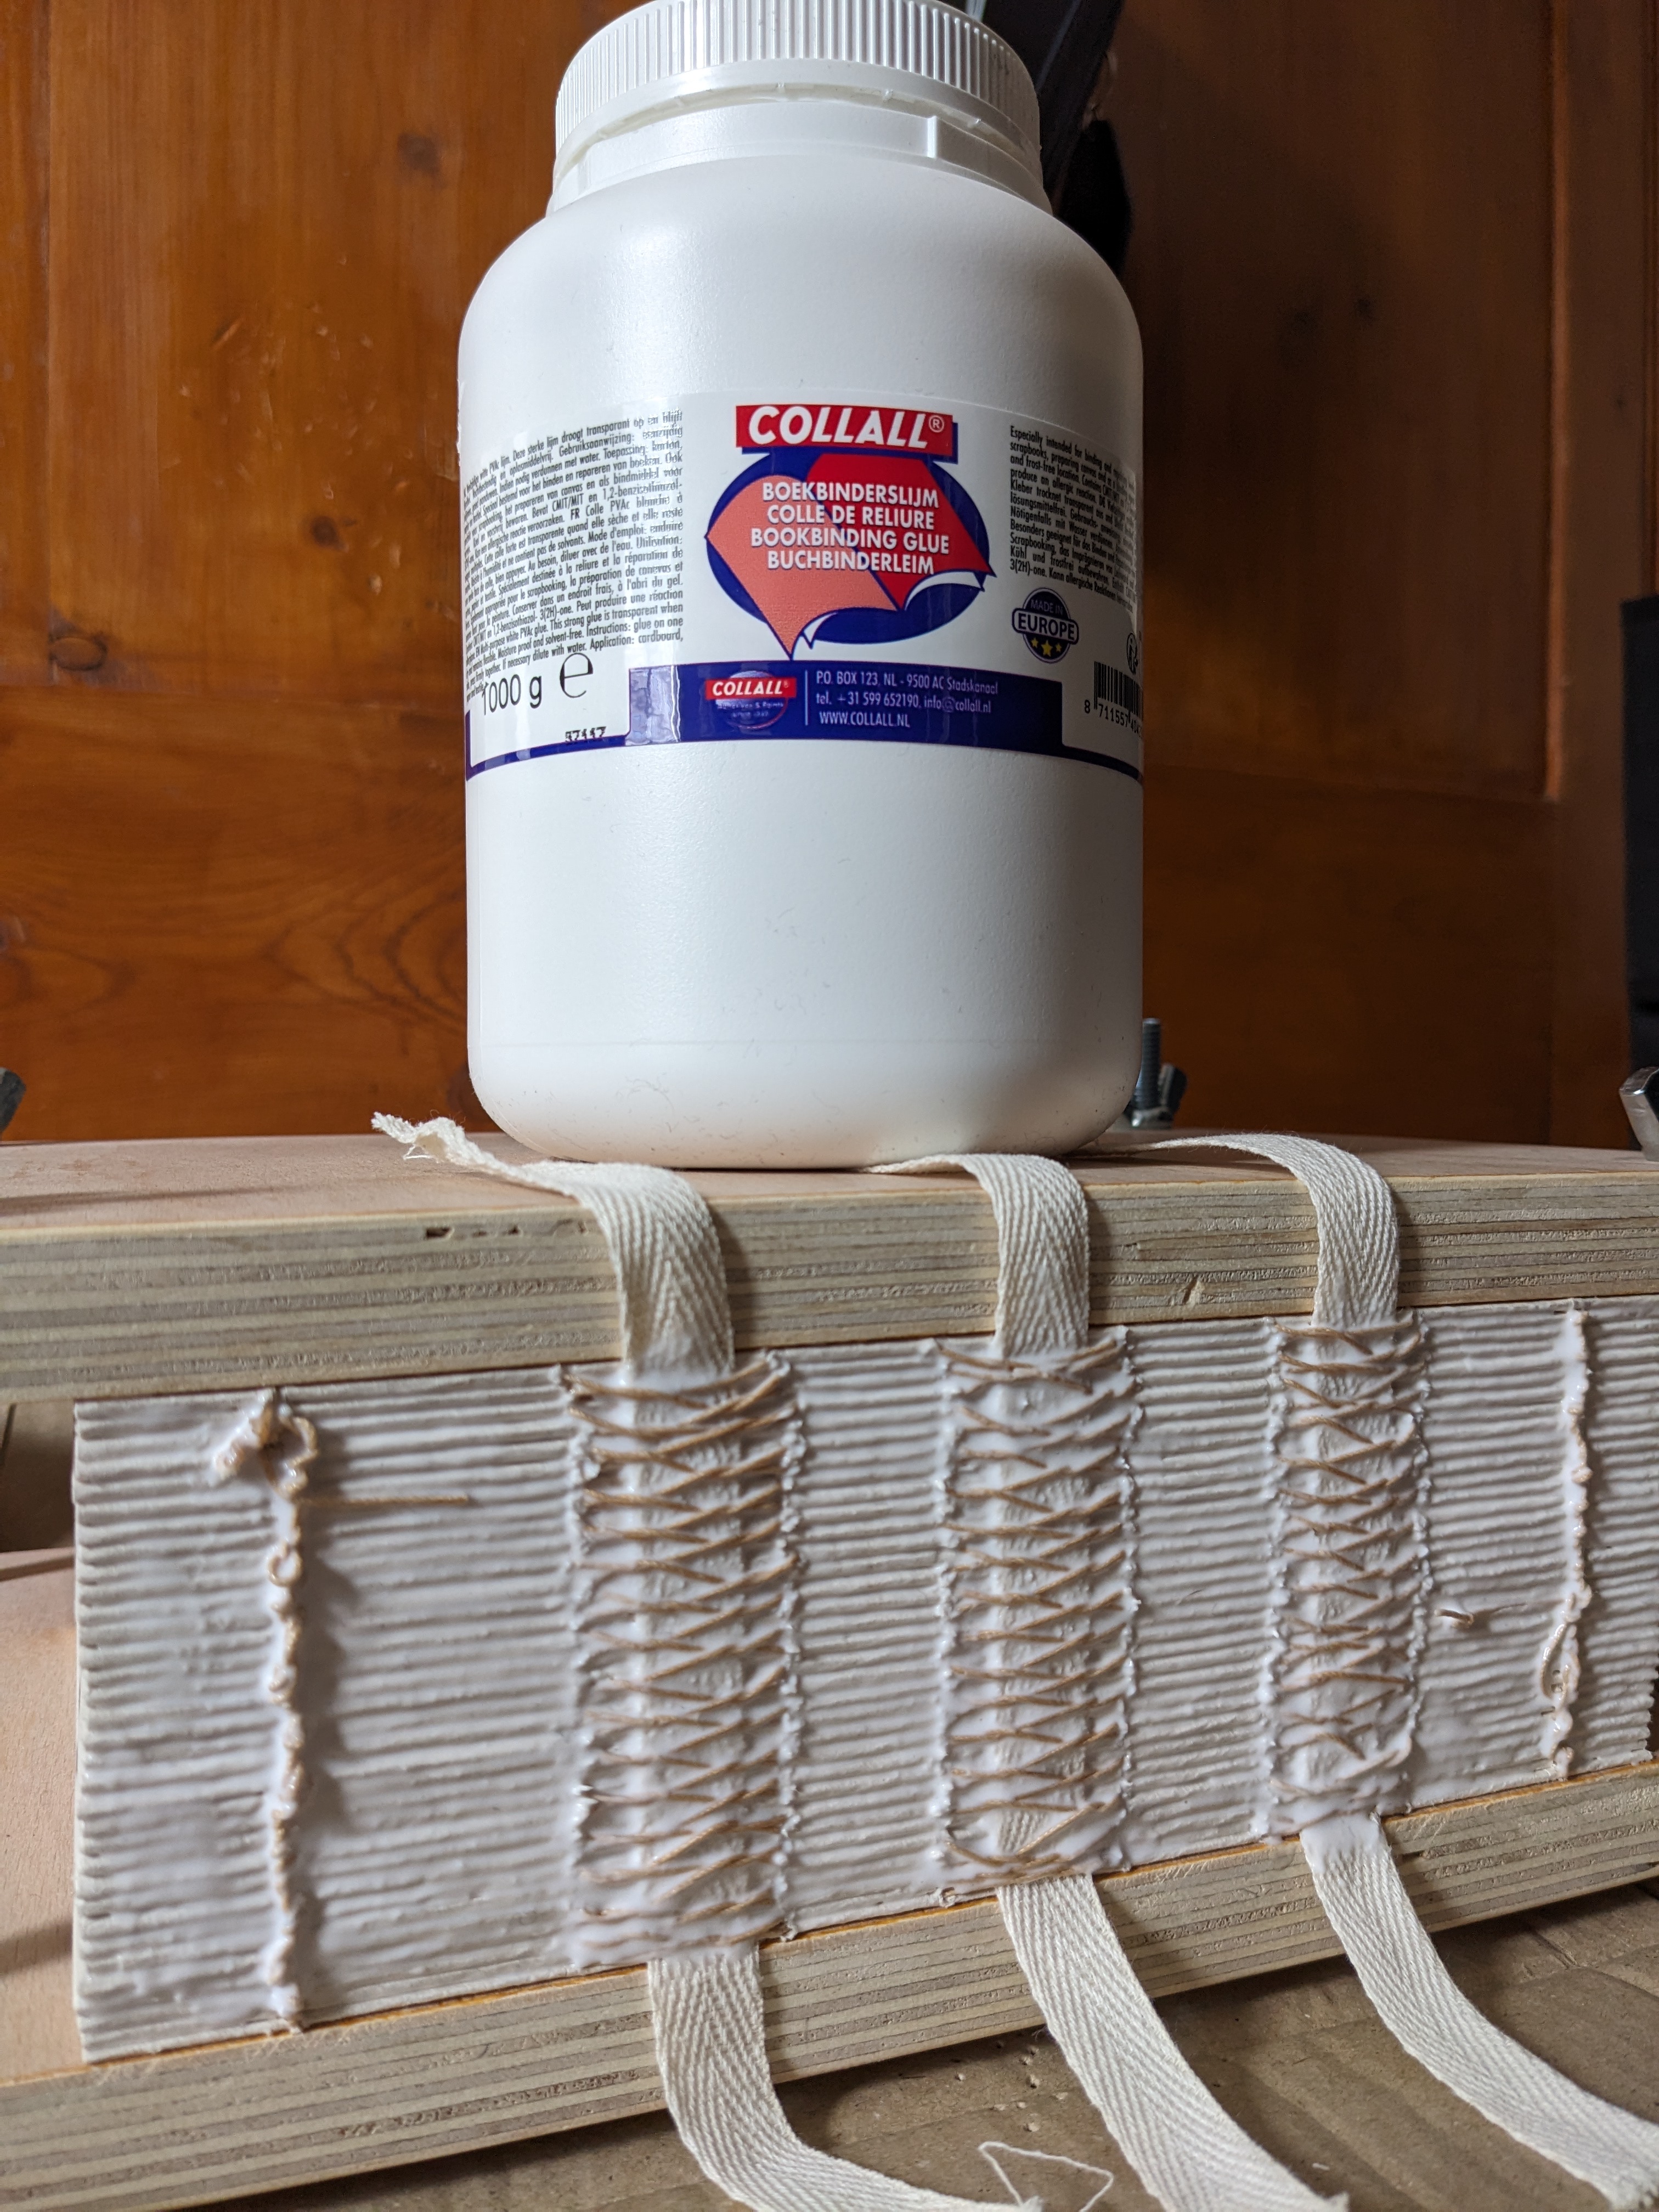
9. Glue Your Spine! Slap clear-drying PVA book glue all over the spine (usually easiest to leave the pages in the book press while doing this to ensure it is tight) and let it dry.
10. Stick On The Endpapers! Fold your endpaper sheet and put a strip of glue near the fold, then stick this to the text block. Do this once at the front, and once at the back.

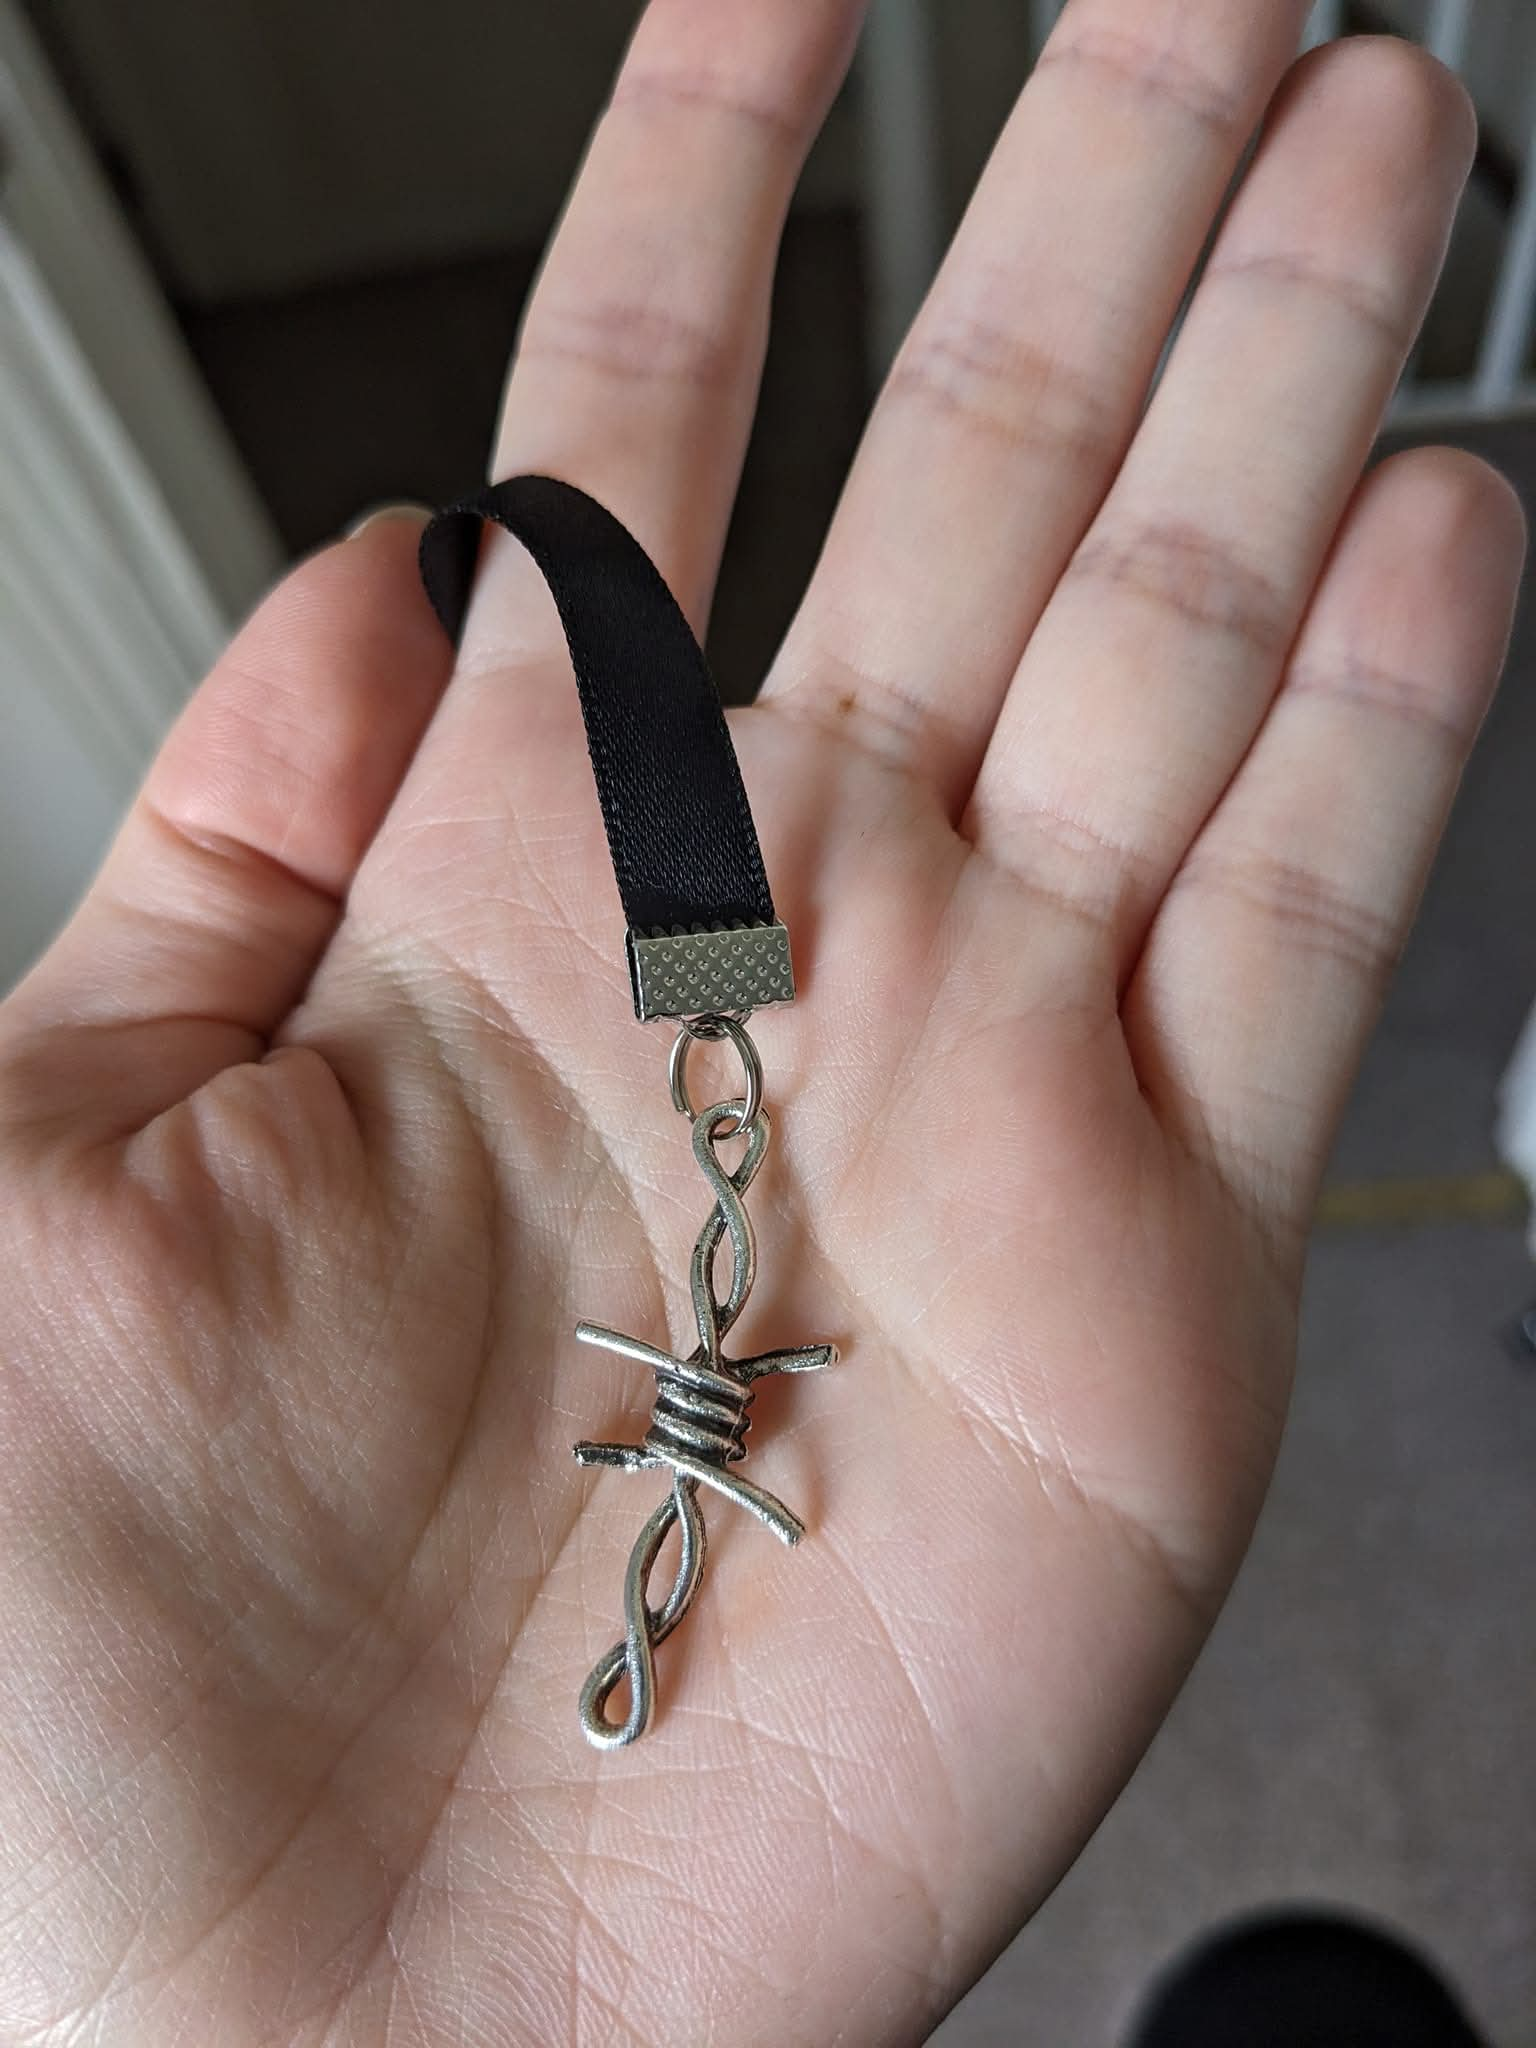
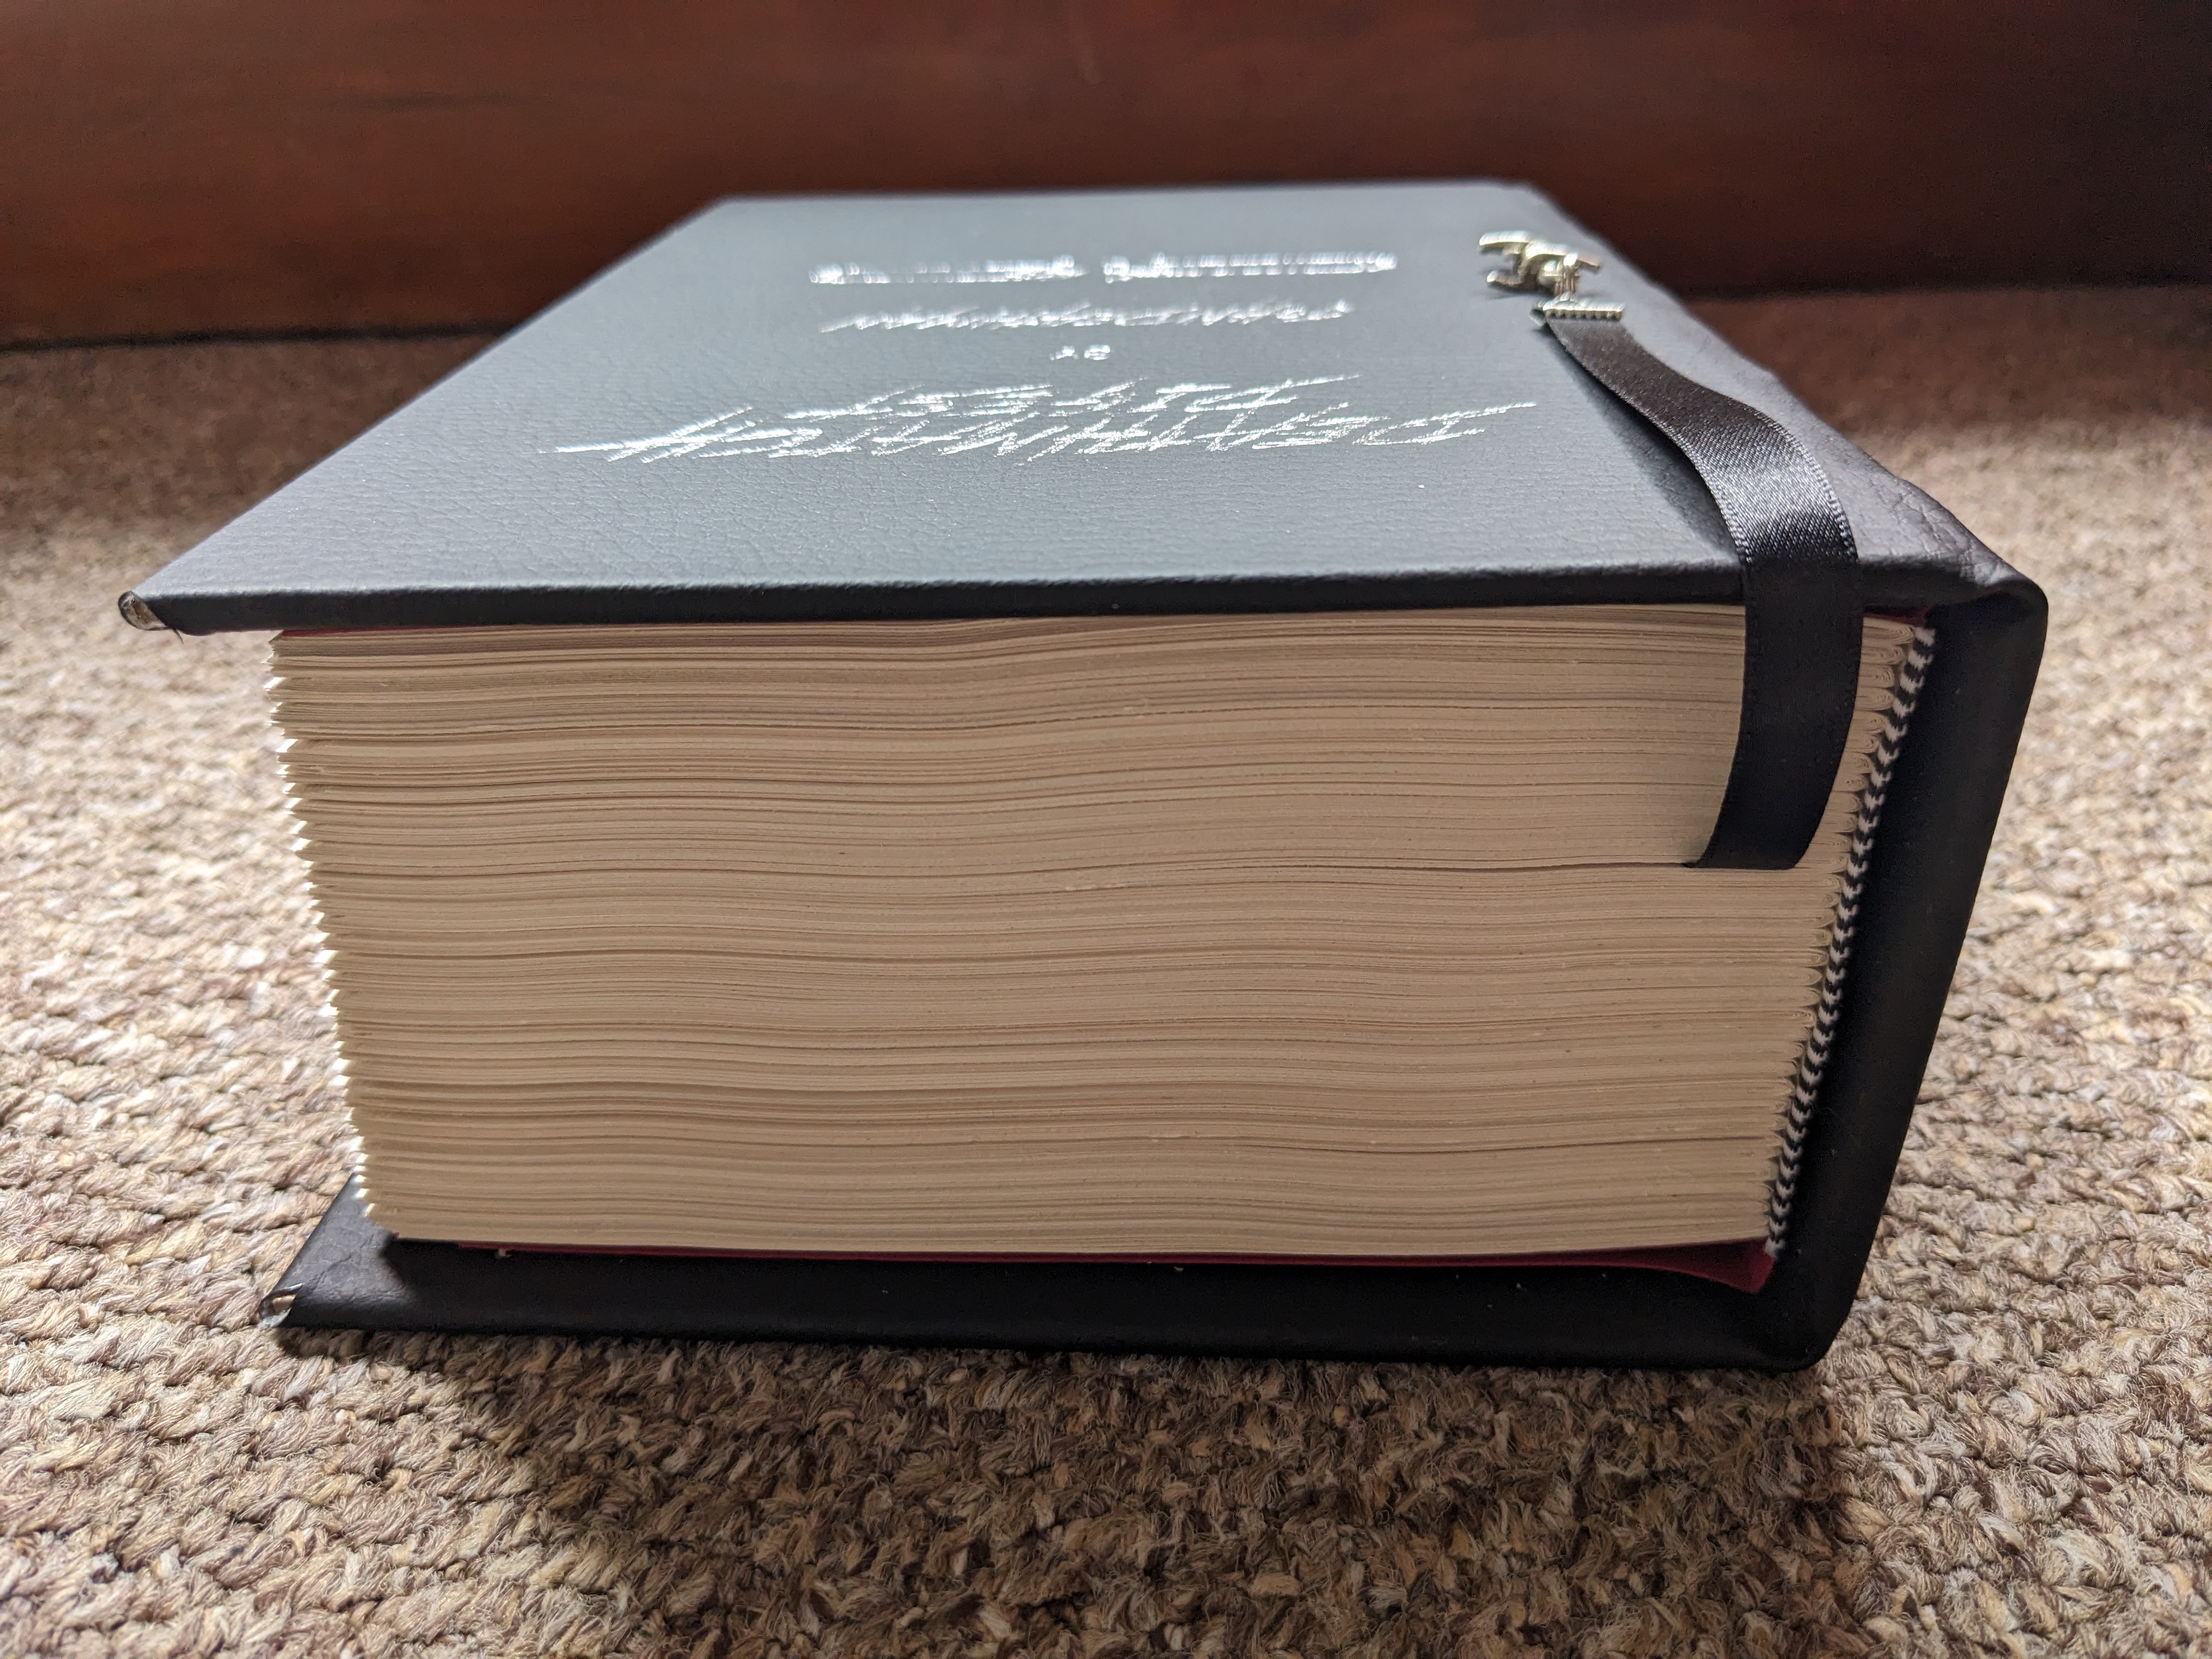
11. Add A Ribbon Bookmark! Cut a ribbon to size (make sure it can be glued halfway along the textbook vertically and come up and through the pages on the inside to flip and hang out over the front cover). Add a charm, if you like. Once done, glue it to the spine of the text block as shown in the image and let it dry.
12. Add Endbands! Cut and glue endbands onto the top and bottom of the spine. Optional, but it does look good and may add slightly more structural integrity.

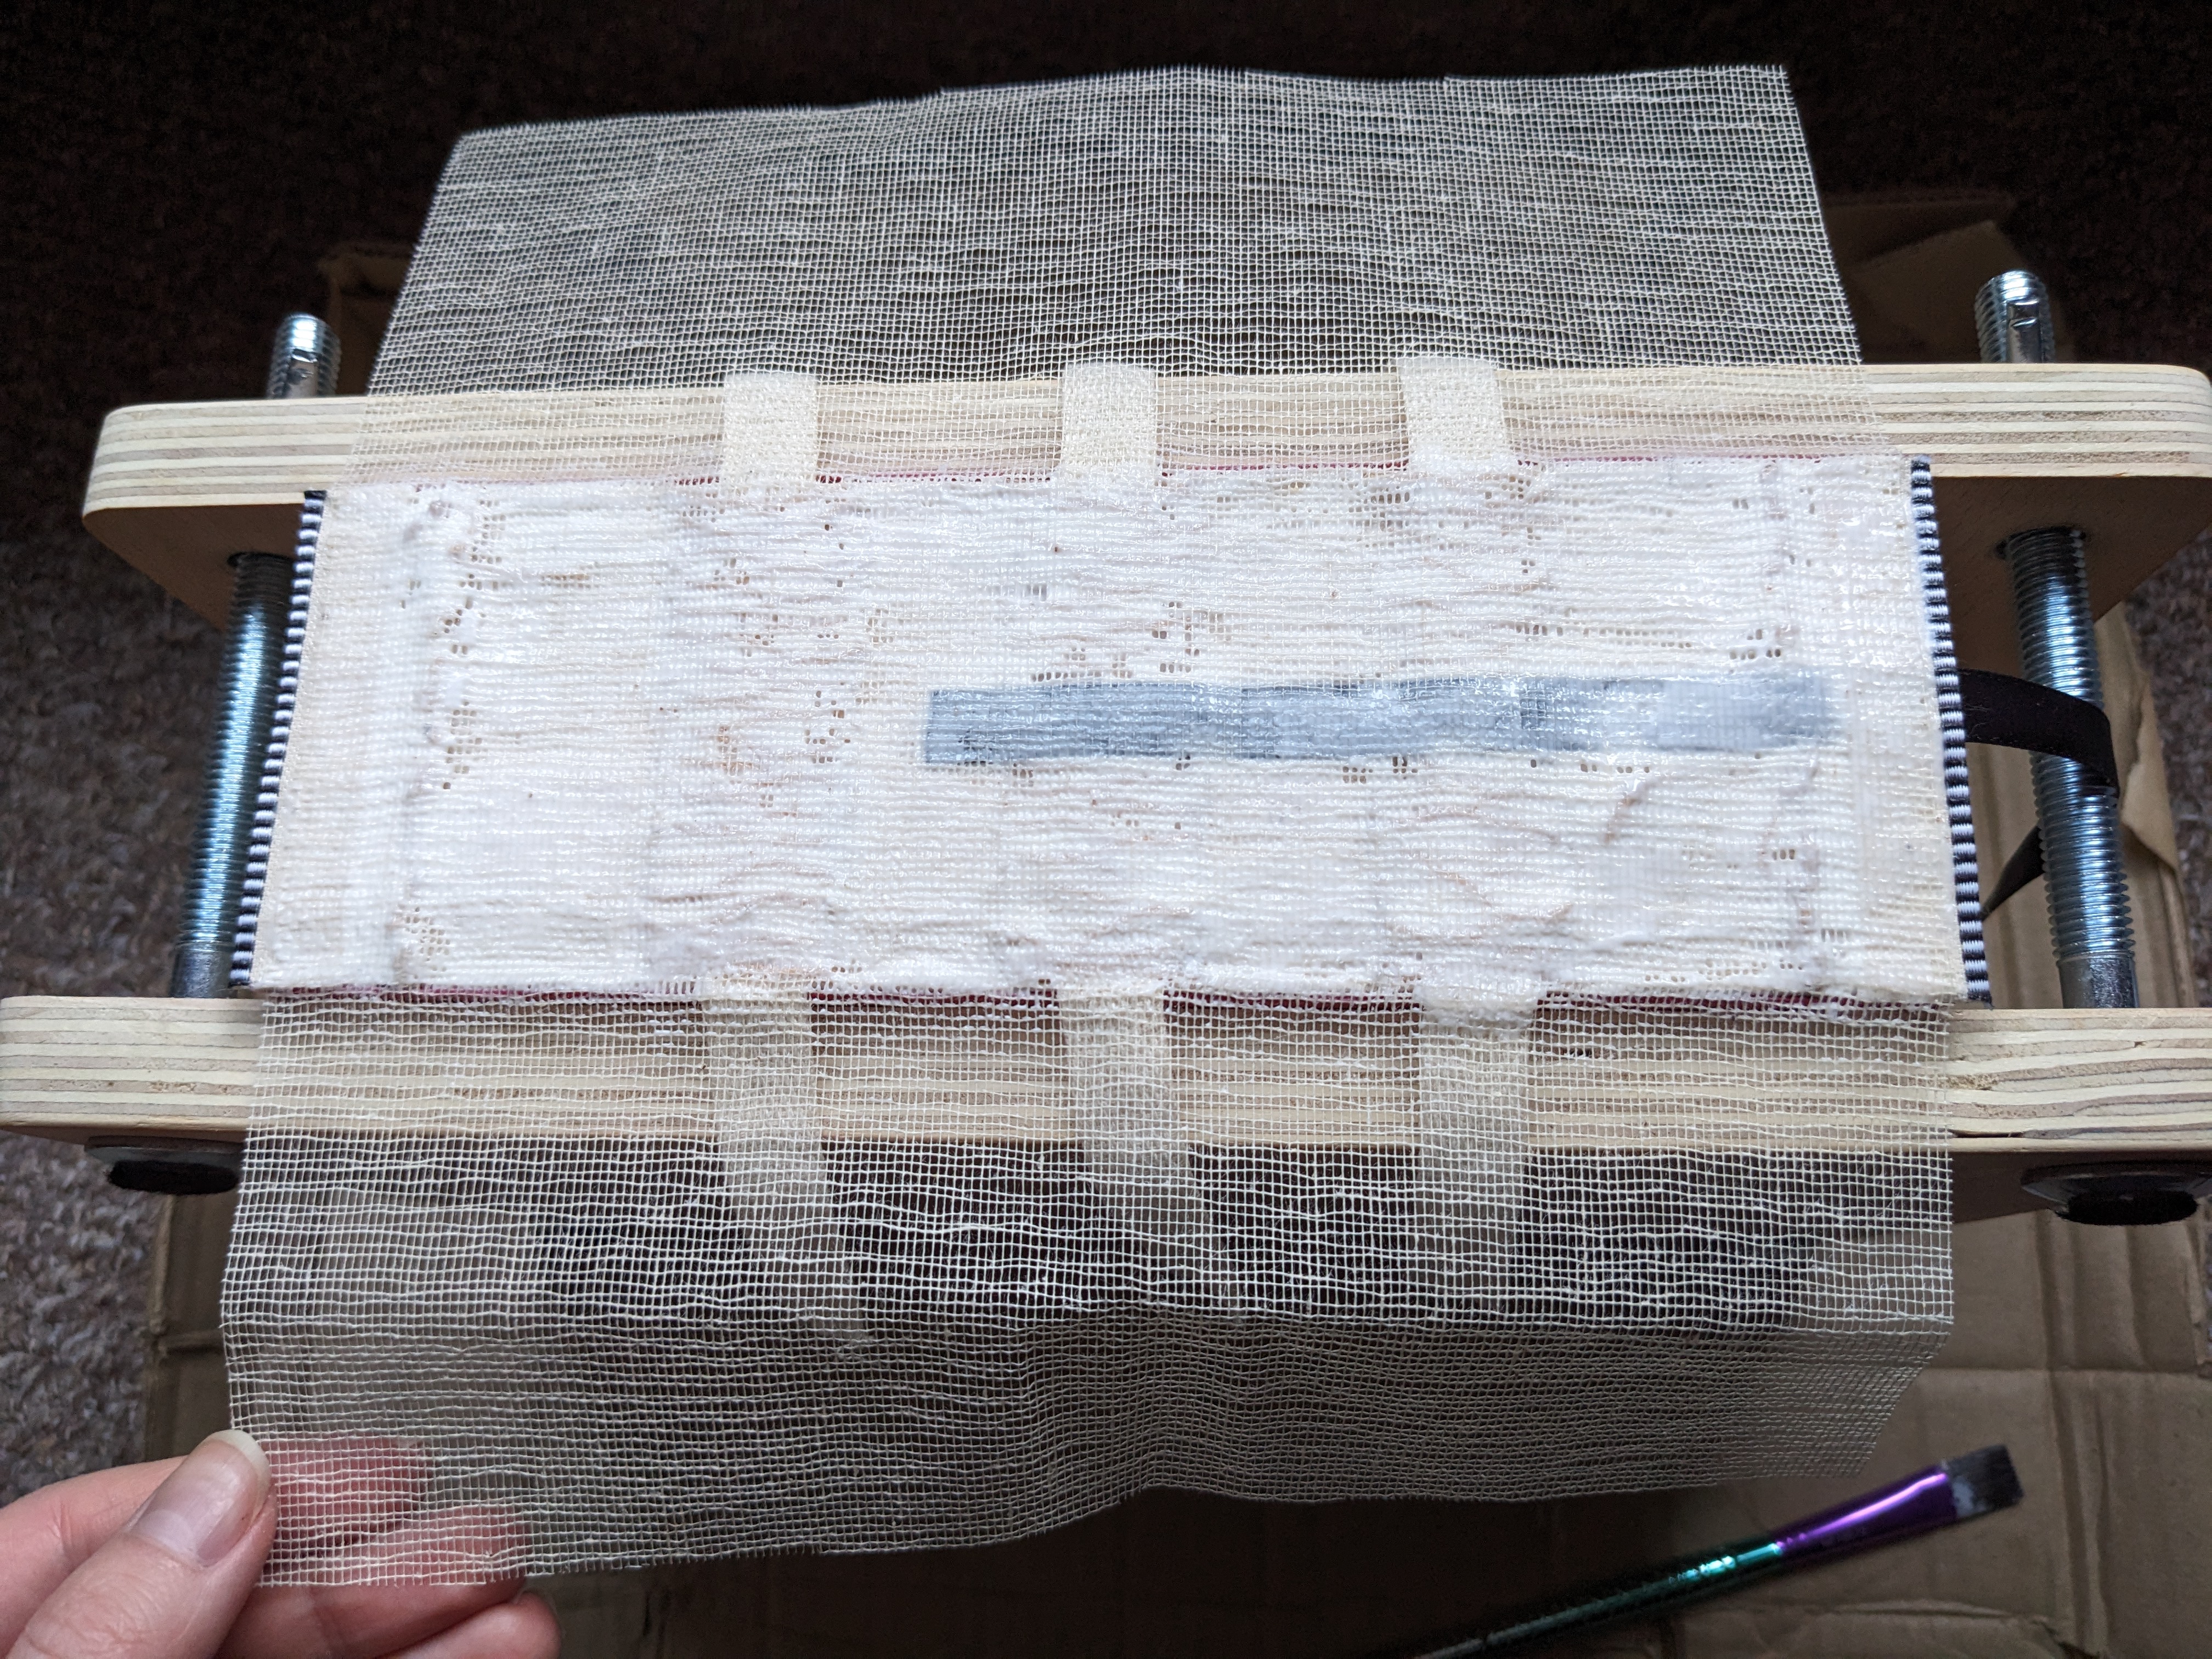
13. Add Mull! Mull strengthens the attachment of the text block to the cover (and improves the general integrity of the text block). Cut the mull to size, position it over the spine, and glue it down. Don't be shy, cover the spine in glue! Let it dry before moving on to the next step. The text block is now complete and you can move on to the cover.
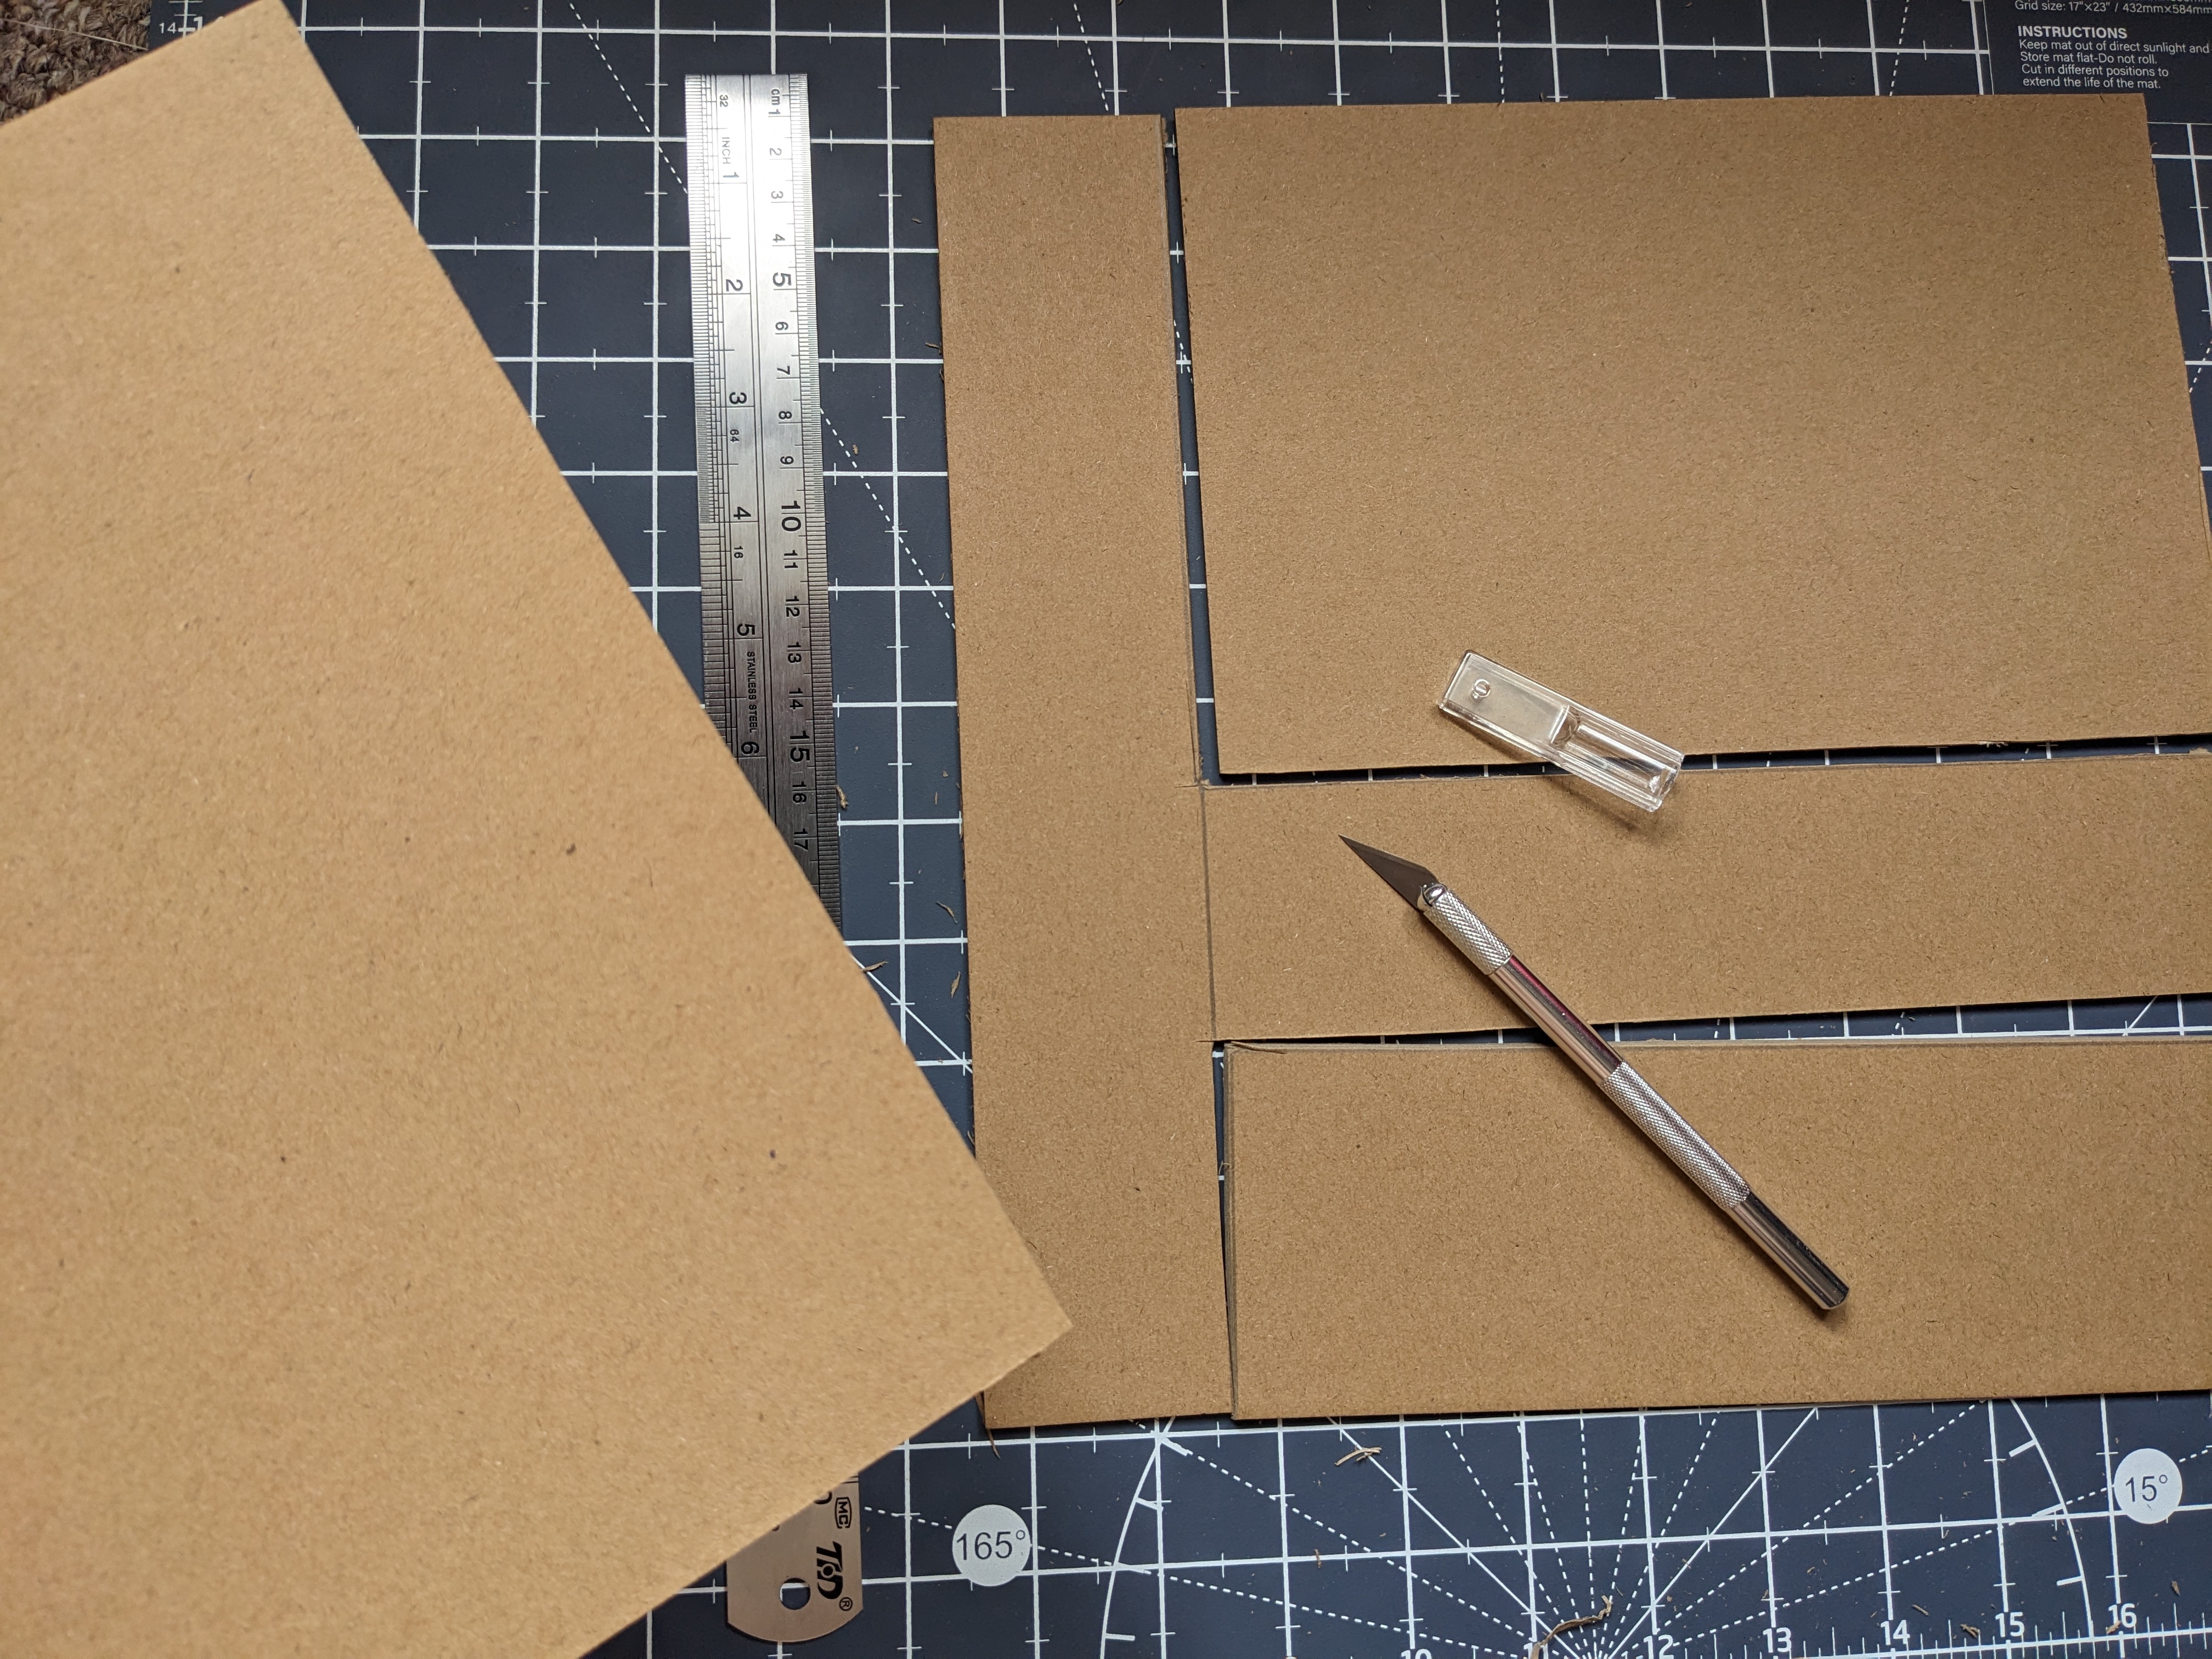
14. Measure and Cut Chipboard! Measure and cut your chipboard into three pieces: a piece for the front cover, back cover, and spine.
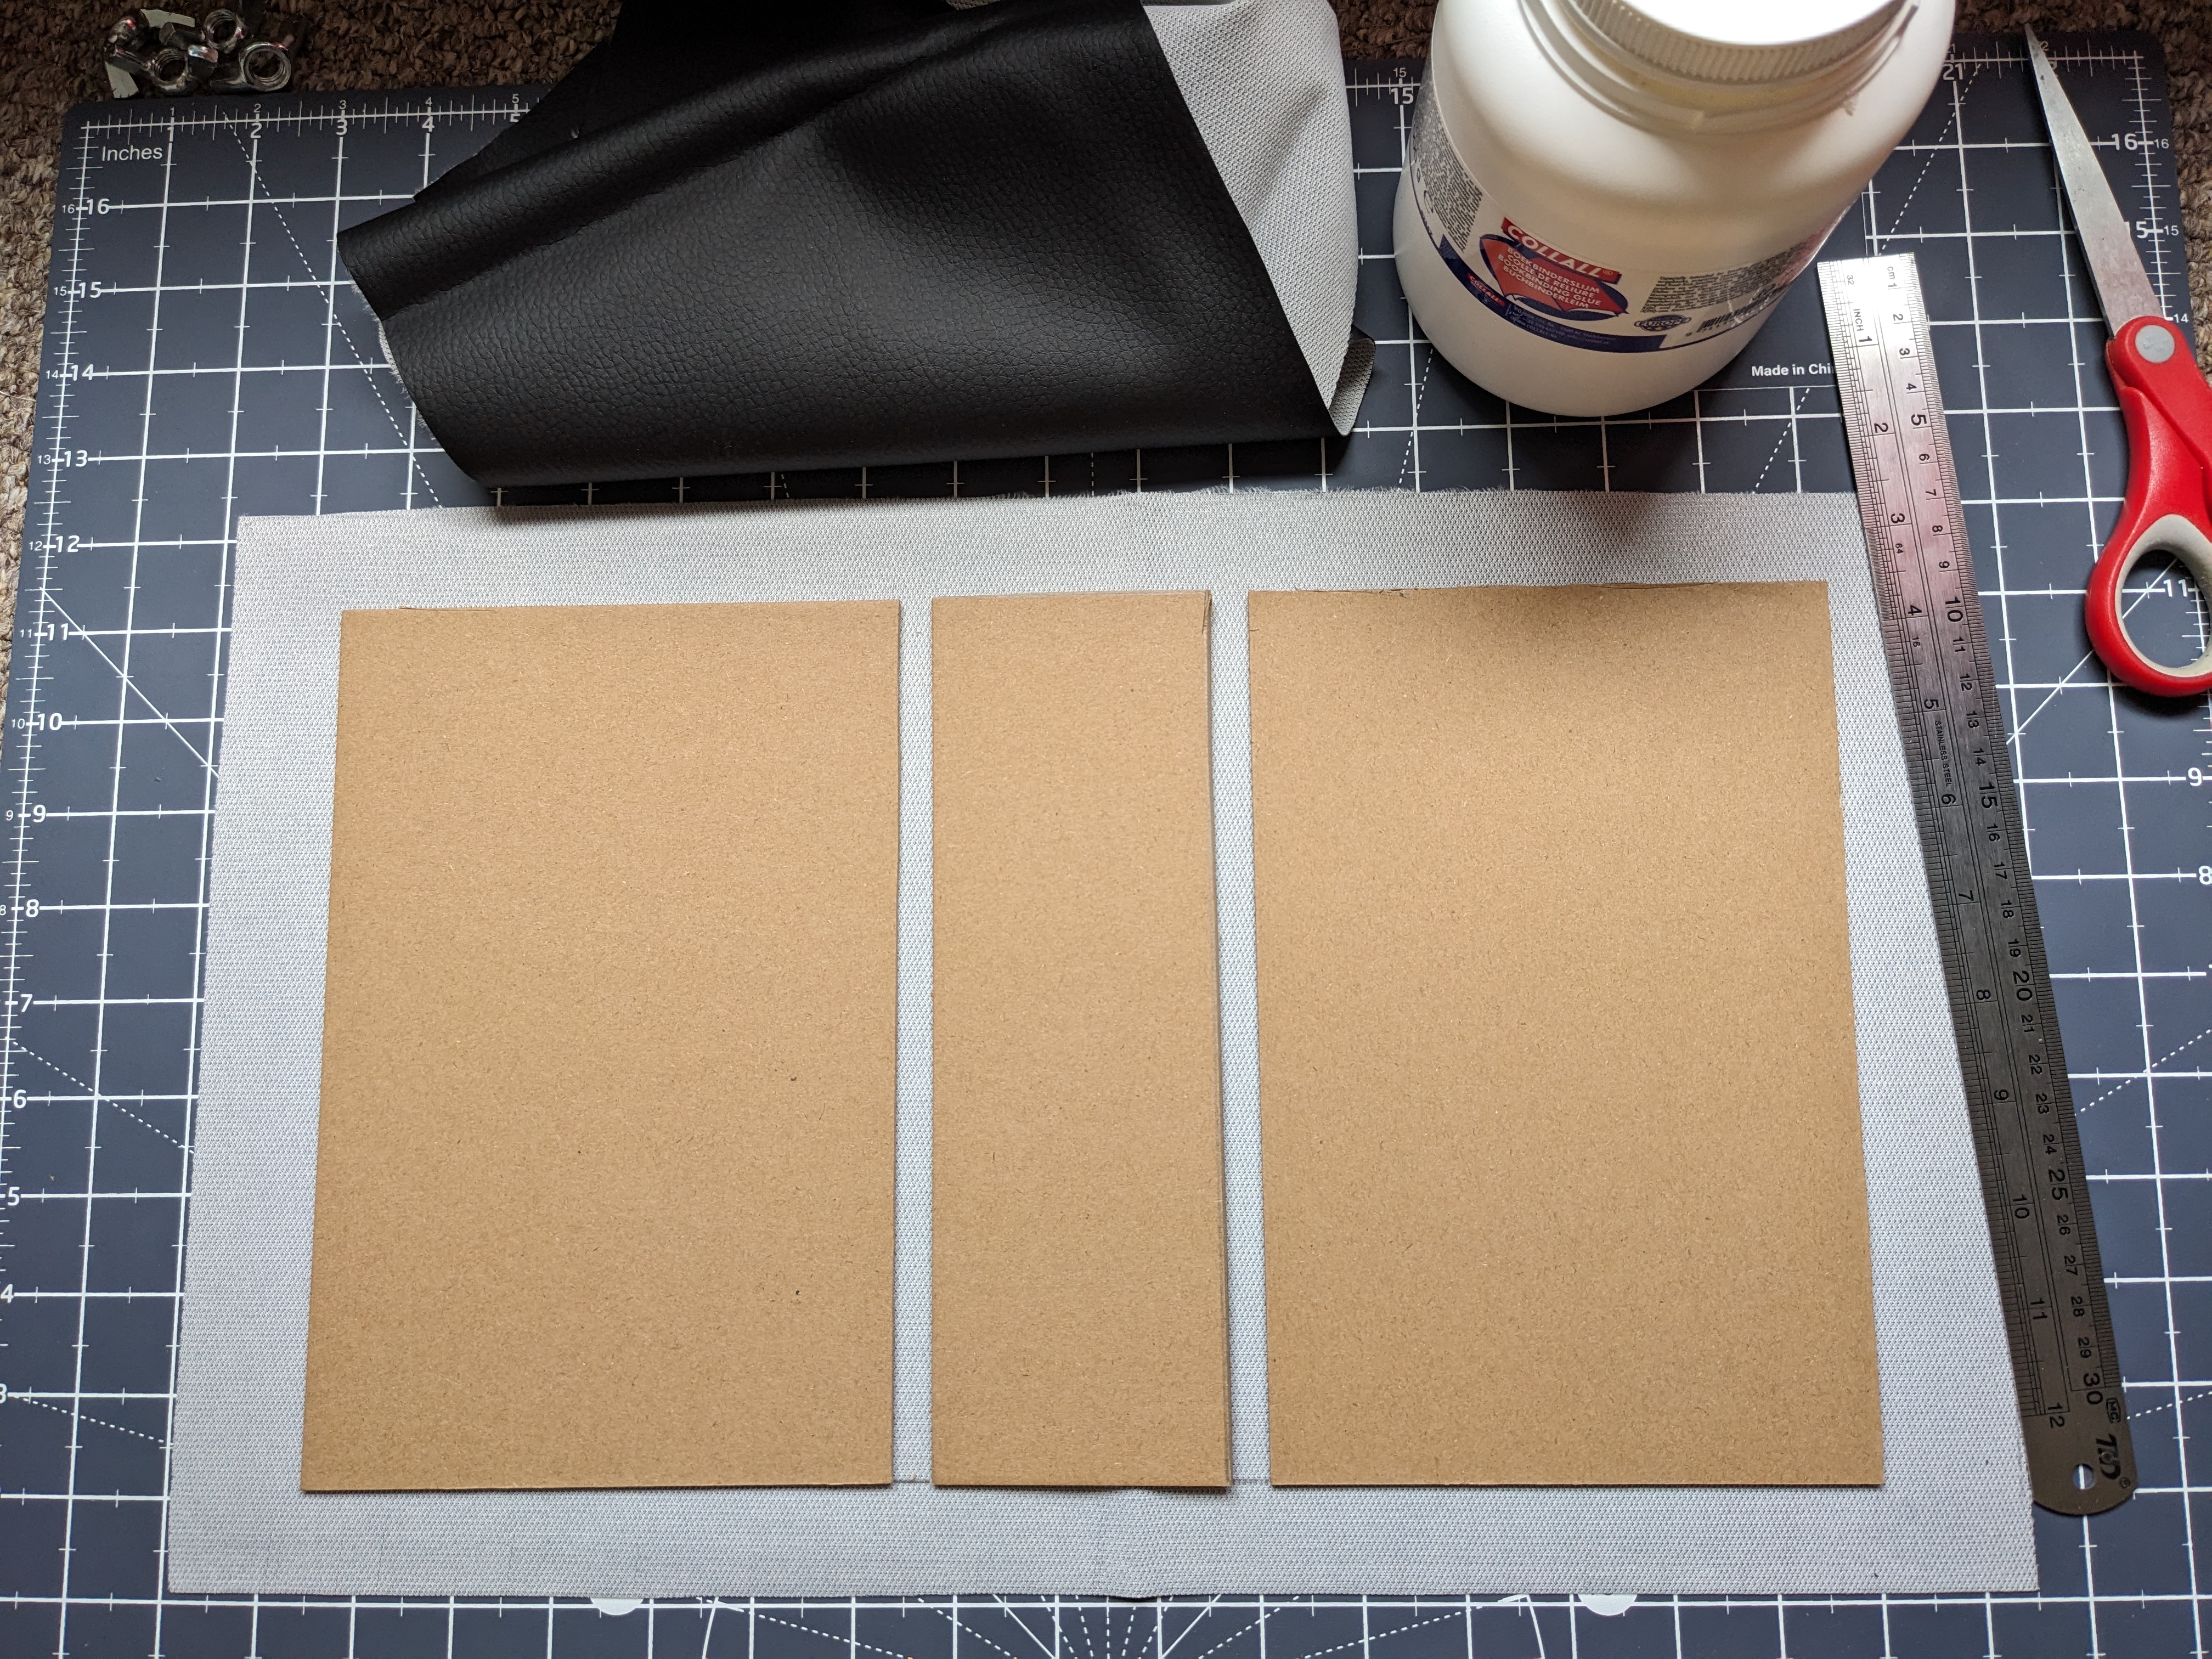
15. Measure and Cut Cover Material! Measure and cut your cover material into one piece that comfortably fits all the laid out chipboard pieces with an overhang of a couple of inches (this overhanging fabric is used to fold in and attach the cover material to the board and create a full cover).
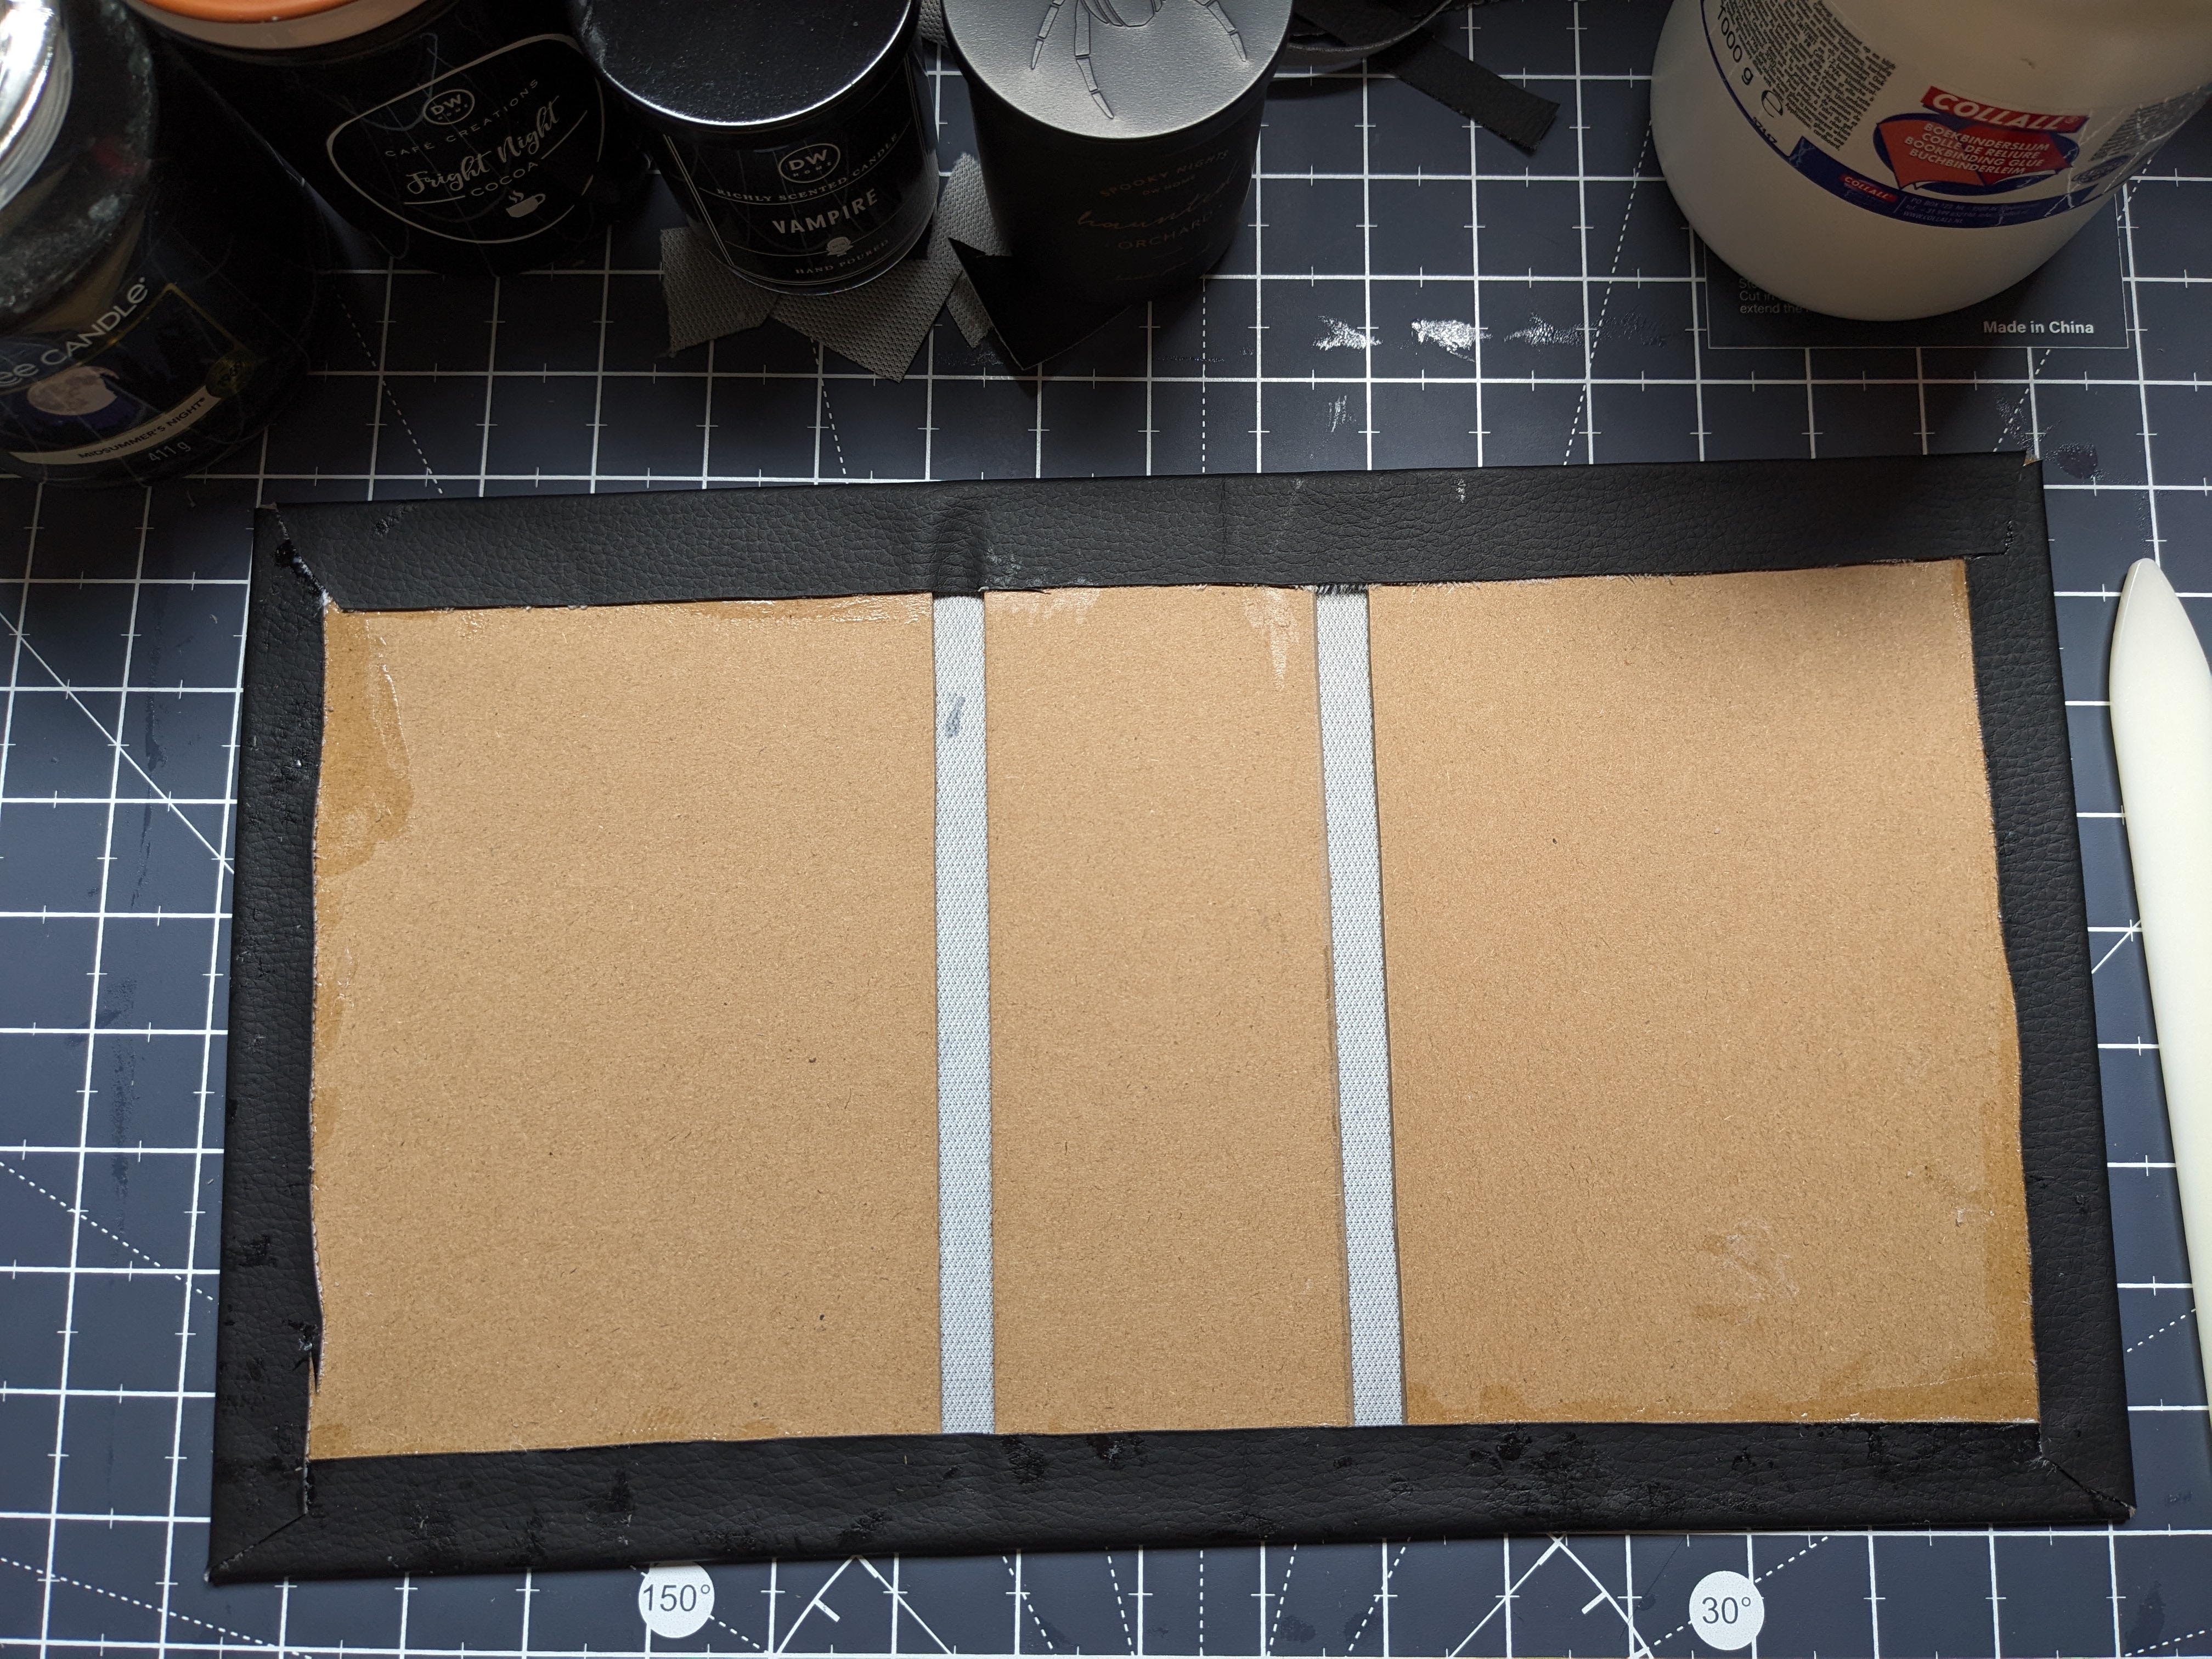
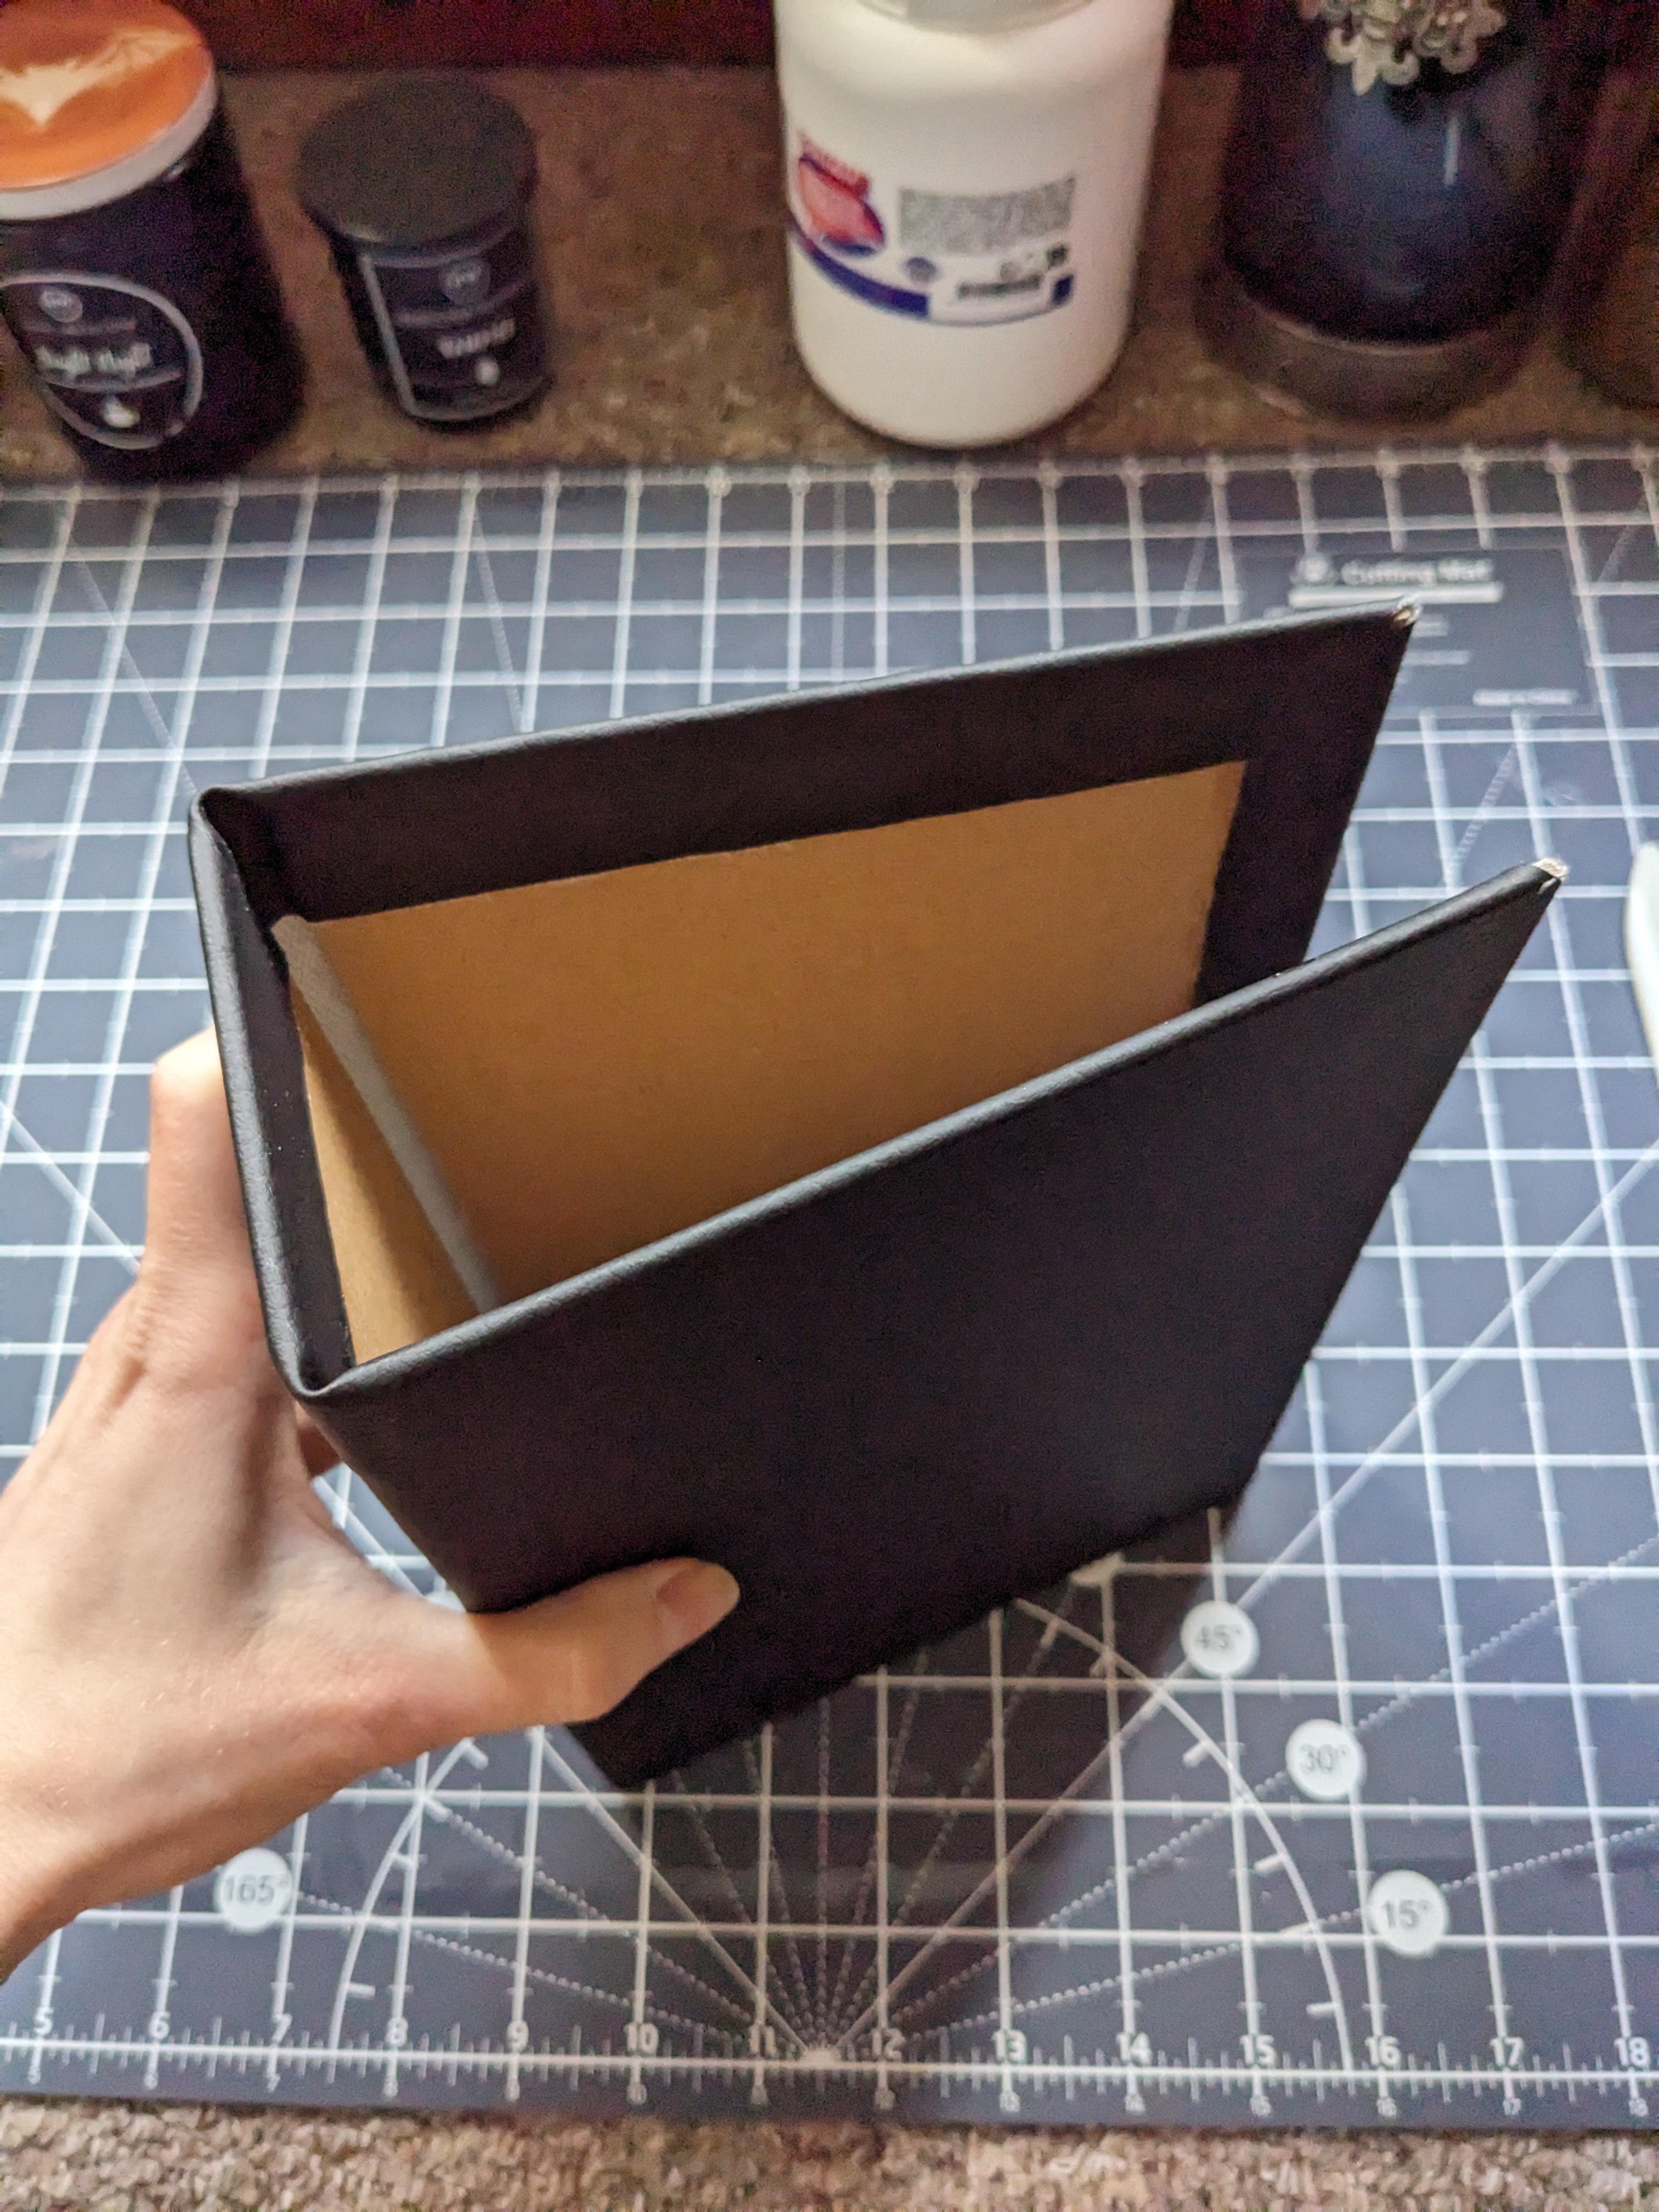
16. Glue Chipboard to Cover Material! Glue the chipboard pieces down onto the back of your cover material. Ensure you leave at least a few millimetres gap between the spine piece and each cover piece, or your spine won't be able to open properly later. Fold the edges of the cover material in and glue them to the top of the chipboard pieces to make a cover (you can use your bone folder to press/smooth the edges of these down nicely).
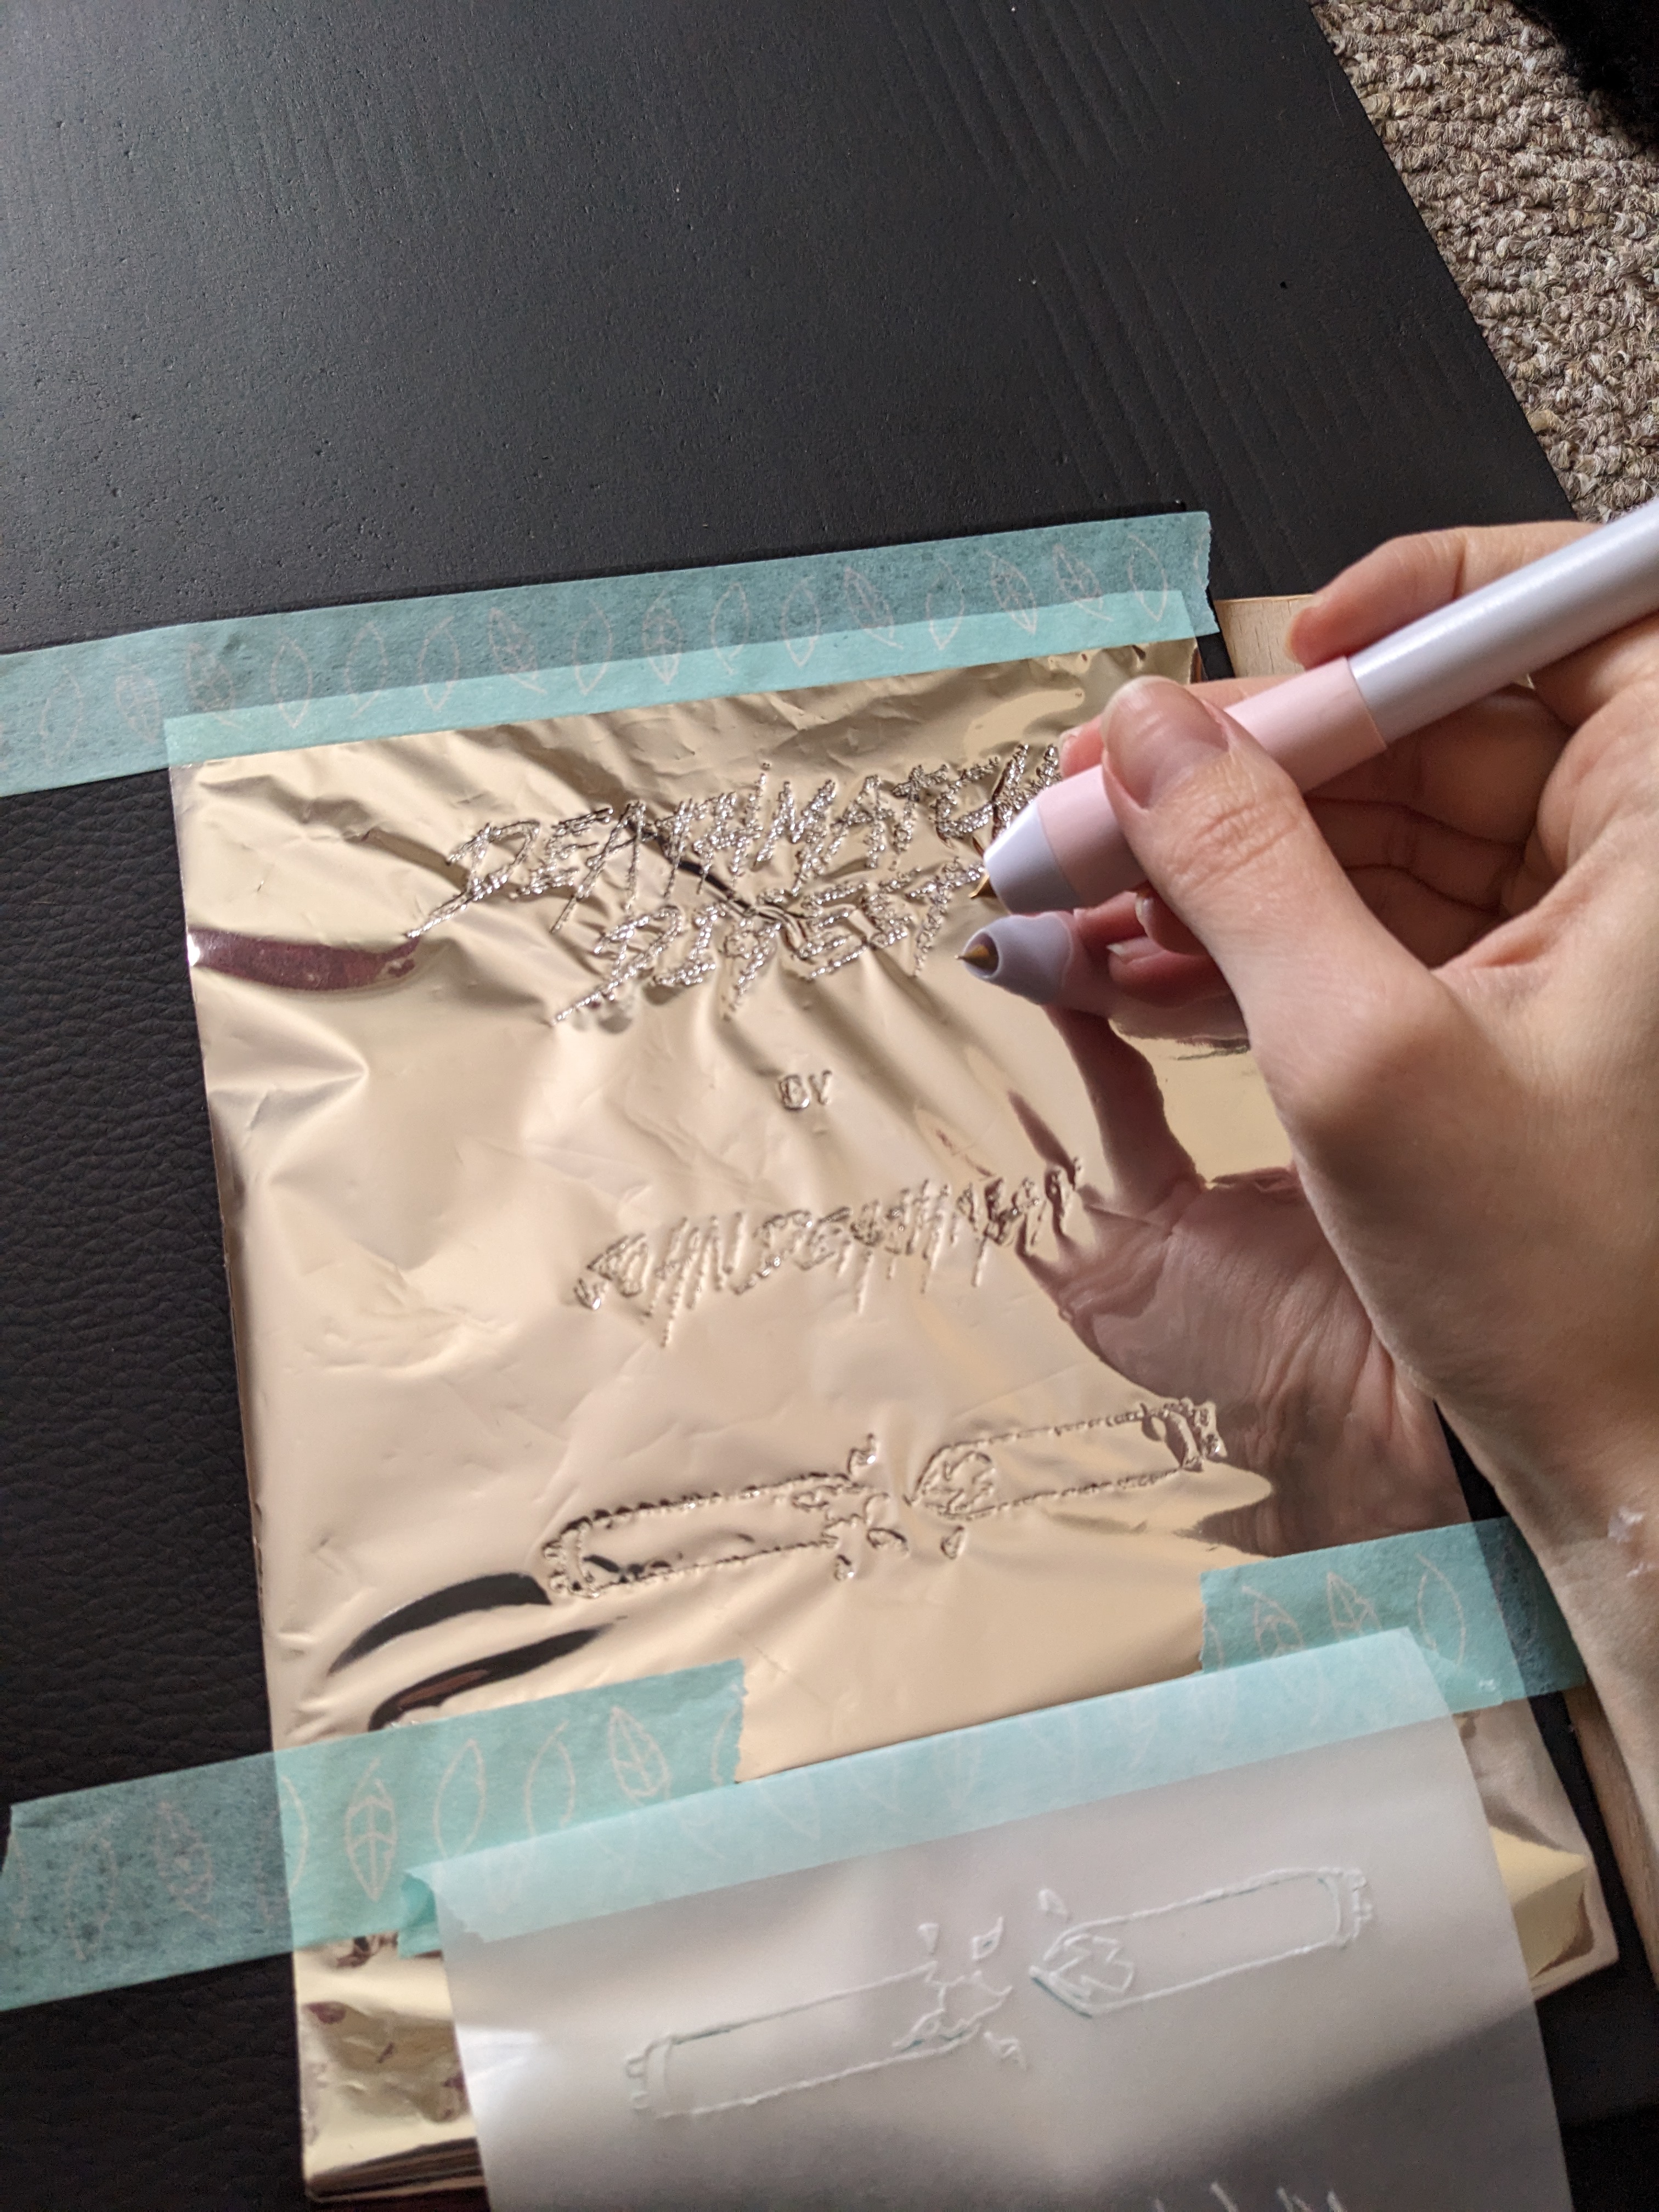
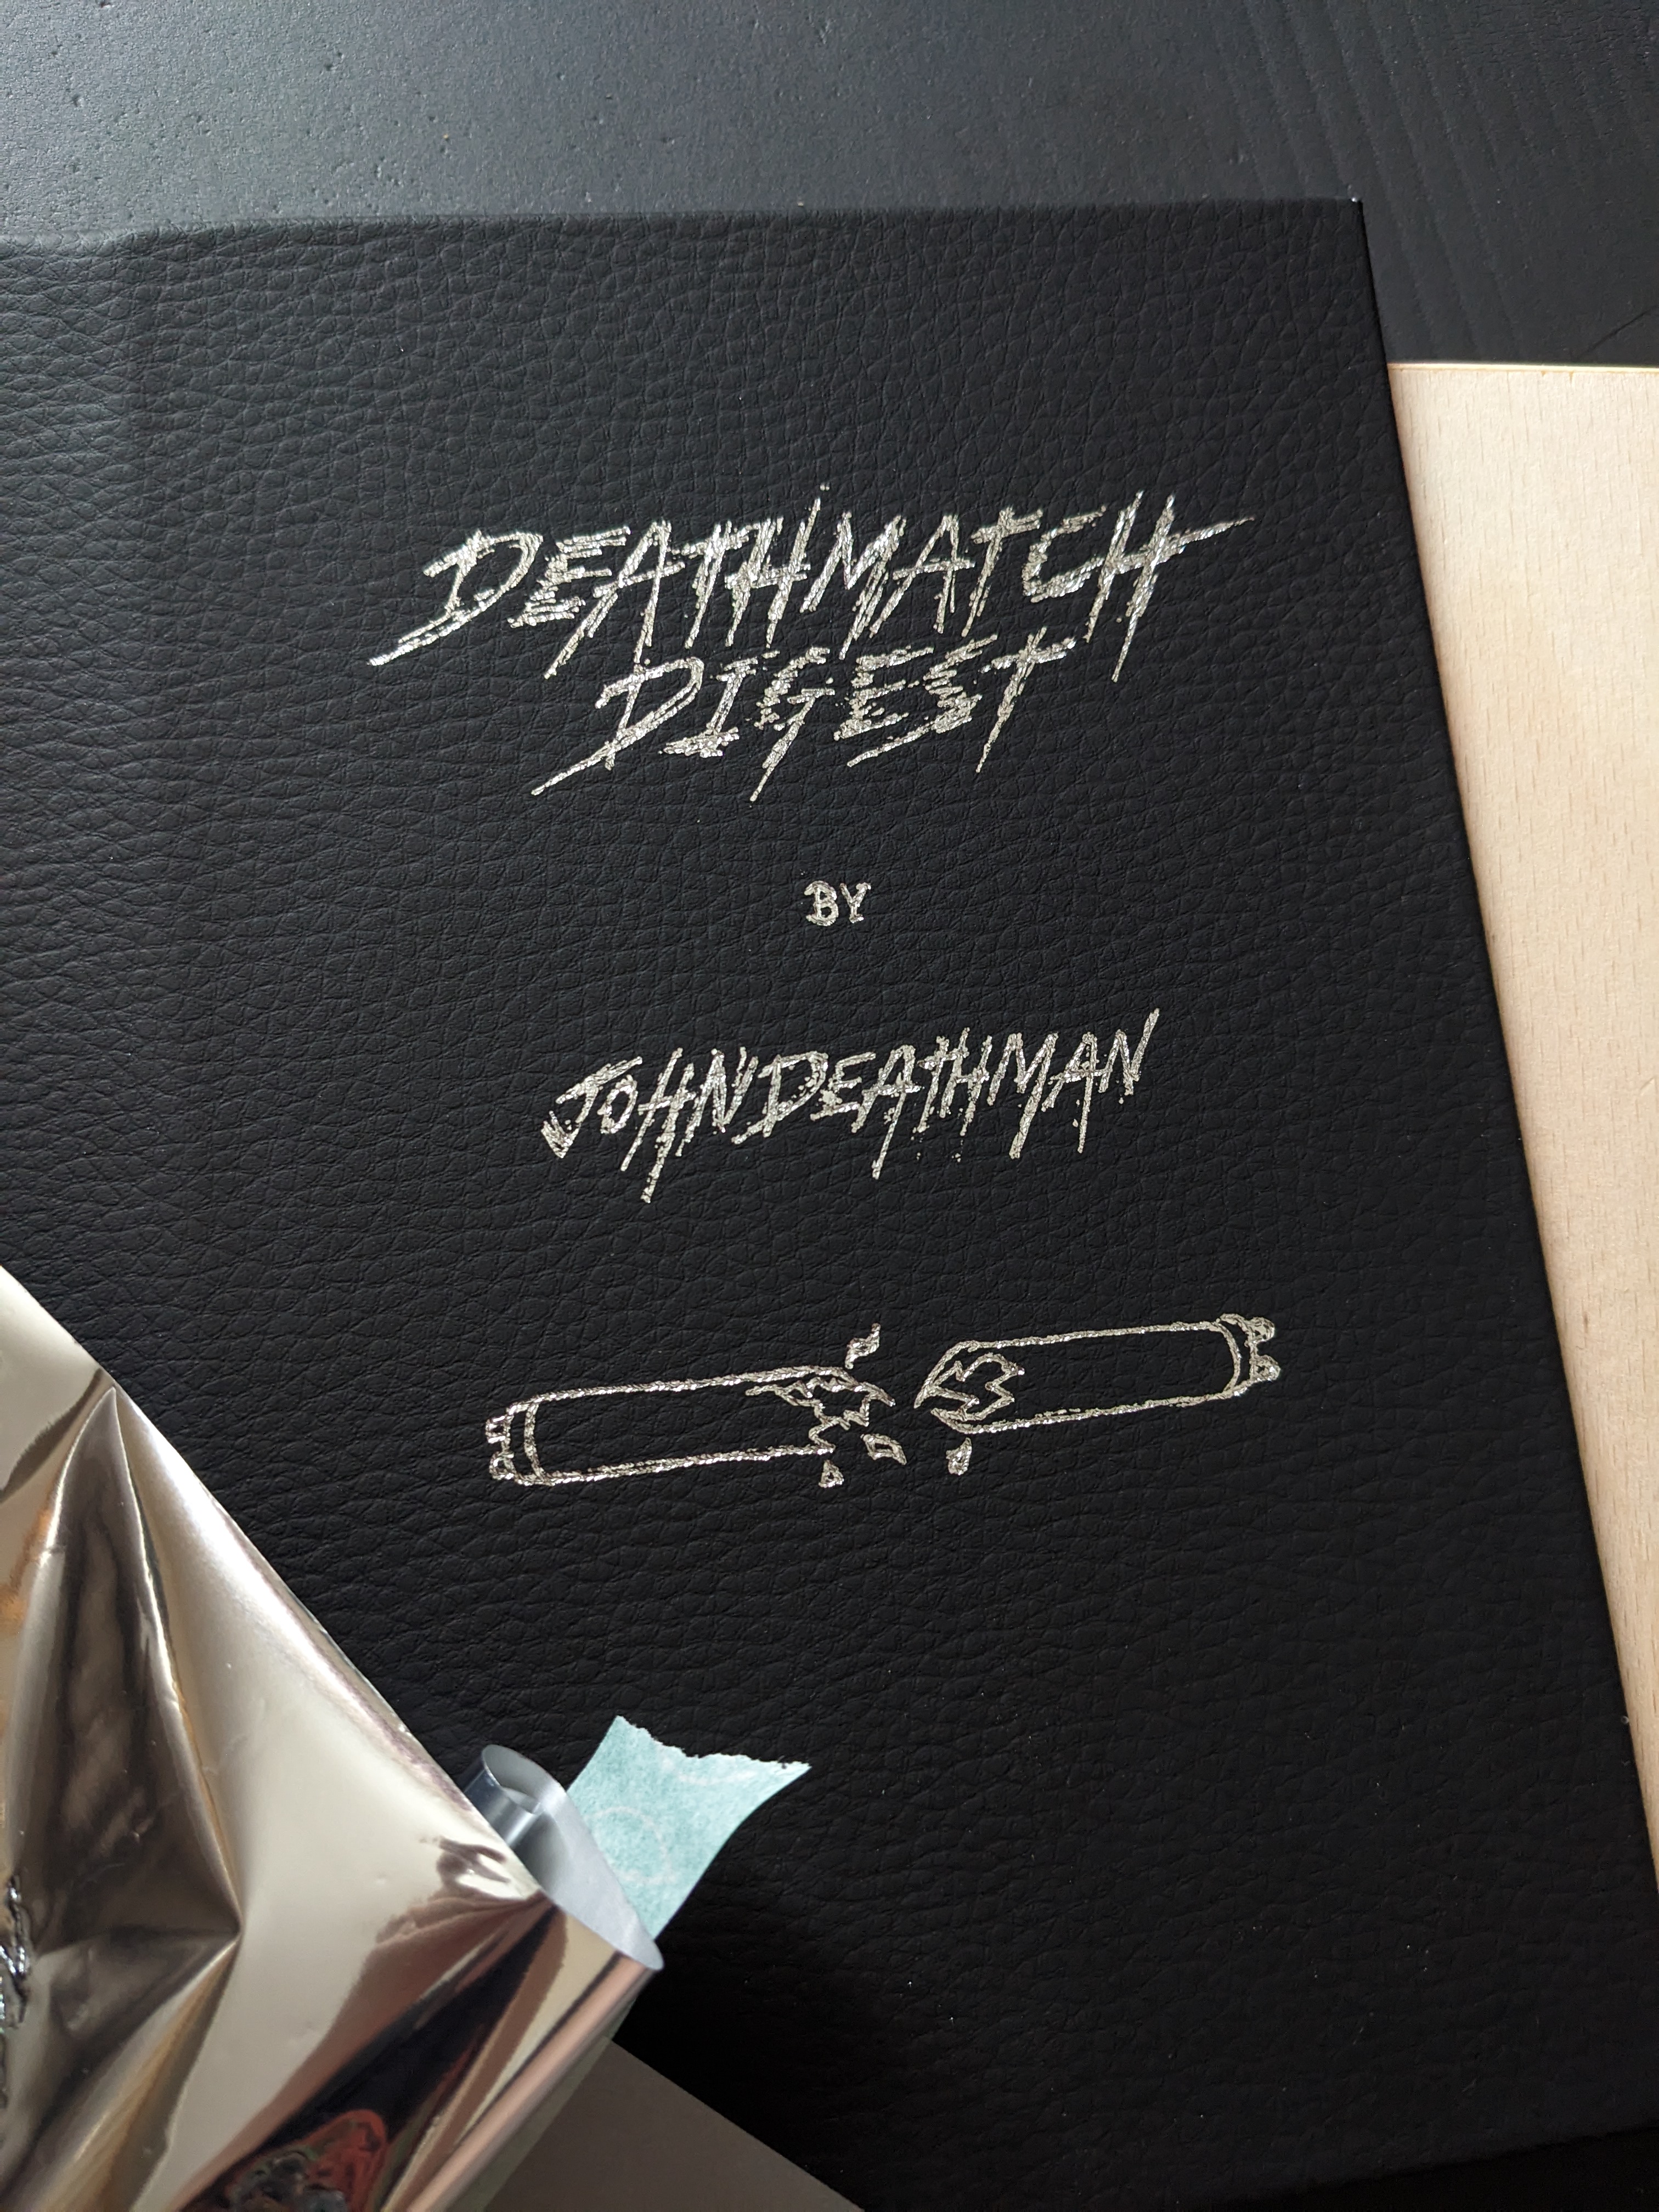
17. Decorate Your Cover! Now is the time for cover decoration - feel free to use stickers, printed things, foil quill pens(what I used - pictured below), a Cricut or similar machine, painting, whatever you want! Some people fully print out a wraparound cover image - it depends if you're doing paperback / hardback, what look you're going for, and which tools you have on-hand.
18. Glue Cover to Text Block! Lay your cover out flat with the chipboard exposed. Lay your text block on top of the cover (make sure the inside contents are the right way up) and fan out the tapes/mull onto each chipboard side - DO NOT GLUE THE SPINE - then glue your tapes/mull to the chipboard of the front cover and back cover on each respective side. Do not put any glue on the spine at all, only on the two sides. You do not want the spine stuck down or the book won't be able to open. Let both sides dry completely before proceeding.
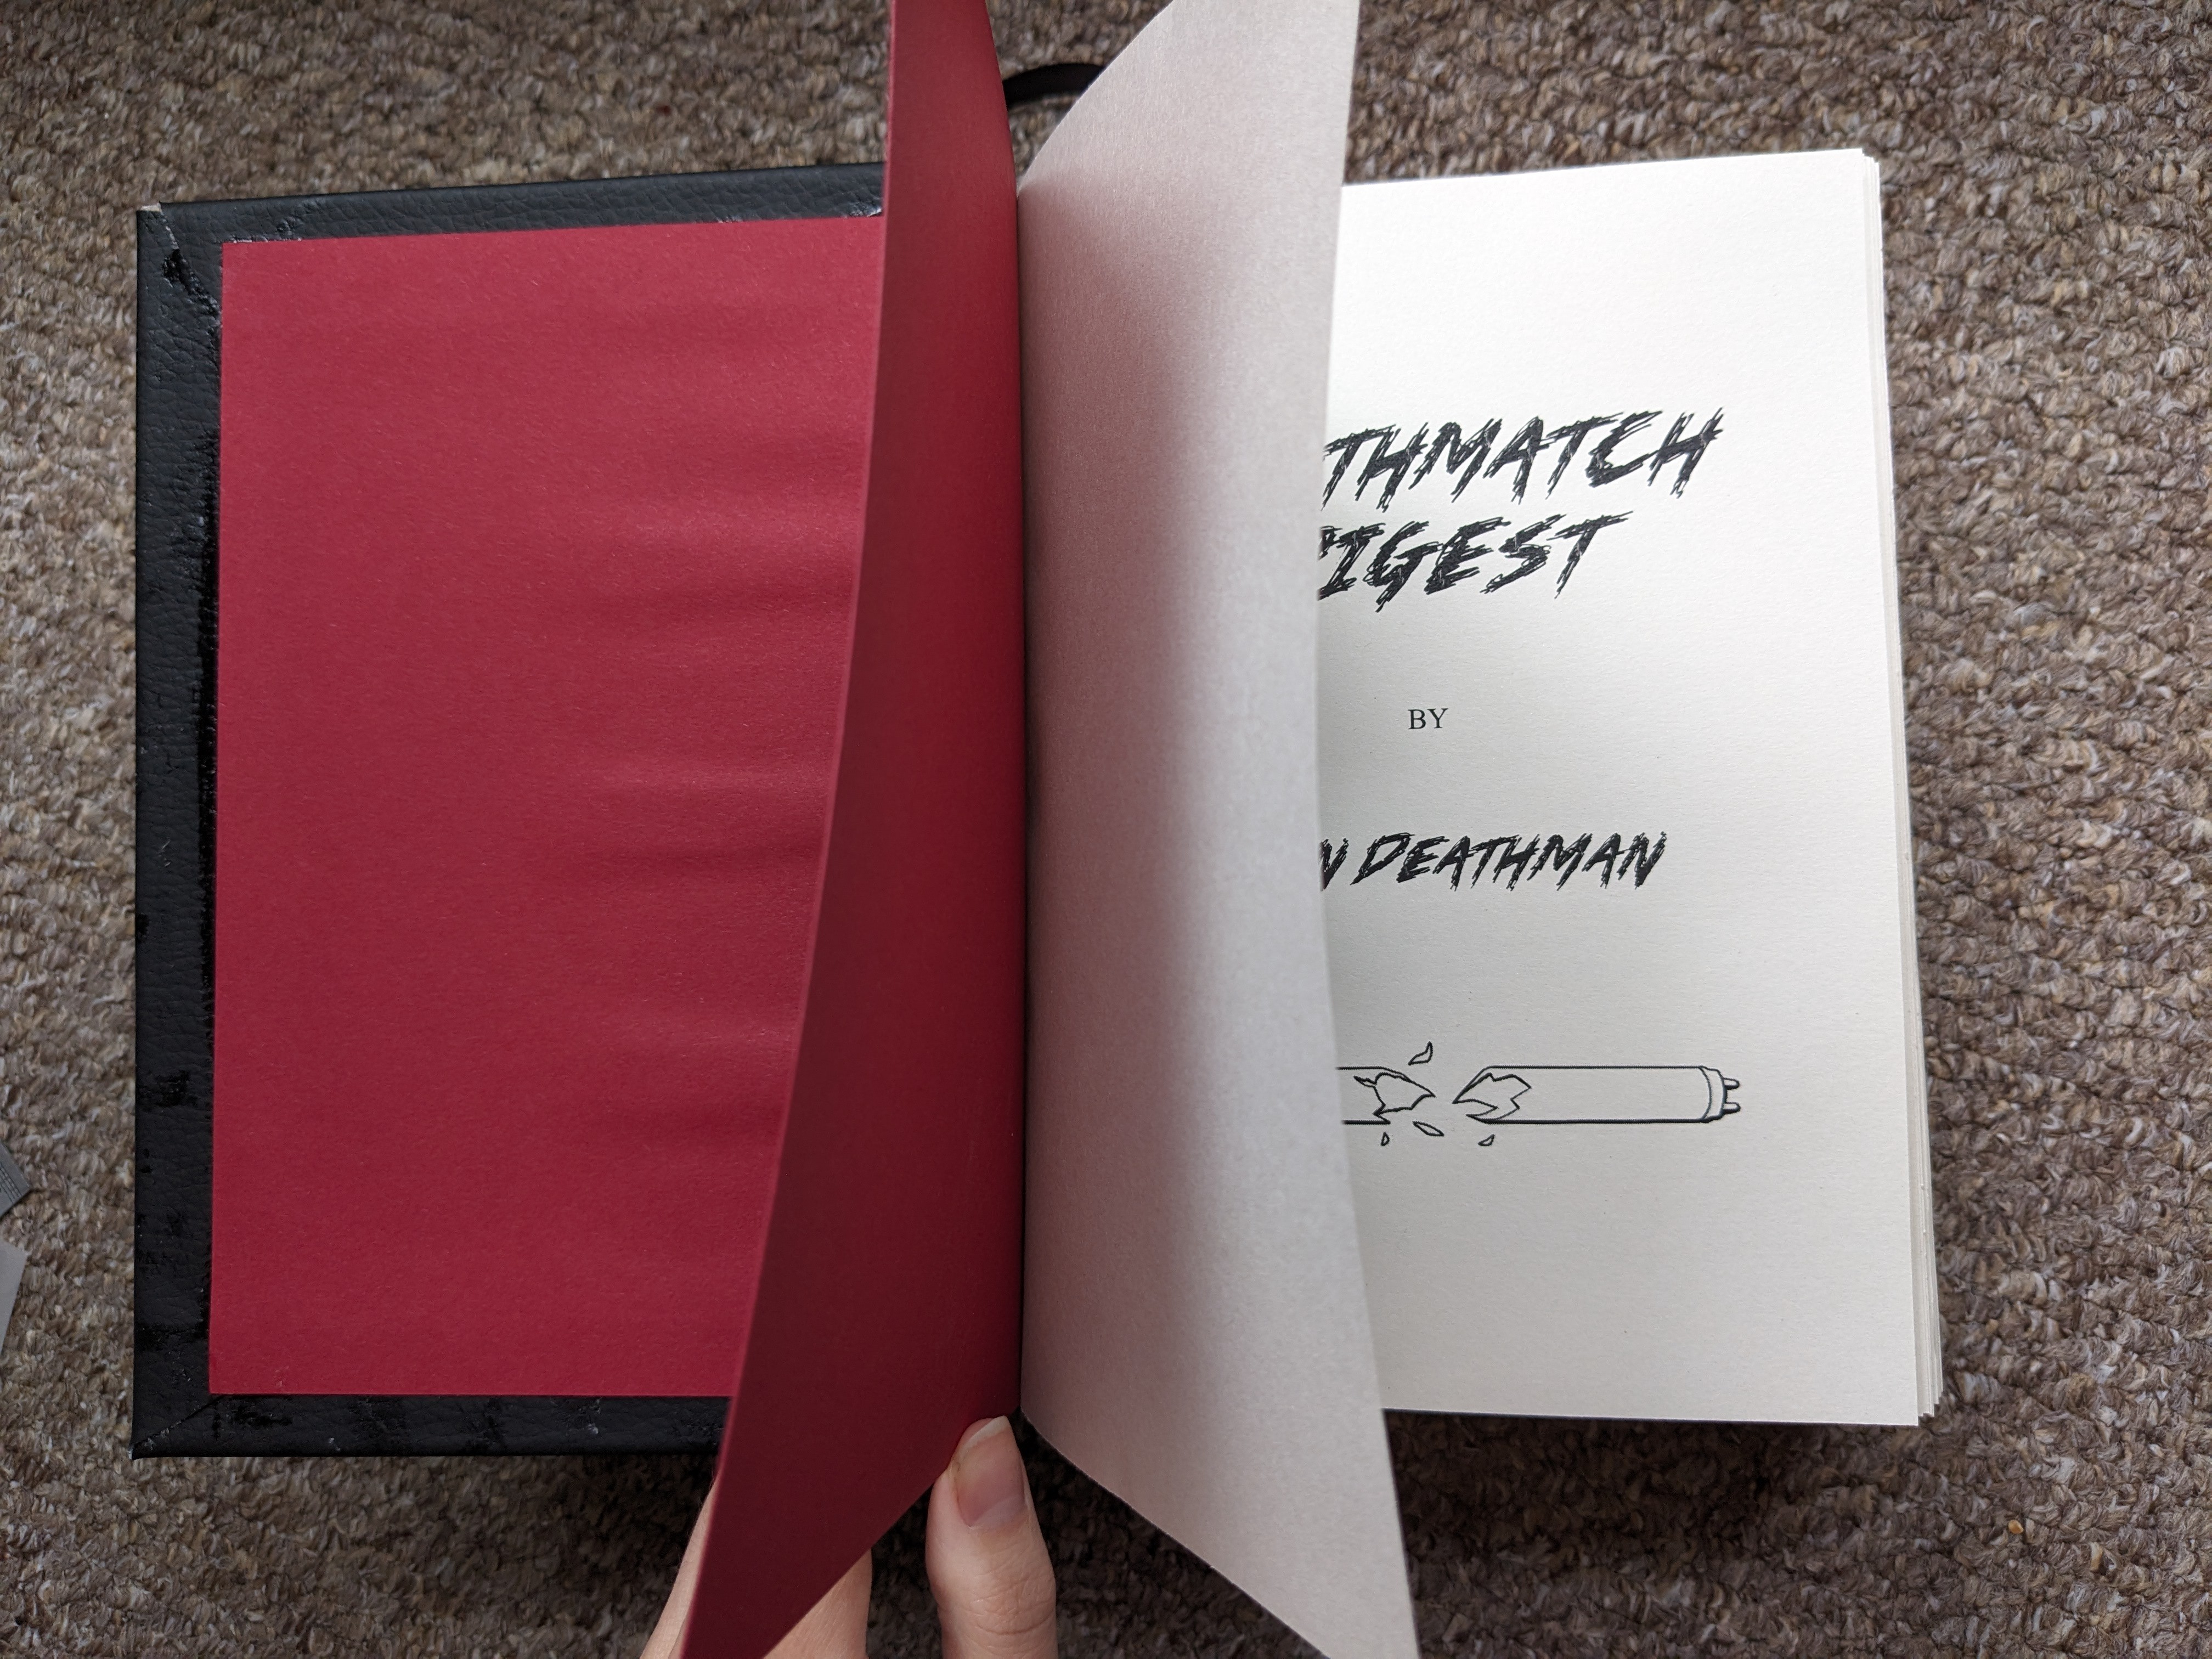
19. Glue Endpapers to Cover! Cover each side of the exposed chipboard in PVA clear book glue and stick down both your endpapers so they cover the exposed inner front and back. Let it dry and you're done! You made a book! :D

Resources:
- 'Amateur Fanfic Binding' group on Facebook - they have a Google Drive full of premade typesets, links for places to buy decent book paper, glue, tools, and a full step-by-step on how to make your first book. I do feel the step-by-step guide can make the process seem more intimidating than it actually is, but generally it's an incredible resource with chatrooms and other forums to ask and search for already-answered questions on any part of the process you could think of.
- 'Sea Lemon' on YouTube - they have many videos on different stitching methods and other bookbinding steps.